Do-it-yourself insulation of the loggia and balcony
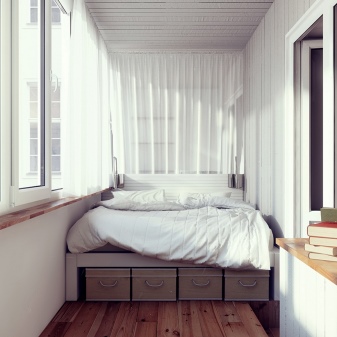
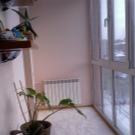
The balcony will become an additional living room, if properly equipped. Before you start thinking about the interior and buying furniture, you need to insulate the loggia. You can do this with your own hands without the involvement of professional equipment.
Material selection
For finishing the loggia and creating thermal insulation, several types of materials are used. Before carrying out work, it is necessary to decide which of them will be more appropriate. They differ in price, performance and specificity of use. Popular heaters include:
Styrofoam
Foamed plastics of various densities. The material is available in the form of square or rectangular slabs. A distinctive feature of the foam is a long service life. Plastics are easy to process and install, and even beginners can use them. The advantages of the material include low cost and the lowest thermal conductivity in the occupied market segment.

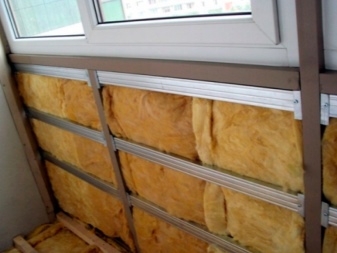
Mineral wool
Universal insulation made from different types of melts - glass, volcanic and sedimentary. Based on this, the material is of three types: glass wool, stone and slag wool. An air layer is used as a heat insulator, with the help of which the room is isolated from the cold. The material is produced in the form of rolls, plates or cylinders, which are easy to cut and process.
The advantages of mineral wool include fire resistance, water resistance, resistance to aggressive chemical compounds and good sound insulation. In addition, the material is responsible for continuous air circulation and contributes to maintaining the indoor climate. Another useful property of the product is its environmental friendliness. Less resources are spent on the production of mineral wool, it does not release harmful compounds into the air.
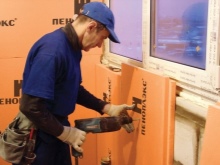
Penoplex
Insulation based on polystyrene. The material is obtained by forcing plastics through a forming hole. Extruded polystyrene foam is produced in the form of rectangular plates of different colors.
There is a chamfer along the perimeter of the products, which simplifies the fit of the material and allows the elements to be laid as tightly as possible to each other. Penoplex has a porous structure with small cells filled with gas and isolated from each other. Due to this, good thermal insulation characteristics are achieved: the insulation can be used even in severe winters.
The material is lightweight, which makes it easy to transport and install. The weight of the insulation will withstand even a light foundation; professional assistance is not required for installation. In addition, penoplex is lightweight, and its service life can reach 50 years. The product does not rot or decompose, it is resistant to harmful microorganisms.
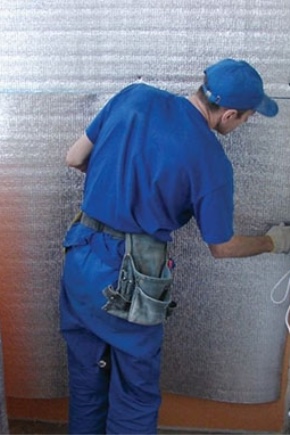
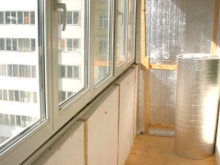
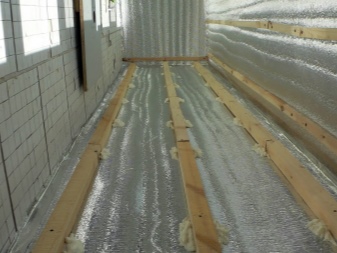
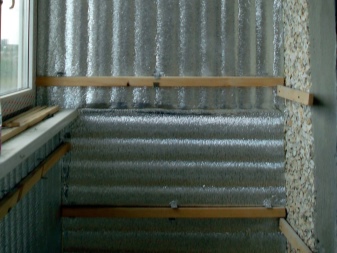
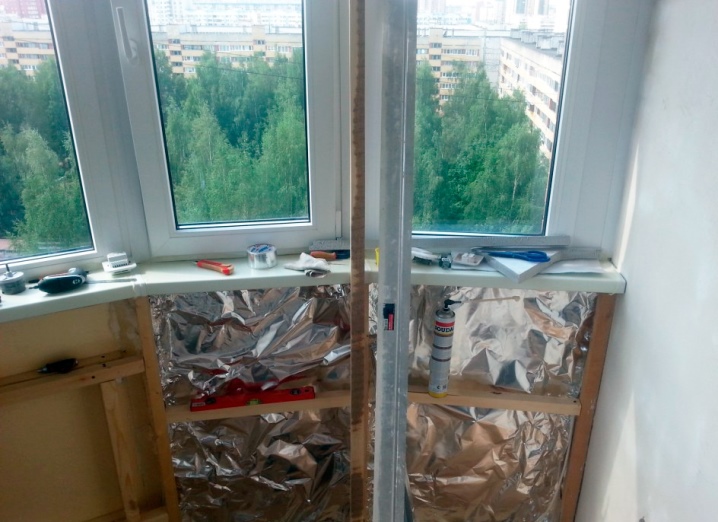
Foil polyethylene foam
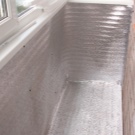
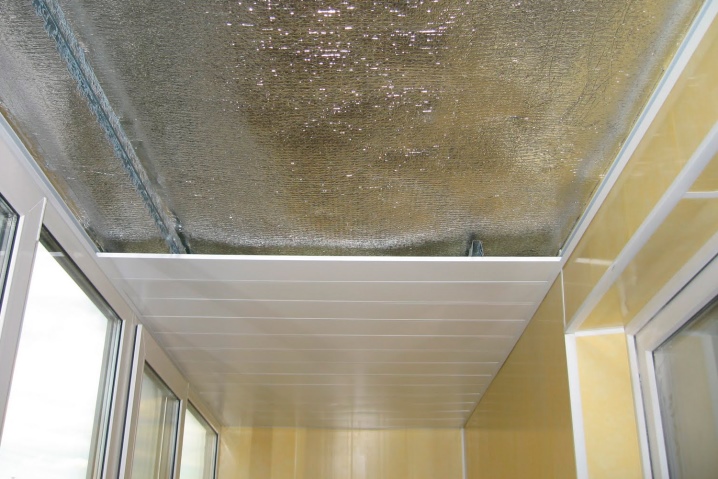
A layer of polyethylene filled with gas and soldered to the foil. A versatile multifunctional material that retains heat, wicks moisture, reflects steam and acts as a sound insulator. The product consists of several layers, one of which is made of aluminum and reflects up to 97% of heat.
The material is easy to process and cut, weighs little. The small thickness of the product allows you to lay it both end-to-end and overlapped.Polyethylene foam doubles the thermal efficiency, beating a different temperature.
Required tools
After purchasing the material, they proceed to the selection of suitable equipment and inventory. Thermal insulation of the balcony does not require the use of complex hard-to-reach tools, and all the work can be done by a beginner.
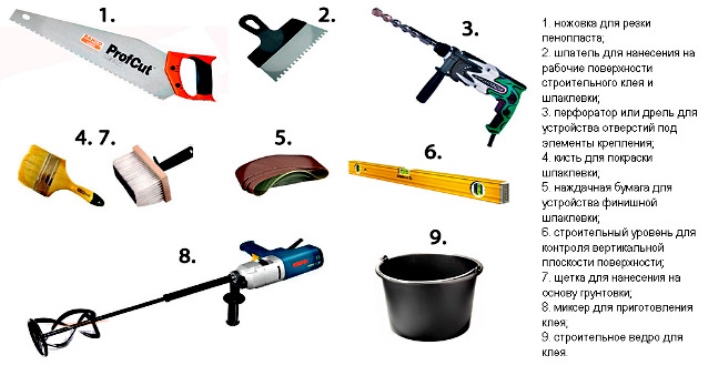
To finish the loggia you will need:
- Hacksaw. Needed for cutting materials.
- Glue gun. It is used for gluing elements.
- Putty knife. Used to apply glue and putty to work surfaces.
- Hammer drill or drill. Holes for fasteners are cut with these tools.
- Brush. It is used when you need to paint the putty.
- Sandpaper. Required for the final treatment of the insulation surface.
- Level. Controls the vertical plane of the surface.
- Brush. She is given a primer.
- Construction bucket. Glue is bred in it.
- Wooden slats, metal corners. For processing the edges of the insulation, adjusting the plates.
- Self-tapping screws, nails, dowels. They are used as fasteners.
- Construction stapler. Needed when installing and securing materials. The length of the staples is 10 mm.
- Polyurethane foam. Used to close gaps and edges.
The list of tools varies depending on the material chosen and the features of the loggia.
When the balcony has an uneven floor, cement, sand or ready-made leveling mixtures may be applied before renovation. For measuring work, a ruler or tape measure is used, and for diluting the glue, you will need a building bucket or other container that you will not mind getting dirty.
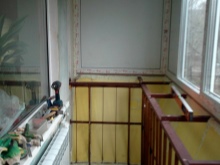
Preparatory work
Before proceeding directly to the insulation of the balcony, all debris and dirt should be removed from the loggia. If there are old coatings on the floor or walls, they must be removed. Also, when preparing, you need to divide the balcony into "cold" and "warm" zones. The former include walls and corners facing the street or bordering other non-insulated surfaces. All other parts of the balcony are classified as warm.
Based on this, they outline a plan for future work:
- Walls and corners bordering the street should be insulated with great care;
- If the balcony borders on an insulated loggia, the partition between them need not be processed;
- The floor and ceiling are insulated regardless of the design and location of the balcony;
- The corners formed by the "warm" zones do not insulate.
Before insulation, it is recommended to cover the floor with a primer. This will prevent the appearance of mold and the growth of harmful microorganisms. On unglazed loggias there are often through holes, holes and crevices. They are sealed with polyurethane foam or special solutions to avoid heat loss and extend the life of the insulation.
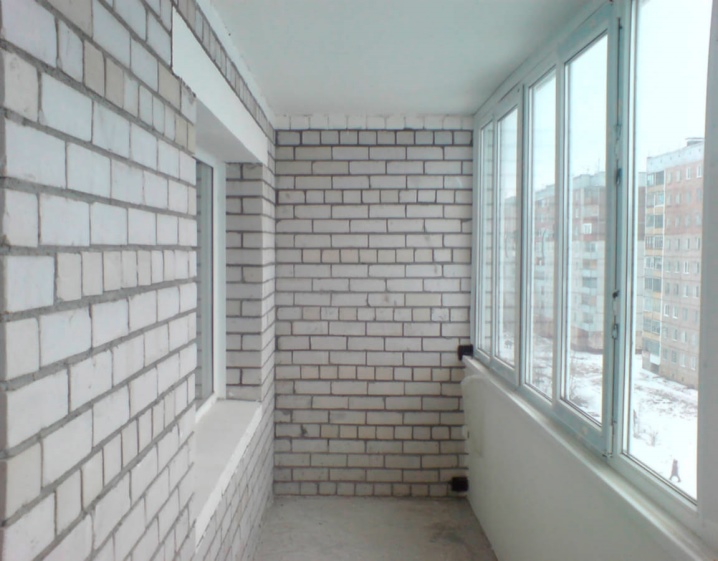
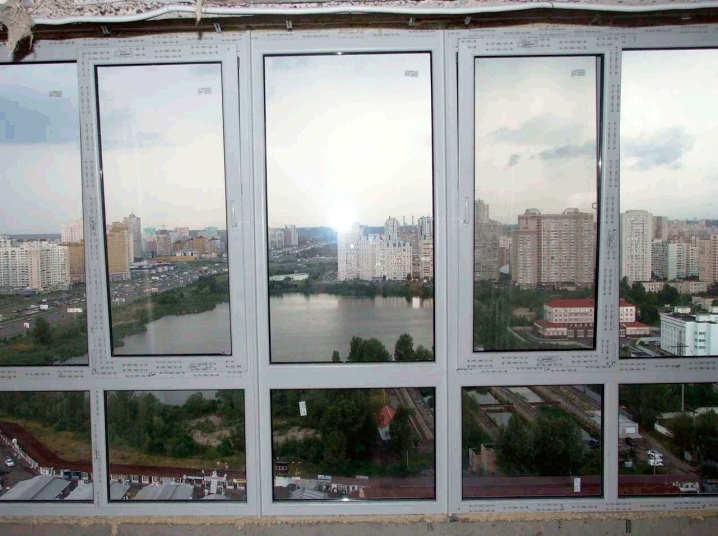
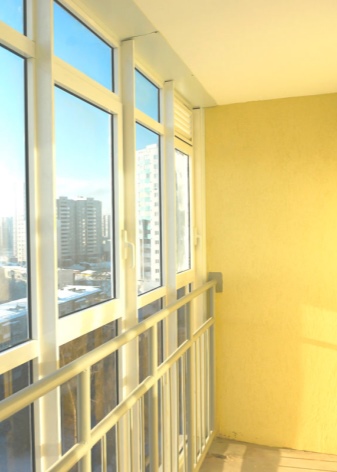
Loggia glazing
Glazing is a necessary step when processing a balcony. This will keep you warm, protect the room from wind, snow and rain and turn the loggia into a separate room. This procedure requires more effort than the insulation itself, and it is recommended to contact professionals for its implementation. However, more experienced and confident repairmen are able to do it on their own.
There are several ways to glaze a balcony:
- Using wooden frames. The advantage of this method is the high quality of the materials used, strength, long service life and excellent external characteristics. Wood frames are good at suppressing street noises, retaining heat. Only sliding structures should be treated with caution. They are made in such a way that water can penetrate into them and freeze up at negative temperatures.
- Frameless glazing. It guarantees protection from atmospheric precipitation and adverse weather conditions. The design has a minimum of elements, each of which is of high quality and strength.With this method, the frames are not visible, so the windows look solid and more light comes in. The disadvantages of this method include the high cost and the impossibility of full-fledged insulation of the loggia, because of which the loggia can be blown through with strong gusts of wind.
- With the help of metal-plastic structures. The method is widespread due to its good performance characteristics and relatively low cost. The system will maintain the temperature inside the room and provide reliable air circulation. Plastic structures are more functional than wooden or other frames, so the balcony can be ventilated even in the cold season.
The systems are characterized by a long service life. A balcony glazed in this way will last at least 40 years. The structure contains drainage holes to minimize the risk of frames freezing. In addition, plastic is easier to care for - it does not require painting, it is easy to wash and clean.
- Aluminum glazing. One of the cheapest options. The design is lightweight, the load on the balcony ceiling is minimal. At the same time, the materials are strong, durable and resistant to external mechanical stress. They are easy to care for, they are not afraid of moisture and high temperatures. The installation of the structure is carried out in a short time; people without experience can do it.
How to insulate correctly from the inside: step by step instructions
On the balcony, three types of surfaces are required to be processed. You should start from the floor, then move on to the walls and ceiling. The procedures for each of the zones are carried out in a similar way, however, they have some differences in the layers tab.
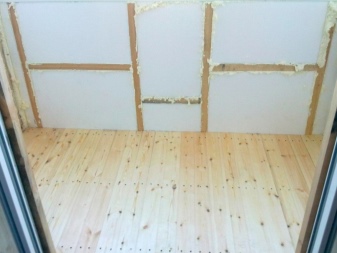
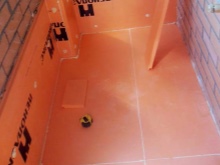
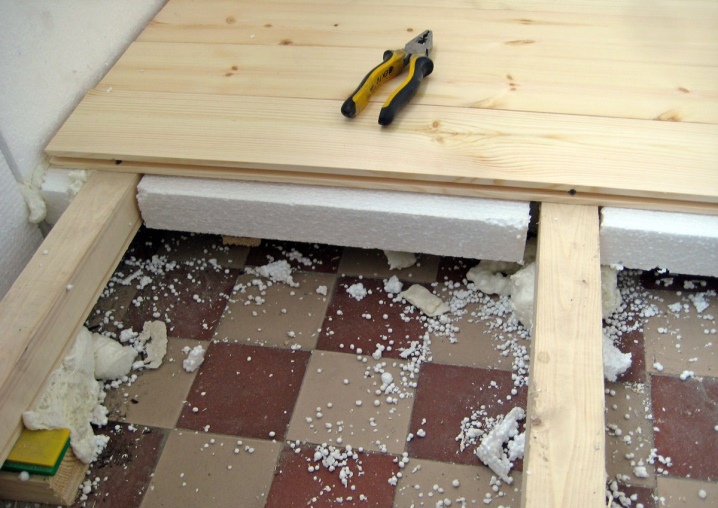
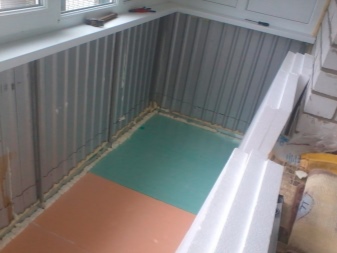
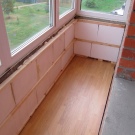
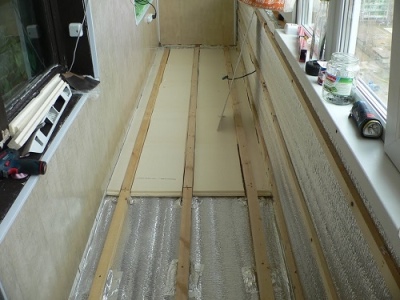
Insulated floor consists of several layers:
- Waterproofing. It is placed on a concrete floor. For a glazed loggia, plastic wrap is suitable.
- Wooden logs. They are made of 100x60 mm timber. The elements are aligned along the plane, placing beams and wedges under them.
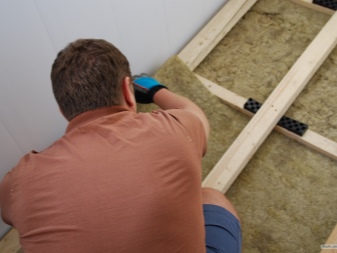
- Heat insulating material. Insulation fits in the space between the logs. It is important that the layers are tightly adjacent to each other, and there are no gaps between them.
- Vapor barrier film. A sub-floor is mounted on it, which can be used as plywood.
The final coating is laid on top of the last layer, but this should be done after the completion of all repair work. Otherwise, the floor could be scratched, stained or damaged.
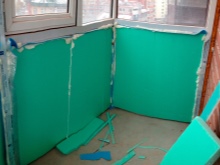
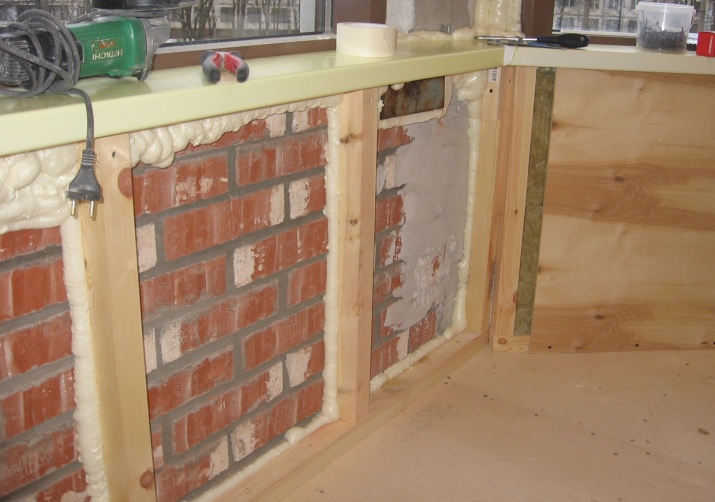
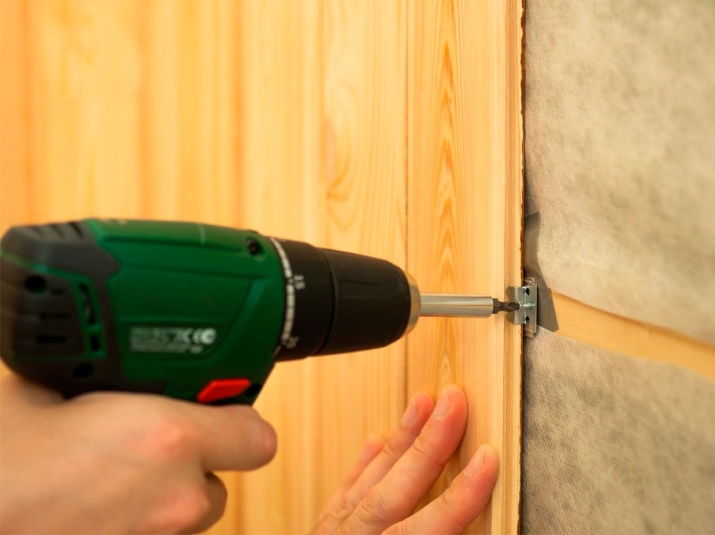
Wall insulation begins with the installation of the lathing. In the case when repairs are done in a panel house, initially it is required to make the fence of the loggia solid, and only then proceed to the repair work. The lathing is mounted from a bar with dimensions of 40x40 or 50x50 mm. First, vertical elements are placed and fixed with dowels, then they are connected with transverse parts. Insulation is laid in the space between the crate, then a vapor barrier film is attached.

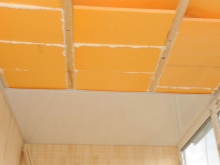
The last stage is the processing of the ceiling:
- The cleaned surface is treated with an antiseptic.
- The lathing beams are nailed to the ceiling using self-tapping screws or dowels with locking screws.
- The insulation is mounted using wood glue or polyurethane foam.
- To create a vapor barrier, a polyethylene or foil film is laid.
- If ceiling lighting is required, electrical wires are routed.
- The structure is sewn up with plastic or wood panels.
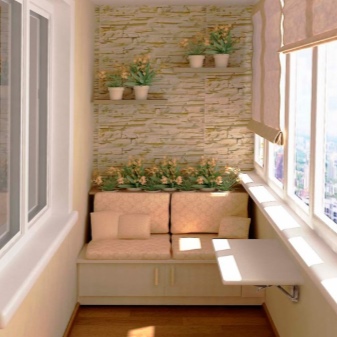
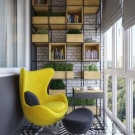
After warming the balcony surfaces, they begin to finish them. At this stage, you can choose an original design based on the color of the furniture, the purpose of the future room and the presence of decorative elements. It is at this stage that an atmosphere of comfort is created, therefore, special attention should be paid to this stage. If necessary, you can turn to professionals to create an original project.
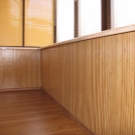
Finishing
The final stage of the repair work is wall cladding.When finishing, they take care of both the aesthetic characteristics of the balcony and the protective functions. The balcony should be insulated from adverse environmental conditions and be comfortable for being in the room on a regular basis. During installation, it is recommended to take bars no more than 2 cm thick. They are fixed so that there is a gap between them for finishing materials, for example, white sealant.
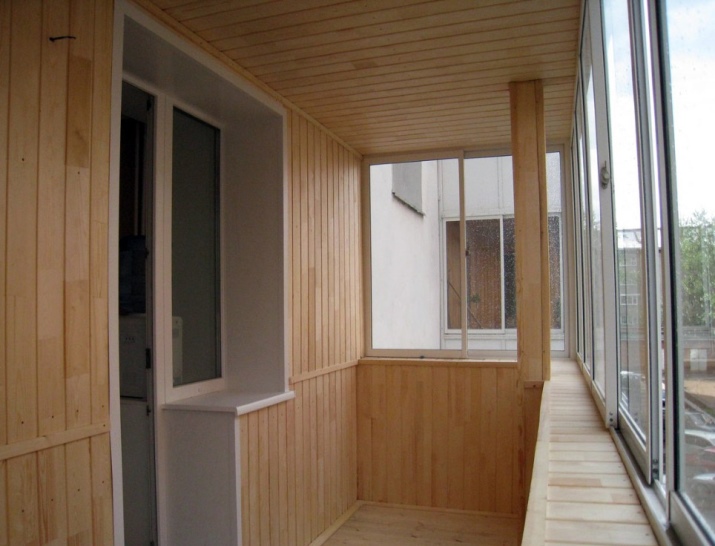
Final finishing is carried out with materials of several types:
- Lining. Natural material with a natural color. Fixed with nails or a construction stapler. The lining is durable, wear-resistant, resistant to moisture. At the same time, it is quite expensive.
- Plastic panels. The material is easy to install; the “liquid nails” method is used for installation. Plastic can withstand temperature extremes and high humidity, does not require painting. Panel manufacturers offer a wide variety of colors. You can pick up panels that imitate wood or decorated with drawings.
- MDF. The material is made of pressed cardboard panels covered with a special film. Clamps are used to fasten the elements. A feature of the building material is that it absorbs moisture well, therefore it is required to avoid contact with water.

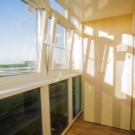
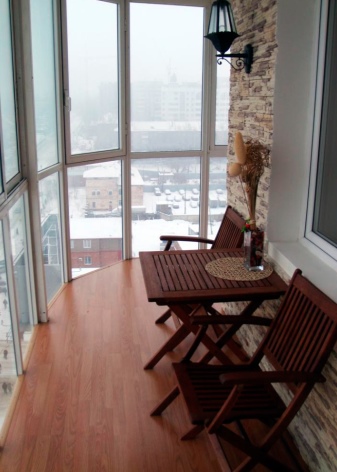
We insulate the panoramic loggia
Large windows devoid of frames and partitions are an option for those who want to make a balcony with an original interior. Such glazing is more expensive and is a sign of elitism. Insulation of a panoramic loggia is associated with a number of nuances, without taking into account which it will not be possible to completely isolate the room and protect it from precipitation.
Processing a balcony with this type of glazing requires a lot of effort, since the work may require redevelopment of the space. To do this, you will have to obtain permission to make changes to the supporting structures. In addition, you may need the help of professionals: the work requires the use of special equipment.
First of all, it is required to insulate the floor. This is done even before the installation of double-glazed windows. So the thickness of the insulation and other heat-insulating layers will be chosen arbitrarily, without relying on the width of the windows. For the ceiling and walls, the thickness of the panels is not so critical, therefore, they can be dealt with at the last moment.
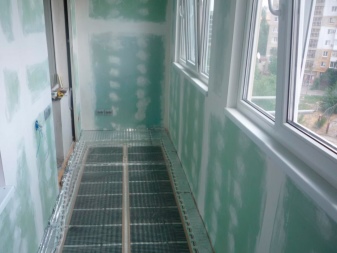
During the repair of the floor, several layers of materials are laid; the procedure will be similar to the installation of elements on ordinary loggias. Changes begin after installing foil-clad insulation. At this stage, heating elements, thermoregulation sensors and electrical wires are placed on the floor. They must cover 70% of the surface or more, the distance from the wall is at least 50 mm. Further, the structure is filled with cement mortar 40-60 mm wide, along the perimeter there is a damper tape (10x100 mm).
Typical mistakes
Many owners of balconies begin to insulate them, not taking into account many of the nuances of work. To extend the service life of the finished loggia and make it as functional as possible, it is necessary to clearly outline a work plan and avoid typical mistakes during repairs.
- Loggia glazing on brackets. In the course of work, the owners of the apartment can display the frame for the glazing outside. In this case, a visor will appear around the perimeter of the loggia, on which snow will accumulate. Because of this, ice build-ups appear on the facade of the building.
- Using one layer of insulation. When installing foam blocks with a thickness of 70-100 mm, many neglect the need to additionally insulate them. This is a mistake, since even such masonry can freeze through during prolonged cold weather and strong winds.
- Lack of vapor barrier. Without using such a layer, the material can damp and spoil the surfaces on the balcony. This is especially dangerous when the balcony is insulated with mineral wool. For the safety of the insulation, it is recommended to lay a layer of vapor barrier film.
- Use of a sealant without protection. The sealant foam degrades quickly when exposed to sunlight and high humidity. It can begin to bubble and ruin the appearance of the loggia. To avoid this, during repairs, cut off excess sealant, sand the edges and cover them with acrylic or putty.
- Warming of "warm" zones. The wall between the apartment and the loggia does not require processing. Insulation will not affect the temperature in the next room or on the balcony itself, and the procedure will only be associated with a waste of money.
Another mistake that can be made when repairing a balcony is the lack of permission to work with supporting structures. When serious redevelopments are planned in the premises, this should be reported to the technical inventory bureau, which records the real estate objects. However, permission is not needed when, for example, double-glazed windows are installed on the balcony.
In conclusion, we bring to your attention a short educational video course on insulating a loggia or balcony.


The comment was sent successfully.