Installing a countertop in the kitchen: the necessary tools and sequence of actions

Many owners of houses and apartments prefer to independently create projects for a kitchen set, as this allows not only to save money on the purchase of furniture, but also to accurately adjust it to the size of the room. To do this, it is enough to have a set of tools and ready-made sawn parts, which can be ordered in any workshop. The most crucial moment in assembling a headset is the installation of a tabletop: in order to properly install it, you need to have some experience and take into account some of the nuances.
Features of the base material
Installing a countertop in a kitchen is a straightforward process, but it largely depends on the type of raw materials used. Today the construction market is represented by a huge assortment of materials from which you can make parts for kitchen furniture with your own hands. Most often, the following options are chosen for the manufacture of countertops.
Laminated fiberboard (chipboard)
It is a panel, the top layer of which is covered with a durable laminate consisting of wood chips and resin. It is easy to work with such material, the only thing that should be given special attention to the cut, it must be neat. In addition, the laminated surface must be protected from mechanical damage, since traces of scratches and impacts may remain on it.

Plates are affordable, available in various textures and colors, which allows them to be used in any design. As for the disadvantages, such countertops can absorb moisture and swell, mainly in places where the lamination is damaged.
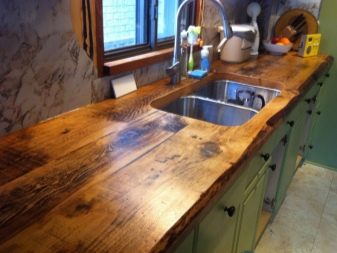
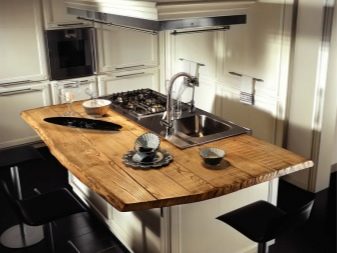
Wood
This material is characterized by increased strength and reliability in operation, but for the working area of the kitchen, where moisture is constantly present, it is worth choosing a moisture-resistant array or additionally covering it with water-repellent agents. Wood types such as pine, birch, spruce and linden are excellent for making countertops. For the procurement of parts, it is recommended to purchase boards with a thickness of at least 25 mm. The advantages of wood include the possibility of sanding, so products can be given an attractive look. The disadvantage is difficult maintenance, the wood must be constantly restored and covered with a protective layer.
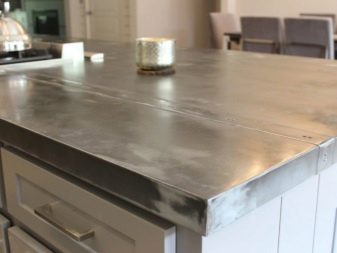
Metal
Basically, stainless steel is used for the installation of kitchen countertops, since this metal is durable and is available with both a glossy and a matte surface. The main advantages of such a countertop include resistance to high temperatures and easy maintenance, and the disadvantages are susceptibility to mechanical damage. Metal countertops require careful handling.

Stone
Such products can be made from both natural and artificial stone, the former are durable, and the latter are beautiful and affordable. For the kitchen, an excellent option is quartz, marble and granite countertops, they complement the interior of the room in an original way, are resistant to dirt, scratches and high temperatures, and are easy to clean. In addition, the panels are installed without gaps and joints.


Cons: natural stone is expensive, and not all owners of houses and apartments can afford to purchase it; also, when sawing panels, a certain experience is required. Installation is also difficult due to the large weight of the panels.
Acrylic
It is a sheet material that is released from a "liquid" stone and is applied to the surface of the base in an incandescent state. For the assembly of kitchen countertops, as a rule, sheets with a thickness of 10 to 12 mm are used. Acrylic surfaces are subject to restoration and decoration, they are not afraid of scratches, moisture and high temperatures. The disadvantage is the high price.


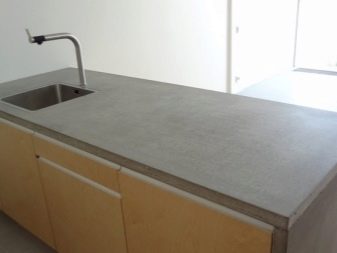
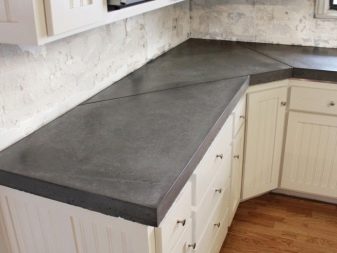
Concrete
Thanks to modern processing technologies, this material can be used to make countertops for every taste. They are easy to grind, paint and polish. In addition, concrete has increased strength and moisture resistance. However, the concrete surface must be constantly impregnated with protective agents.
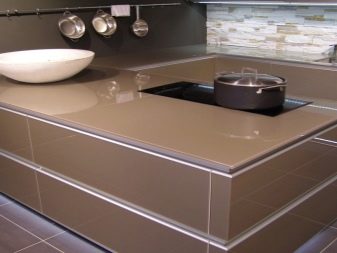
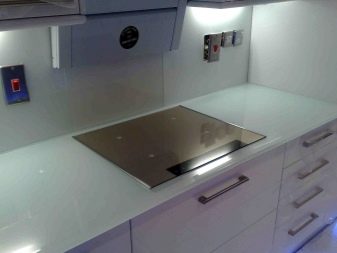
Glass
This material looks very interesting in the interior of the kitchen and is characterized by good operational properties, it is durable. Glass countertops, if desired, can be decorated with photo printing, painting and patterns. Despite the fact that tempered glass is used for the installation of the product, it cannot be subjected to strong shock loads.
Required tools
Before you start installing your kitchen countertop, you should purchase all the blanks and prepare a certain set of tools.
- Screwdriver. With its help, it will be possible to fix all the details. It is best to give preference to electric models, which include various attachments.
- Jigsaw with a set of files. It is useful for cutting holes for sinks, sockets and pipes.
- Construction stapler. This tool will help fix the back walls of the modules.
- Silicone sealant gun.
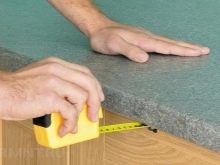
- Measuring instruments. You will need a ruler and tape measure to install the countertop. With the help of these devices, it will be possible to accurately measure and apply markings.

In addition to the above, you also need to have screwdrivers, wire cutters, a set of keys, a hammer and pliers on hand. The presence of a miter saw and a grinder will help to simplify the workflow.
Fitting and fitting
The installation of the kitchen countertop should be carried out as accurately as possible, since the duration of its service life will depend on this.
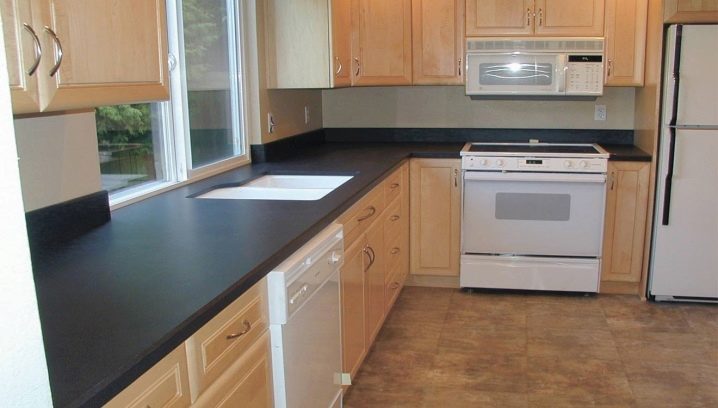
- First of all, you need to measure everything and determine the ratio of the width of the cabinets to the countertop. It should extend beyond the structure of the cabinets by 3-5 cm, creating a small visor. This will protect the facades from falling kitchen utensils and getting water on them. Particular attention should be paid to the corner kitchen.
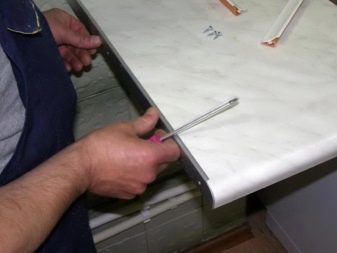
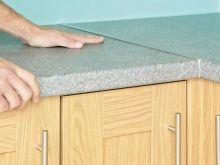
- Then the countertop must be tried on, for this it is laid on the cabinet, pressing it tightly against the wall. If it lies flat, then you can immediately start installation work, if not, then you will have to trim the rear part. This can only be done with wooden countertops or modules made of chipboard, MDF. Polymer and stone products cannot be trimmed, so their dimensions must be precisely adjusted at the production stage. It is recommended to cut at an angle with a circular saw.
- If the surface of the kitchen wall (apron) is flat, then the installation is started without cutting. In this case, it is desirable to grind the end face.
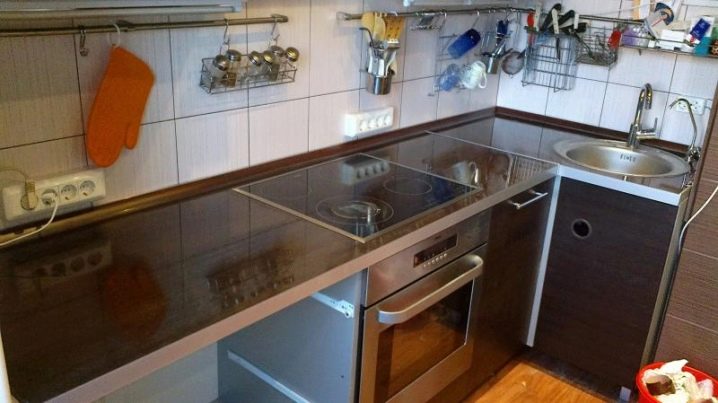
Sink hole formation
Before you put the sink, you need to cut a hole in the countertop for it. The sink can be installed in various ways, taking into account its design features. It is placed below, on the same level or above the table top. The hole for it is formed as follows.
- At the first stage, you should prepare the workplace, all the necessary tools and take measurements. First, two lines are drawn perpendicular to each other on the surface, the point of their intersection will become the place for the cutout of the drain hole.
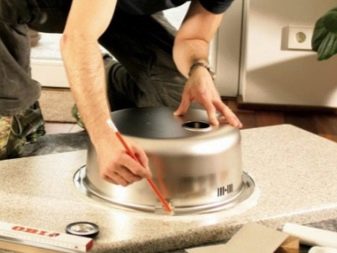
- Then the sink is turned over and placed on the countertop in such a way that it is convenient to outline the outer contour along which the cutting will take place. Do not forget to pay attention to the level of the edge of the sink in relation to the location of the table doors.
- At the second stage, the width of the sides of the sink is determined, and the inner contour is applied with a construction pencil.
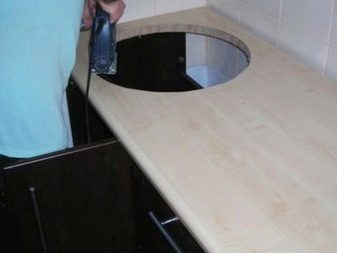
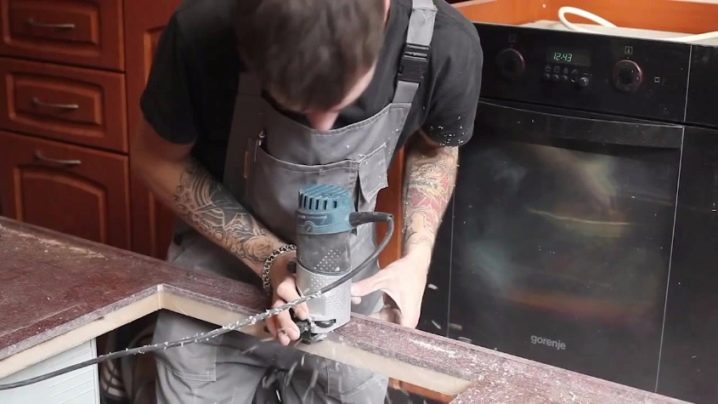
- After all the parameters have been verified, you can proceed to the cutting process with a jigsaw. When the hole is ready, you need to try on a sink for it. If necessary, the edges of the hole are additionally processed with a jigsaw until a backlash is obtained.
- The work is completed by sealing the joints. First, remove all irregularities along the edges of the hole using fine-grain sandpaper, then use PVA glue or sealant to process the joints between the sink and the countertop.


Step by step installation
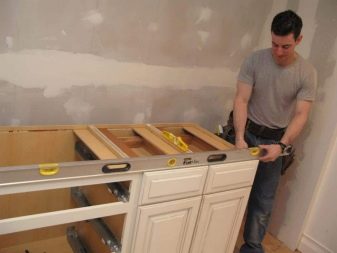
Assembling a kitchen countertop is considered a simple job, so it is quite possible to do it yourself even for novice craftsmen. Before installing the countertop, you should fix the lower tier of the kitchen set, that is, install the floor cabinets. After all pieces of furniture are assembled, they are placed against the wall, exposing them in one horizontal plane. Then the cabinets should be securely fastened between themselves and the table. Experts recommend making the connection with strong bolts, placing two fasteners per 1 m2.
In addition, the upper ends of the cabinets must be pasted over with vinyl tape, which will hide the differences in planes during the installation of the table top. After completing the preparatory work, you can install the countertop itself. To properly attach it to the cabinets, the following steps should be carried out in stages.
- For worktops made of chipboard or fiberboard, installation is carried out on a metal corner or a wooden strip. The tabletop needs to be turned over and the corners or a strip must be screwed to its back side according to the previously applied markings. Further, special brackets are fixed to them with self-tapping screws, which allow fixing this module on a kitchen set, the length of the fastener depends on the thickness of the countertop, but it should not be less than 12 mm.
- Products made of stone, acrylic, concrete and glass are installed in the same way, the only thing is that instead of screws, in this case, two-component glue is used.
- The work is completed by grinding at the joints and installing a sink, for which a sealant is additionally used.

Professional advice
Recently, many homeowners prefer to do the installation of kitchen furniture with their own hands, this also applies to countertops. To assemble the headset yourself, without the help of specialists, it is important to take into account the following recommendations:
- transportation and installation of all parts must be carried out carefully so as not to damage the surface of the material (especially for worktops with a glossy sheen);
- after cuts, it is imperative to process the edges and seal;
- before installation, it is necessary to accurately determine the height of the structure, as standard it should not exceed 91 cm;
- cutting can be performed both with a hacksaw (from the front side of the product) and with a jigsaw (from the inside out);
- large irregularities are easily eliminated with a file;
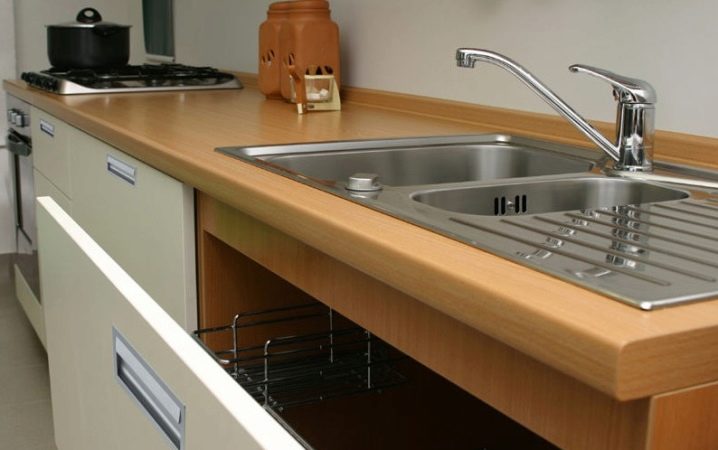
- the sink must be placed in such a way that the cabinets under it can be closed freely.

For information on how to install a countertop in the kitchen, see the next video.


The comment was sent successfully.