All about illuminated skirting boards
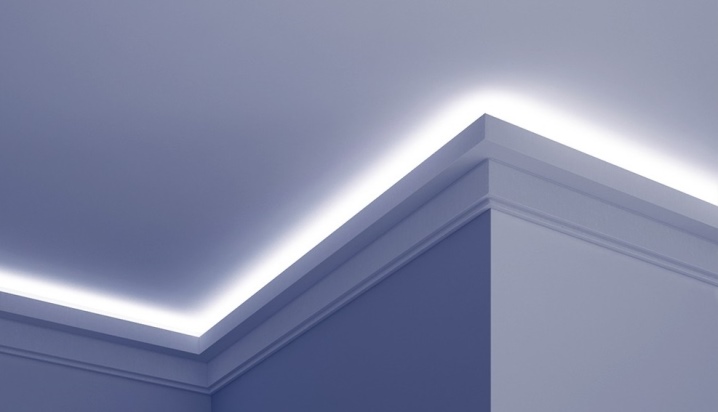
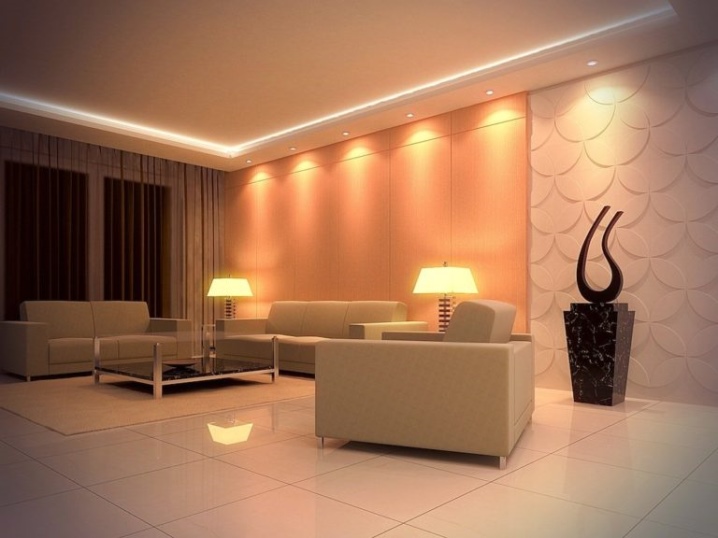
A modern design detail - ceiling plinth, is increasingly being used by designers to create various styles in the interior of premises. To emphasize the beauty of this element, various lighting options are added to the baseboard. This technique allows you to achieve the uniqueness of the interior and keep pace with the times, since illuminated ceiling plinth is a fashionable and popular trend that does not lose its relevance.

Peculiarities
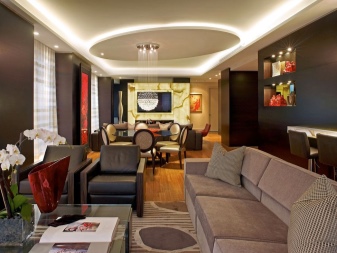
To make the design unusual, many different techniques are used, one of which is the use of a ceiling plinth to organize hidden lighting in it. The lighting, made in the upper part of the room, allows you to visually expand the volume of the room and increase the height of the ceiling.
Ceiling skirting board with illumination, in addition to its main decorative and technological load, becomes a support for fixing lighting equipment.
The costs associated with the organization of lighting on the ceiling are not so great, and the installation process and labor intensity are in direct proportion to the fixing of conventional ceiling or wall moldings.
If we compare the volume and complexity of work on the installation of ceiling lighting when mounted on a stretch ceiling, then ceiling cornices in this case win. They will not require additional costs and will not increase the amount of expensive work. With conventional skirting boards, the lighting problem can be solved quickly, simply and inexpensively.... A plinth for a ceiling made of various materials may well become the basis on which it will turn out to stretch almost any type of modern lighting.
There are many options for performing this task, and the cost of costs will add up based on the materials of the baseboard and the selected type of lighting. Contemporary ceiling plinths make it possible to set a combination with any lighting technology, taking into account the requirements of fire safety.

Illumination methods
Ceiling lighting can be done using modern materials that are reliable and easy to install... Often, such materials are also energy-efficient. Among the methods of lighting the ceiling, the following options can be distinguished.
Fluorescent lamps
This is one of the first lighting methods that were used for mounting on a ceiling plinth. Today, fluorescent lamps are rarely used, as there are more modern developments. Inside the lamps there is a phosphor that provides a bright glow to the luminous flux.
It is most advisable to install lamps even before the plinth is glued.
Since the length of fluorescent lamps is limited, after installation, a small gap will always be visible between them, which does not allow creating a single light line.

Neon tubes
It is also one of the first materials used to organize ceiling lighting.... Neon tubes can give different colors of light, but their luminous flux does not have a high intensity. With the return of dim lighting, this option is also energy-consuming. In addition, the power supply circuit for neon is provided with the use of a special voltage converter of electric current, and for this part it is not always possible to find a place to be placed under the ceiling.
Of the positive properties of neon tubes, it is worth highlighting that they can even be placed on high-density foam baseboards, but at the same time there must be a niche in the body of the skirting board, where this tube will be inserted. To fix such a structure on the wall under the ceiling, it will require a very strong fit, which does not allow even minimal gaps.

Externally, duralight is a dense, transparent and flexible tube made of polymer material, inside which miniature bulbs are located one after another. The length of this line of light can be up to many meters, so it is easy to create a single line of light with it.... The color of the glow can be any, but if at least one light bulb fails, you will have to replace the entire piece of duralight.
The service life of such material is very short., therefore, for reasons of economy, it is not advisable to use duralight for ceiling lighting, or you need to be prepared for the fact that lighting parts will have to be replaced from time to time.
To mount the duralight under the ceiling, you will need a plinth, which has a wide internal channel, where this flexible light cord will be located.

LED Strip Light
The tape, with miniature LEDs located on it, is the most practical and economical material in terms of energy costs.... For this reason, this modern material is the most widespread in the organization of ceiling lighting. The length of such a tape can be up to 5 m, but if necessary, it can be cut into segments of any length and can be easily connected together.
The LED strip is very compact in size and at the same time has a low weight.

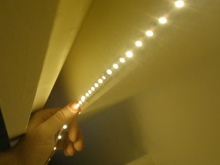
In the process of work, the tape gives an intense luminous flux, which allows you to highlight any volumetric objects at the ceiling level. The LED strip can have different glow colors and, if desired, they can be combined with each other.
In addition, such lighting can be controlled remotely by connecting a remote control to it. The tape is attached using sticky tape, which is already installed on the back side. Any type of cornice is suitable for installation, even the narrowest options that do not have special recesses.


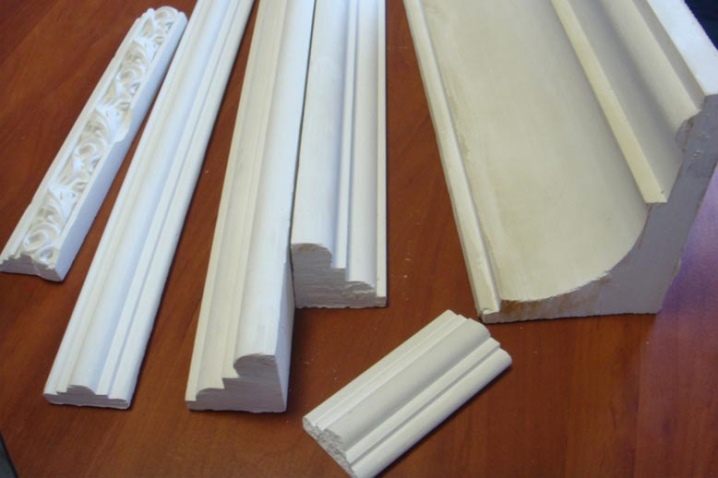
Overview of types of skirting boards
The ceiling, for the decoration of which a volumetric baguette or smooth molding was used, will decorate any interior. With its help, you can hide small irregularities and roughness of the walls and ceiling. It helps to visually enlarge the space and make the appearance of the room more presentable.
After the idea of highlighting the contour of the ceiling appeared, the ceiling cornice underwent some changes in its structural form.
For the convenience of installing the backlight and performing maintenance electrical work, the usual shape of the molding was supplemented with special channels into which materials for the backlight can be laid.

Now fillets have become a full-fledged technological product that is able to solve several functional tasks at once, thereby increasing the range of their application.
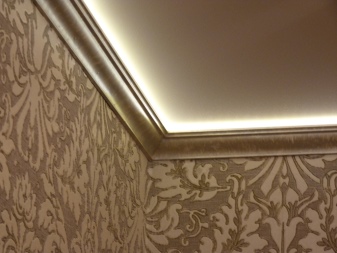
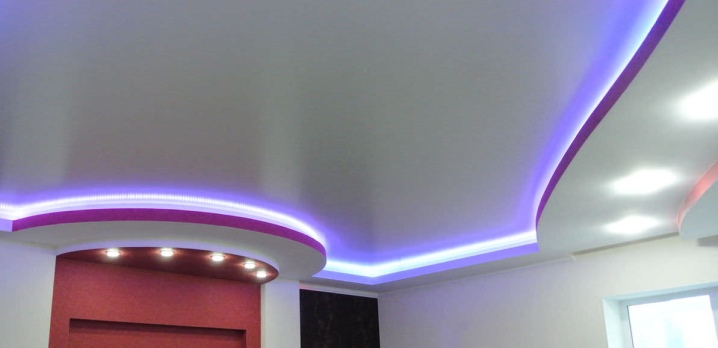
Modern ceiling cornices make it possible to illuminate the ceiling with a luminous flux diffuser, to install lamps with a directed beam of light, or to emphasize the contour of the ceiling with a clear light line. Sometimes plastic curtain rods are produced in such a form that they resemble a metal profile - the choice of the type and material of this decor element largely depends on the design concept of the decorated interior.
The use of ceiling molding in the organization of ceiling lighting can be represented by the following varieties.
- Fillets made of polystyrene, in some models, have a recess on the back, which is necessary to accommodate the diode backlight.The installation of such a system is characterized by the fact that it will be necessary to leave a gap from the molding to the ceiling to diffuse the light flux, while the entire load of this structure falls on the section where the cornice is attached to the wall.
- Polyurethane curtain rods have a matte surface that evenly diffuses light streams. In most models, recesses are made to accommodate the lighting system in them. The entire structure is mounted to the ceiling and wall. The illumination is uniform and soft, while there is no visual accent on the light source.
- Moldings made of PVC or Europlastic. They are used to decorate suspended and stretch ceilings. The cornices have a large area on which the lighting system can be placed, up to neon tubes or fluorescent lamps. The system is fixed to the wall and ceiling. The disadvantage is the high cost of curtain rods.
- Aluminum ceiling cornices are expensive. These structures are lightweight and have recesses for mounting the lighting system. Cornices are installed by fixing them to the wall, there are models that are also attached to the ceiling. Externally, these curtain rods look like metal profiles with various configurations. Thanks to the variety of shapes inside the skirting board, you can place any type of lamp and at the same time be sure of fire safety.
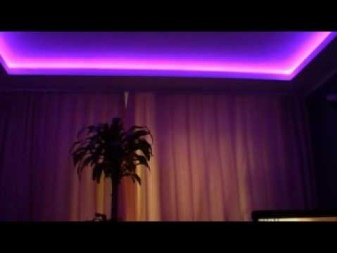
The ceiling plinth is a fashionable and attractive solution, with its help not only a diffused glow is created, but also additionally gives the room a special color shade.
Selection Tips
The selection of the ceiling cornice depends on the style of the interior. For example, if the room is made in the art deco style, you need to choose fillets with smooth curves for it, and if the room has a classic look, then for decoration you need a baguette of the usual straight type. The ceiling plinth can also be used for stretch ceilings, as well as for slatted or suspended versions.
When choosing a curtain rod, the following recommendations of experienced specialists will help you.
- If you want to use LED strip, then you will need to choose a skirting board wider than the standard one.
- The sides of the baguette should not be high, as they will prevent the diffusion of the light flux. Such backlighting will look dull and ugly.
- The skirting board material must be fire resistant. More reliable in this regard are polyurethane and aluminum options.
- The weight of the backlit structure should not be too large, since the installation of the skirting board is carried out with glue. It is best to mount the skirting board on a stationary surface, while the wallpaper may not support the weight of the structure and will come off the wall along with the skirting board.
Ceiling cornices can be produced in neutral white color or have a specific color.
The skirting board can be painted, but you should know that the white option is preferable, since it will not contrast with the ceiling in color.
With regard to the choice of the backlight system, here you should be guided by the following important points.
- For uniform illumination, energy-saving LED strips are most often used; in their composition, LEDs are located at different distances from each other. The density of diodes per 1 m of tape is from 30 to 240 elements, if desired, you can choose 60 or 120 pcs. / m. The intensity of the backlight and the visual sensation of its uniformity depend on the density of the diodes.
- The choice of luminous flux color depends on the design idea or your preference. There are diode strips in monochrome with a variety of colors. If you wish, you can also use models where several shades are present at once, or the glow spectrum can be switched using the remote control.
- When choosing a backlight for wet rooms, you should pay attention to materials that can withstand increased negative influences.No lighting is used in the bathroom, sauna or pool without additional protection.
The final design result depends on the correct choice of cornice material and lighting system. If you find it difficult to independently determine all the important parameters, consult a competent specialist on this issue, so that in the end you do not have to spend money on correcting shortcomings and errors.
Installation rules
After the materials and the place for their attachment have been selected, the installation of the illuminated cornice will consist of the following steps.
- Determine and mark the place on the ceiling or on the wall where the cornice should be glued, taking into account the direction of the luminous flux of the lighting system. Prepare the connection points of the electrical wires of the backlight with the electrical network of the room.
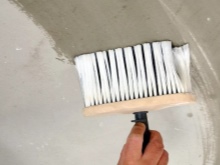
- Previously, the working surface of the wall must be cleaned, primed and dried.
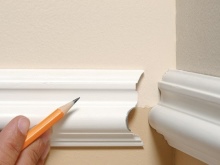
- Fillets are measured and cut at the desired angle using a miter box. Before applying the glue, the skirting board is tried on at the place of its attachment. Corner and vertical joints of molding parts must match perfectly.
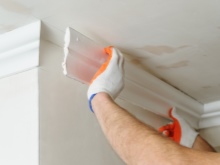
- According to the instructions, the adhesive is applied and the cornice is pressed to the working surface. Excess glue is removed before it dries.
- After the process of polymerization of the glue is completed and the ceiling cornice is firmly fixed to the wall, proceed to the installation of the lighting system.
- If it is necessary to connect the tape, it is soldered on the floor and only after that it is mounted to the already glued cornice.
- After installing the lighting system on the plinth, check its operability, and then glue the wallpaper, paint or apply a plaster composition.
The installation technique for illuminated skirting boards is simple, but the process requires attention and skill. The final result depends on the accuracy of the work.
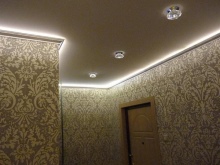
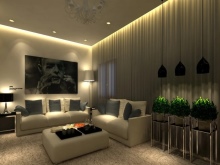
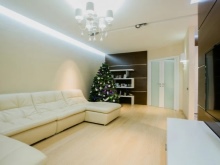
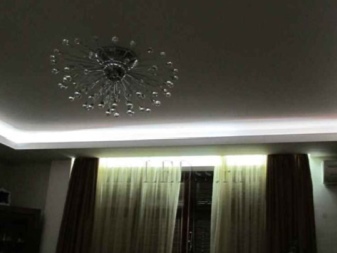
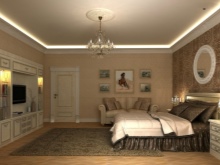
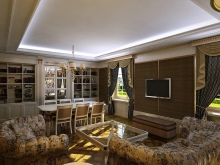
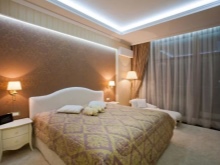
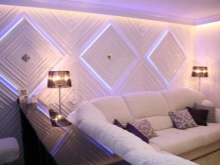
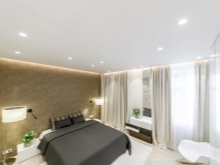
Beautiful examples in the interior
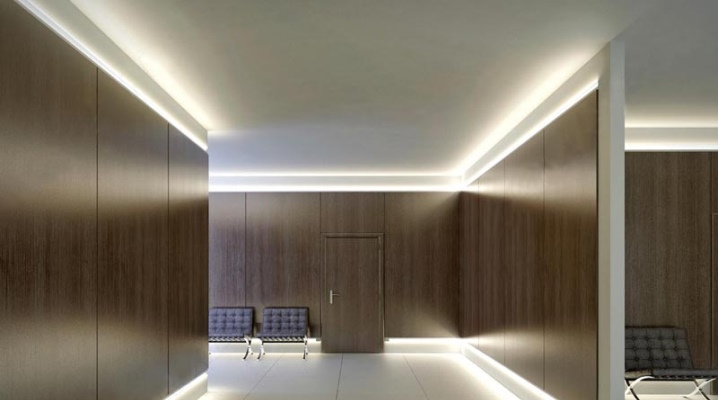
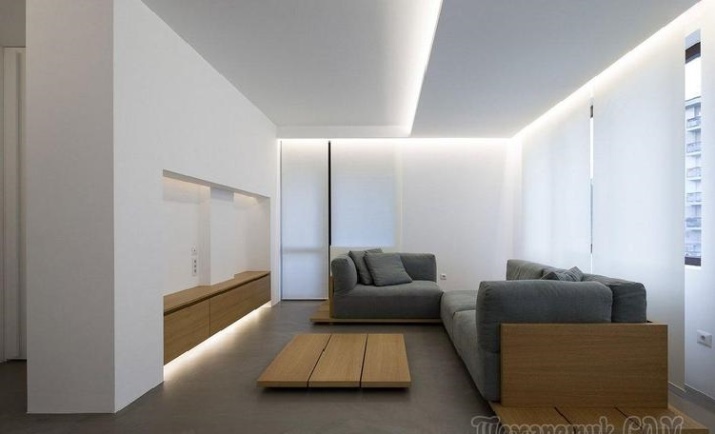
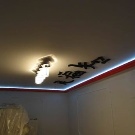
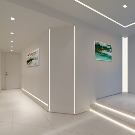
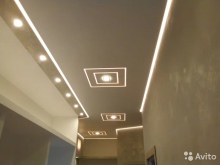
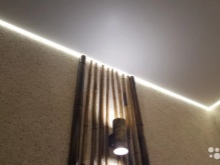
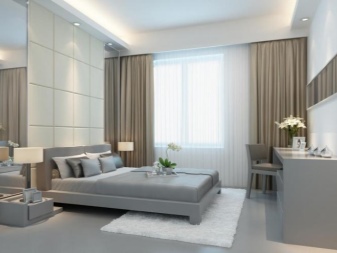
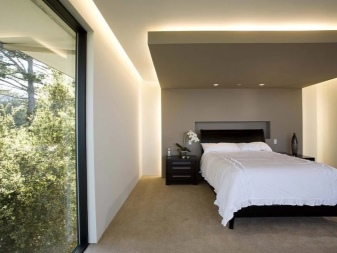
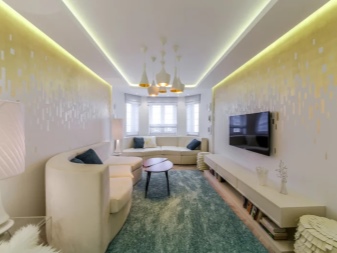
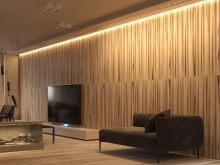
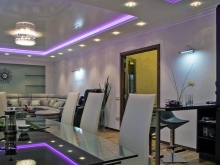
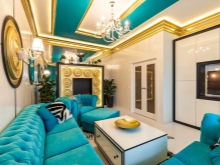
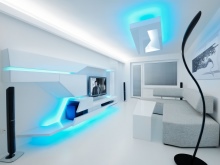
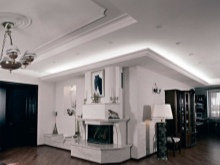
Complementing the interior with ceiling lighting is a relevant and demanded direction in design. The installation process for the illuminated eaves is straightforward and the results are impressive. Ceiling lighting options can be different:
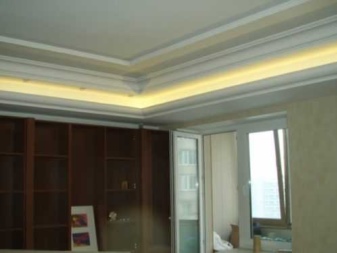
- lighting contour facing the ceiling;
- another option for ceiling lighting;
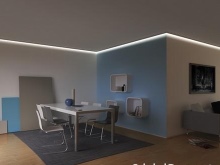
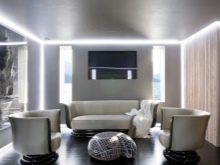
- illumination contour facing the wall;
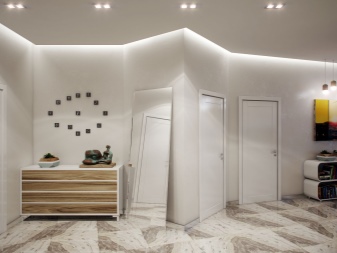
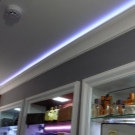
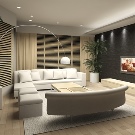
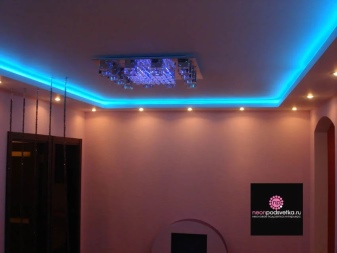
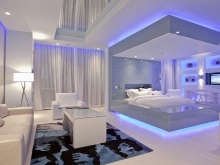
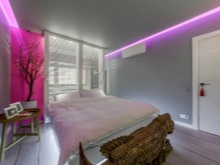
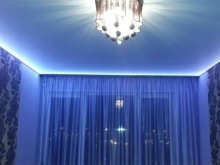
- LED illumination;
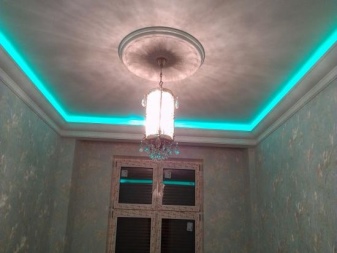
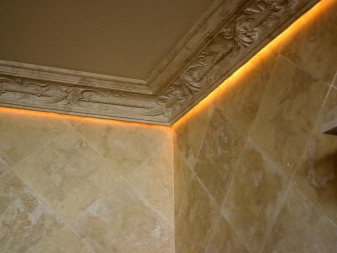
- illumination with neon tubes;

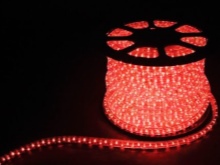
- ceiling lighting using a duralight cord.
Installation of a skirting board - in the next video.


The comment was sent successfully.