Panels for the kitchen: varieties, sizes and interesting options
Every woman spends a considerable part of her life in the kitchen. For many housewives, this is a favorite place in the house. Here they cook, meet the morning and end the day, receive guests. True, it is not always possible to make it as cozy as we would like, because this requires additional money.
The panel is a great option for decorating any room, because you can even make it yourself. It gives the kitchen individuality and special charm, creates a warm atmosphere and sets you in a positive mood. At the same time, it is important that the theme of the panel echoes the style of the kitchen.
Styles
Panel Is a wall decoration made of different materials, which not only serves as a decorative element, but also allows you to place accents in the room, divide the space into functional zones. Also, behind it you can hide the errors of repair, because even the most accurate housewife cannot always save her workplace from cracks or smudges.
Some do not see the difference between a panel and a painting, believing that they are one and the same, but this is not entirely true. The second option usually implies a real work of pictorial art, and the panel is designed to act simply as a bright color element.
The golden rule of design is that every element must complement it harmoniously. So that the panel does not stand out from the general background, it must correspond to the concept of the room design. What styles suggest certain plots - we will tell further.
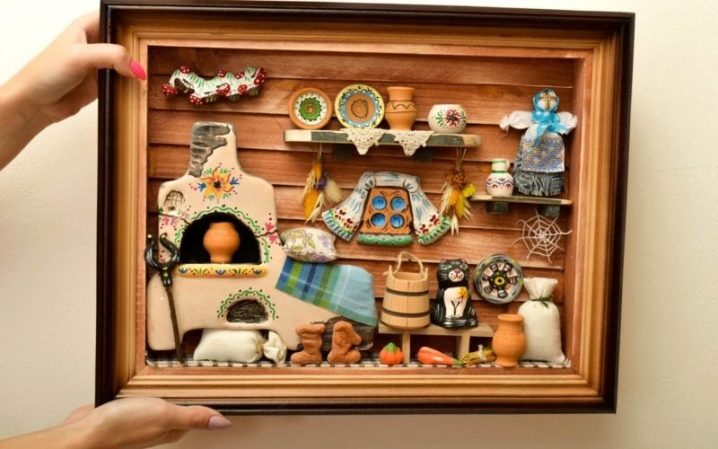
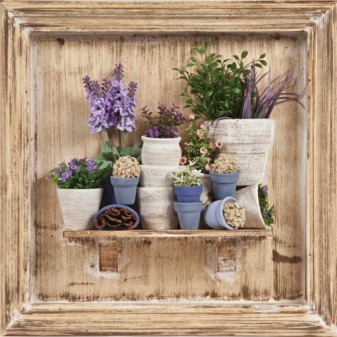
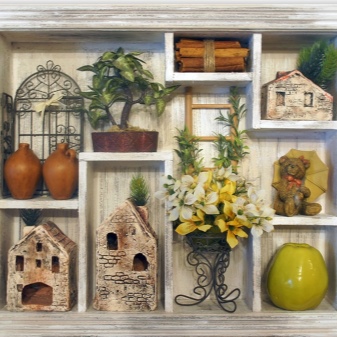
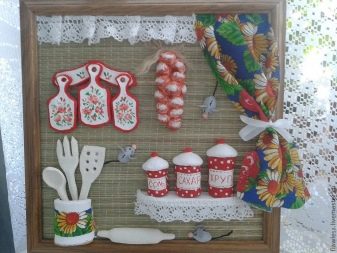
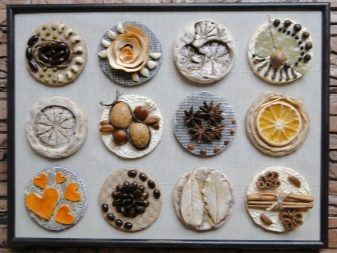
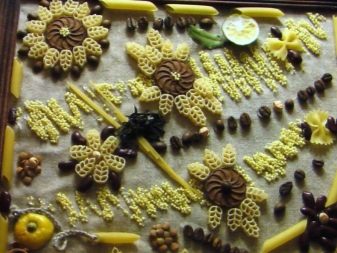
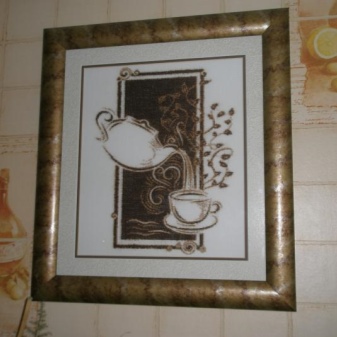
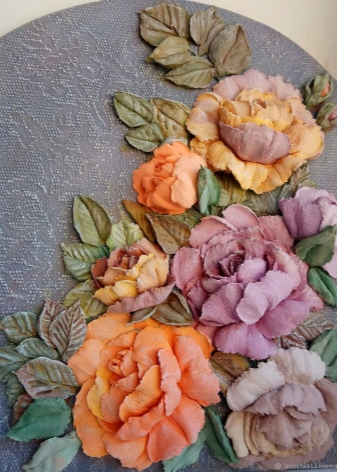
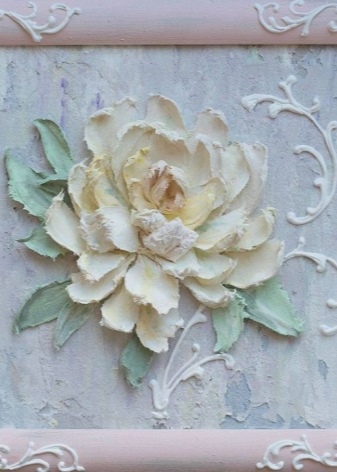
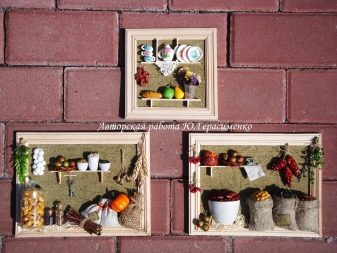
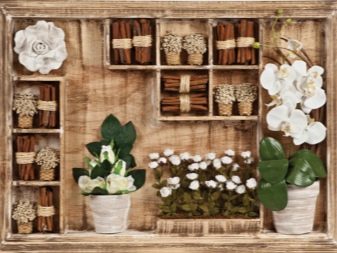
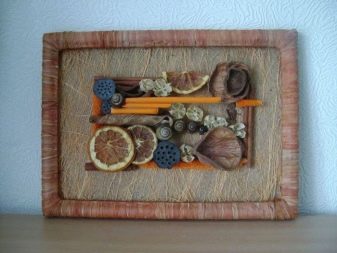
- Country and Provence. Crafts using herbs and flowers will look very relevant in the kitchen in these styles. Often, such three-dimensional paintings are made from food products - from coffee beans, dried fruits, cereals and spices.
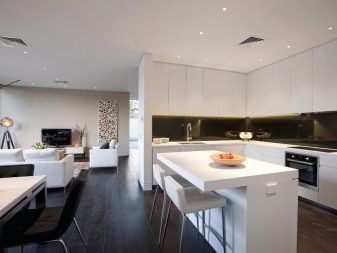
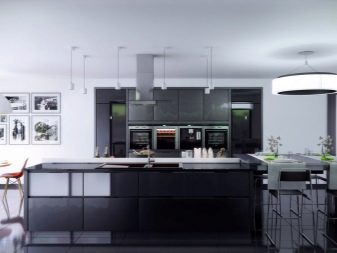
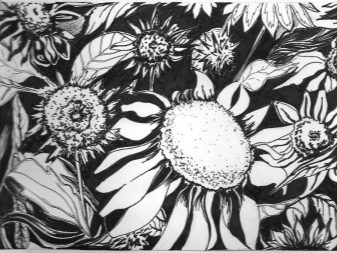
- Modern. When creating such works, graphic elements are used, while the finishing is minimal, all lines have clear outlines, and the finished result looks as laconic as possible.
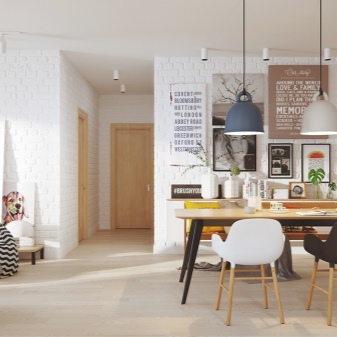
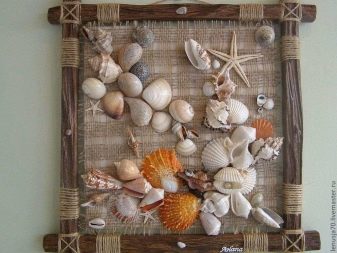
- Scandinavian interior. It assumes vivid pictures based on the play of contrasts, individual letters and words may appear in them, for example, from magazine clippings, the outlines of animals or insects, shells, etc. The plot with a deer or elk is especially popular.
The decoration of the paintings is very diverse and allows both a black and white version, and the use of variegated sequins, rhinestones and bows.
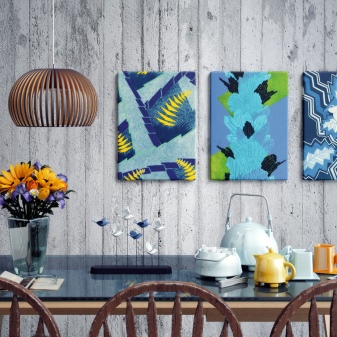
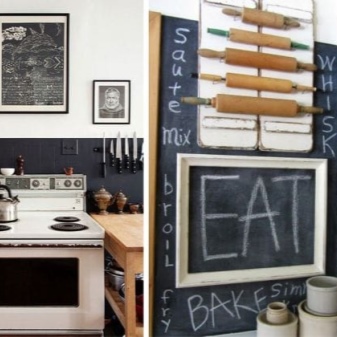
- Loft. This style is characterized by an appeal to retro themes. To create a masterpiece in this concept, take clippings from newspapers, posters, yellowed book pages, as well as wallpaper, boards, corks, boxes, pieces of PVC and other items.
- High tech. Pictures with views of evening urban sketches or abstractions in black and white on paper and glass bases look appropriate in such an ultra-fashionable interior. In general, panels are rarely used in this style.

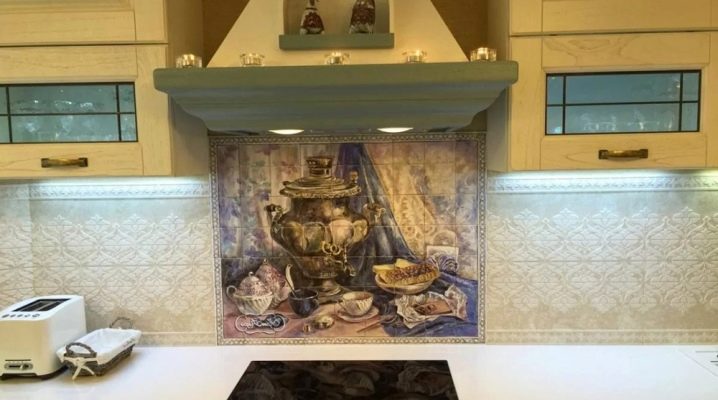
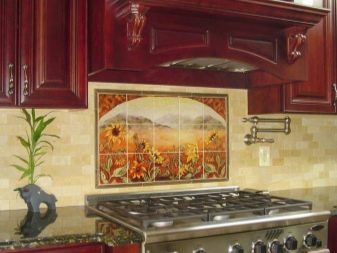
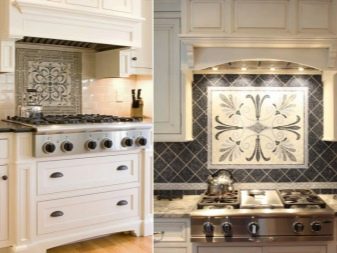
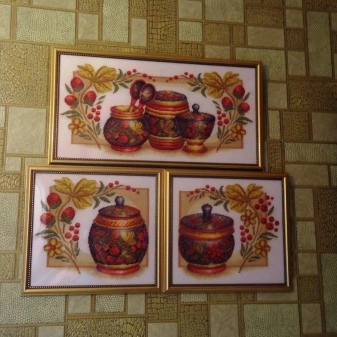
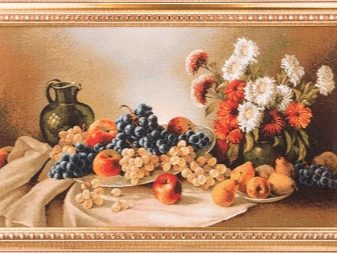
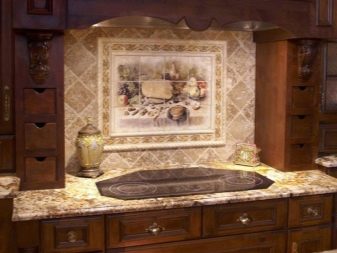
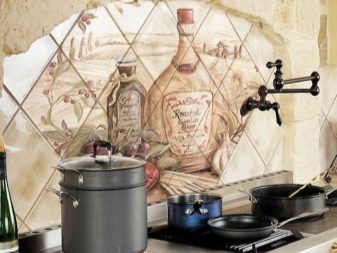
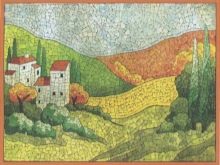
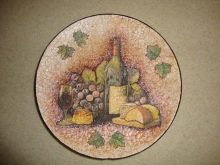
- Classic. Still lifes depicting fruits and vegetables, pleasing to the eye landscapes and reproductions of great artists look here not as imitation of the original, but as a mosaic tile canvas, drawing on ceramics or glass, photopanel.
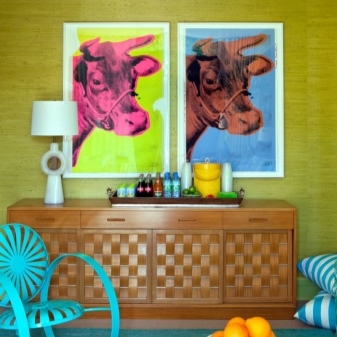
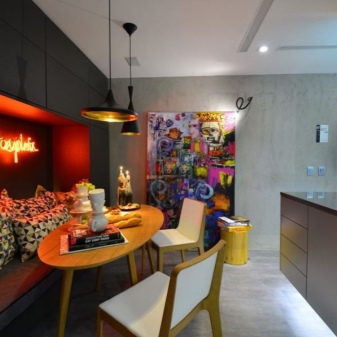
- Pop Art. In this room, panels are very welcome. Collages and graphics with stylized portraits of Monroe and other stars, Disney characters, with images of animals, as well as hamburgers and everything that symbolizes the culture of consumption.Bright colors and challenging combinations will come in handy in such modern installations, and they can be applied to mirror, panoramic surfaces, and ordinary wall panels, the main task is to produce the maximum effect.
Types and techniques
Panels for the kitchen can be of any size and any shape, but most often it is a rectangle. They are divided into the following types:
- textile;
- application;
- embroidered;
- tapestries;

- graphic;

- wooden, with and without stones;
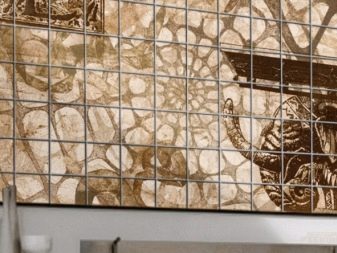
- ceramic tiles, which usually decorate the apron;
- sculpted from plaster, metal or plaster;
- handmade.
Let's talk about the last point in more detail. Perhaps you will like some of the ideas and want to try to bring them to life.
Handmade panel
Often they are made from products that can be found in kitchen cabinets or the refrigerator: cereals, coffee beans, beans, lavrushka, cinnamon, pasta, salted dough, zest, nuts. You can find even more materials for creativity if you rummage in other rooms: shells, clay, nails, boards, buttons, rags, threads, beads, corks, magazines. Everything that fantasy desires is used. It can only be limited by the fact that high humidity often reigns in the kitchen, small droplets of fat settle on the walls, and the temperature regime changes, which means that the materials must retain their presentation no matter what.
To further enhance the composition, it can be varnished.

Consider the types of wall crafts from the above items and more.
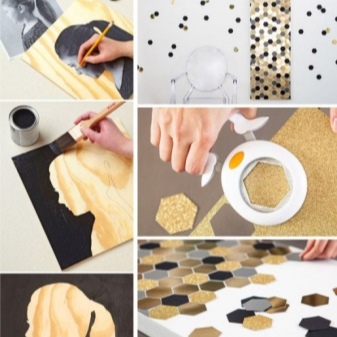
Simple application
- Take for the base a piece of thick cardboard.
- Fit with a cloth and fix it with decorative nails.
- Spread out the items that you are going to use to make the work.
- Fix them with glue.
- If you are planning to hang the installation on a nail, then provide it with a lace, and if it is located on an iron surface, then glue a magnet to it... It will become a worthy handmade accessory for a loft-style kitchen.

Eggshell
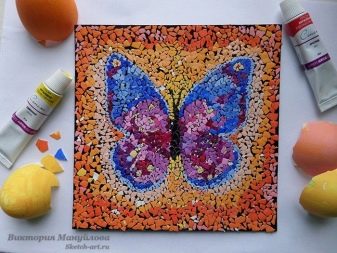
The effect of aging, which is fashionable today, called "crackle", formed the basis of the following technique. Thanks to the use of the shell, you do not need to buy special varnishes and paints to achieve the desired retro-picture result.
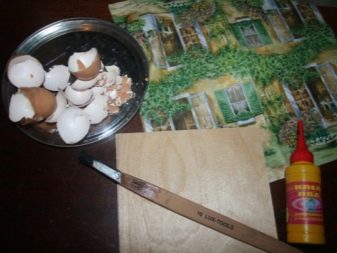
To create such work you will need:
- shells from boiled or raw eggs;
- two pieces of chipboard;
- napkins or rice paper;
- polyethylene file A4 or A3, depending on the desired size of the panel;
- acrylic primer;
- acrylic paints;
- decoupage varnish;
- PVA glue.
Algorithm of actions.
- Take a base the size you want and prime the surface with a dish sponge.
- Start laying out the shell you can both from the corners and from the center. Apply PVA to the area you want and take a piece of shell. Attaching it to the base, press down until it is covered with a mesh of cracks. If any of the debris is uneven, immediately correct or shift them with a toothpick.
- When the process the spreading is over, apply another layer of PVA on the sheet and leave it to dry, it will take 5 to 8 hours.
- Cover again base with acrylic and dry.
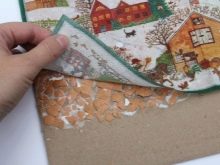
- If you are familiar with the technique decoupage, then further steps will not cause you any difficulties. Take a napkin with a drawing you like or any printed picture from the Internet. You can use any nice layered napkin or rice paper printout.
- Now you need gently attach a napkinso that no creases are formed. This can be the entire sheet or a cut image.
- To the surface turned out perfectly flat, attach a napkin to the file and press them to the base together.
- Smooth out the picture fingers on the file, and then remove it.
Cover the resulting image with decoupage varnish, also, if you wish, you can more clearly draw individual lines or contours and fix it all with a layer of varnish.Such a masterpiece can decorate even a classic interior.
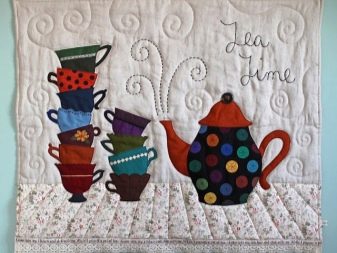
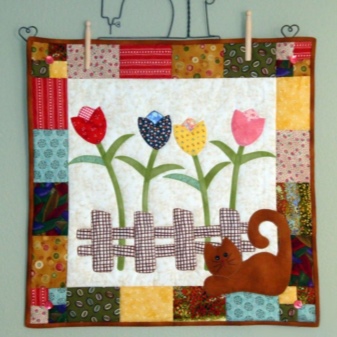
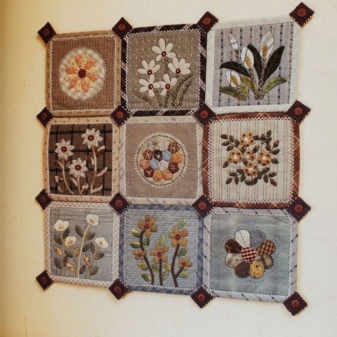
Fabric patchwork
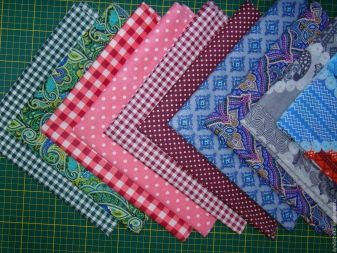
The patchwork technique will look good in a shabby chic or Provence interior. Just match the patches to the colors of the kitchen and get creative. To do this, you will need:
- pieces of fabric, including one large for the base;
- pins;
- thread and needle.

Sequence of execution.
- Prepare the textile backing - cut to the desired size and, if required, hem the edges. Come up with a sketch of the work and lay out the fragments of the composition as they should lie. This is to make sure they match the dimensions of the selected format.
- Use threads matching the color of the patches or, conversely, contrasting. To get convex elements, stuff them with the same pieces of unnecessary fabric, cotton wool or padding polyester.
- Such a panel can be not only beautiful, but also functional. To do this, make pockets on it for kitchen trinkets.
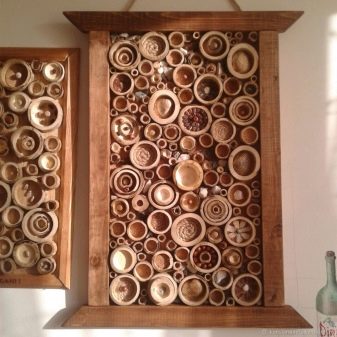
From traffic jams
If your home has accumulated wine corks or a matching floor covering, then you can turn them into a fashionable and functional kitchen decoration. You will need:
- wine corks;
- glue gun;
- cardboard for the base;
- paints and ribbons for decoration.
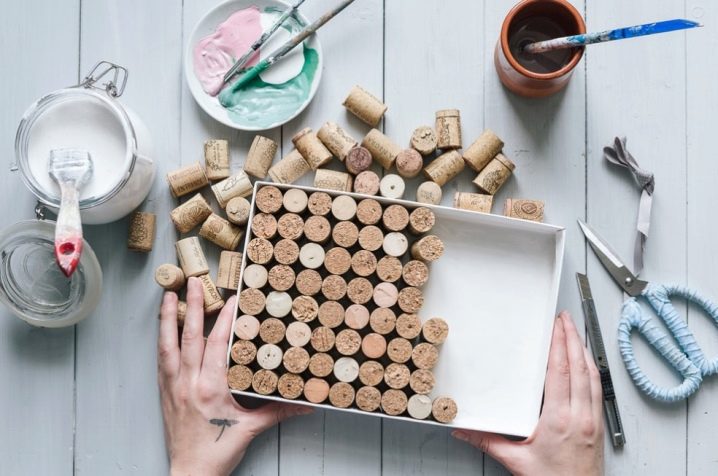
Use a knife to split each cork in half or cut into rings and lay the design on cardboard. It can be bottles of wine decorated with ribbons and wine berries, whole bunches of grapes with real dried leaves, wine glasses, as well as plots on abstract subjects - animals, geometric shapes, etc. Use a pistol to glue all the elements and, if necessary, decorate the finished work ... Like other installations, hang it on a string or magnet.


Complementing the look of your kitchen with fashionable and bright panels, you will demonstrate excellent taste, creative thinking and attention to detail, and most importantly, you will make your kitchen even cozier. If you did not adhere to a clear style when decorating the interior and do not know which plot to give preference to, then just follow your intuition and choose what is most appropriate in a specific room.
When making an installation with your own hands, be sure to involve children in this interesting activity, and, possibly, other household members. They will be pleased to contribute to the arrangement of the family hearth.
For information on how to make a panel for the kitchen yourself, see the next video.


The comment was sent successfully.