How to make a garden chair with your own hands?
Garden furniture is one of the tools for creating additional comfort on the site near the house. Gone are the days when a hammock stretched between two trees, which are already 20 years old and they have grown so much that they can withstand a person, was considered the height of luxury. After him, a street shop became a frequent occurrence, and then sofas, armchairs, even beds.
Peculiarities
The simplest garden furniture is street benches used in parks and squares. but summer residents and gardeners often make chairs, benches, benches, focused on use in the garden, and not only on the veranda or in the gazebo.

Hand-made country furniture is much more durable than bought in furniture stores. In order to save money, pieces of furniture are often made of chipboard, somehow protected from moisture using a film-adhesive layer. Sometimes wood dust with plastic is used - waste of other production as lumber. Both materials are diluted with epoxy or glue - this is how, for example, interior doors are cast. It is not a problem to set up the production of similar furniture for summer cottages: the slats and boards cast in this way have longitudinal voids inside, and in the section we have a box-shaped profile.
However, natural wood, being well dried and impregnated with a bioprotective compound (against microbes, fungi, mold), covered with a waterproof varnish that can last for years even in heat, frost and dampness, will last for at least several decades.
An example is all the same Soviet shops installed in city parks back in the 70s of the last century, which have survived here and there even now. There are no special secrets for their durability. These shops were painted with paint for outdoor use every two years. It is resistant to fading under conditions of annual temperature drops, moisture and ultraviolet radiation.
Finally, making garden furniture - testing the skills of a real owner... If you are a jack of all trades, then you can make a chair, for example, having a dozen large pieces of wood after replacing the floor in the rooms.
Schemes and drawings
In the manufacture of garden furniture the following recommendations regarding its dimensions must be observed.
- The dimensions of the stainless steel screws are 51 * 8 (similar ones can be used).
- Dovetail nest with armrests resting on front and rear legs - 10 * 19 * 102 mm.
- The edges of all parts are chamfered by 3 mm.
- The hole, in the center of which the self-tapping screw is twisted, expands to 19 mm at the surface of the part, passing into the narrow part is deepened to 5-10 mm. It will be easier to tighten the screws and varnish these places (if plugs are not used).
- Rear legs: 2 pieces of 20 * 254 * 787 mm. Front - 20 * 76 * 533 mm.
- Chair back: 20 * 279 * 914 mm.
- Armrest supports: 2 front 20 * 127 * 406 mm, rear 20 * 76 * 610 mm.
- Jumper: 20 * 51 * 589 mm.
- Insert strips: 2 pieces of 12 * 20 * 254 mm.

Different design options - folding or regular, differ in the size of the parts. The chair must be reliable, not break or squeeze under tens of kilograms of weight, accounting for a significant part of the body weight of a large person.

Tools and materials
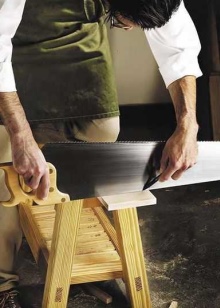
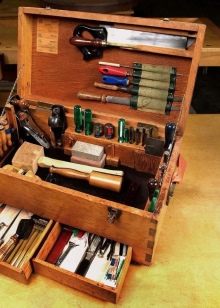
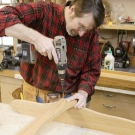
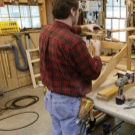
After creating a drawing, prepare the tools: a circular saw, a planer, a milling machine, a hacksaw, a screwdriver or universal screwdriver with bits, a drill, a grinder or grinder, clamps, a measuring tape and a pencil.
Self-tapping screws are used from stainless steel or brass.
The following types of wood are used as a basis:
- acacia - stronger than oak, but difficult to process;
- teak - a tropical tree, resistant to mold, microbes and fungus, but without protection with varnish it turns black;
- beech and larch - resistant to moisture and temperature fluctuations, ultraviolet;
- oak is the most durable tree;
- cedar is easy to work with and no less durable than acacia.
Epoxy is the best glue. A waterproof varnish is also required. The tree can be different - timber, plain or tongue-and-groove board.
How to do it yourself
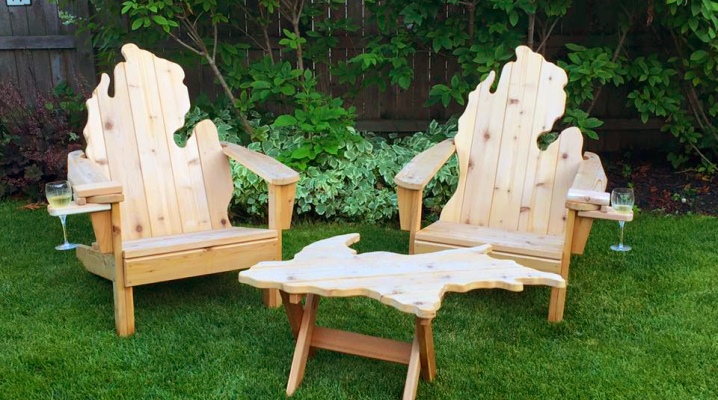
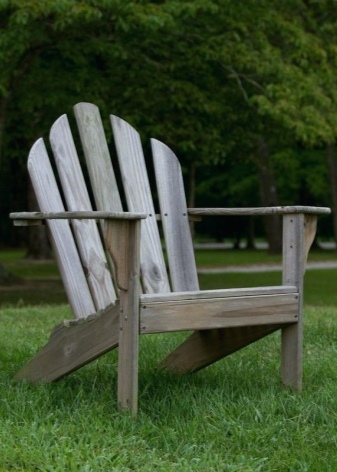
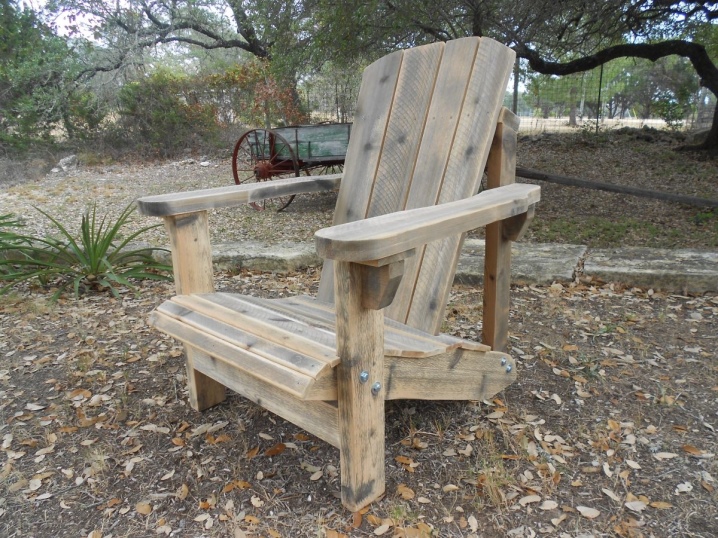
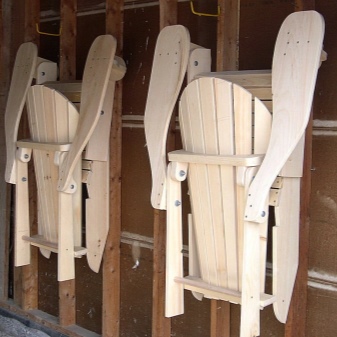
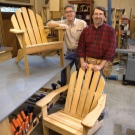
The most popular model of a garden chair - adirondack, named for a mountain range in North America. The master who lived there developed this design at the beginning of the 20th century.
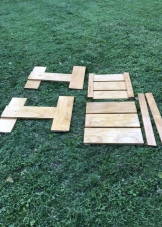
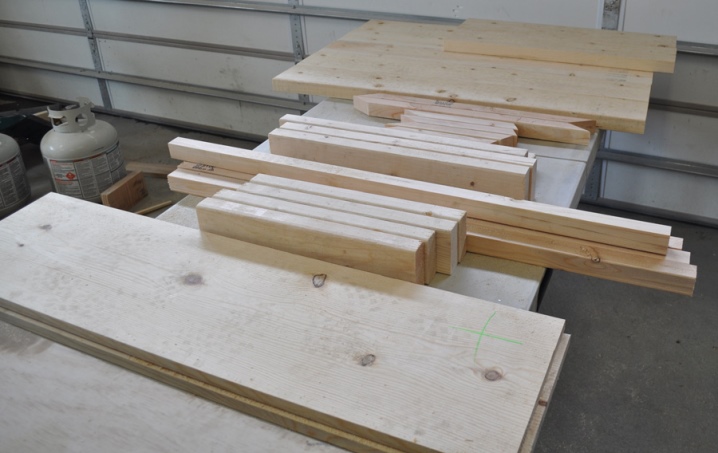
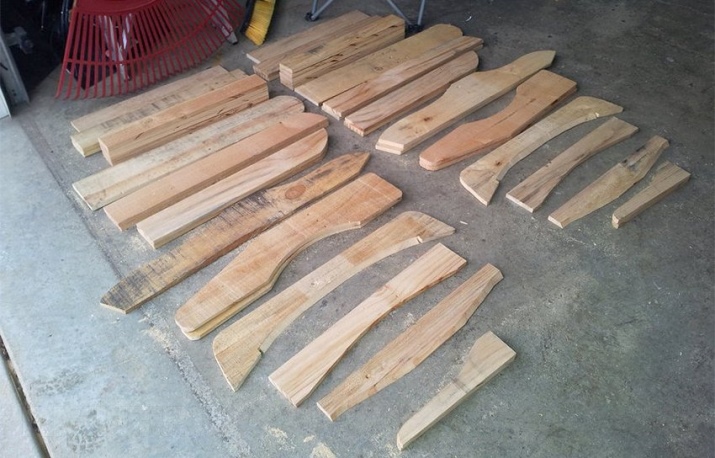
To make it, sort the boards to be processed. Their thickness should be at least 2 cm. Before marking, they should be located side by side.
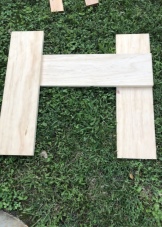
Preparation of parts begins with marking.
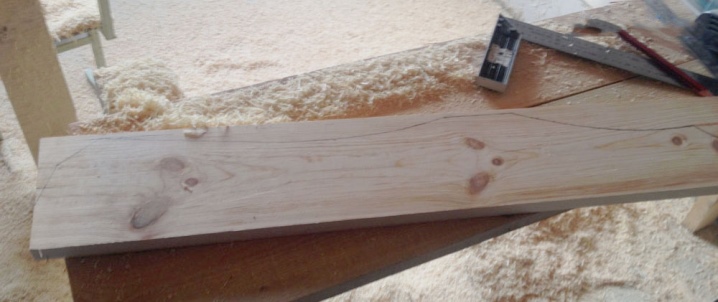
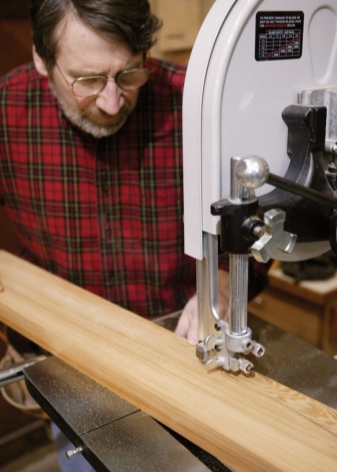
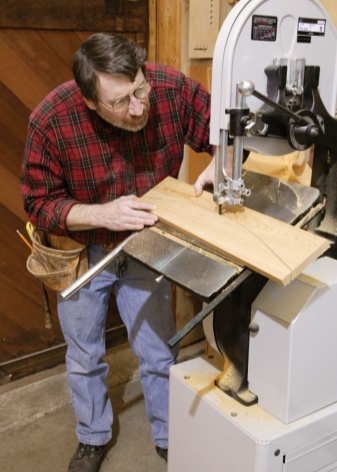
Based on the drawing, make a cardboard stencil. Draw the boards along it. Use a milling machine to cut the rear legs, seat and back from the widest boards.
After finishing sawing work, reassemble the backrest and rear legs.
- Drill screw holes in the parts. The drill should be 1-2 mm smaller in diameter than self-tapping screws. Screwing in self-tapping screws without reaming the parts will lead to cracks - the tips of the screws push the wood fibers apart.
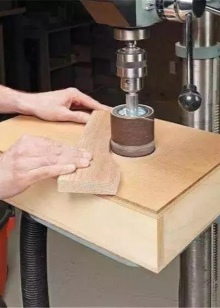
- Sand all mating surfaces with a grinder, file, sandpaper or wire brush. The fact is that rough surfaces stick together better; smooth ones can slip out, whatever glue you use.
- Dilute the required amount of epoxy adhesive. It hardens within 1.5 hours. Prepare all parts and hardware before assembly. If the master is a beginner, then there is no need to rush: "get your hands on" repetitive actions.
- Attach the rear legs to the backrest. Their side ends should be docked with the back at an angle of 12.5 degrees.
- Close the gaps between the parts with special inserts from the same wood. They are cut with a circular saw.
- Attach the inserts to the back.
- Mark the side edges of the seat. They should be located at a certain angle to each other.
- Using the outer cutting line, saw through the corresponding part along the sides. Select a groove on the back of the product and round off the front edge of the seat.
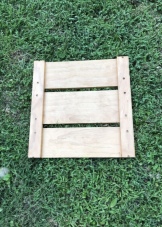
- Attach the seat to the legs, having previously smoothed their side ribs.
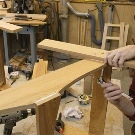
- Connect the front legs to the rear legs.
- Mark and cut out the grooves where the legs are connected to the jumpers. The depth of the groove must be at least 9 cm.
- Insert jumpers between the legs - they will prevent the chair from wobbling in different directions. Fix them.
- Attach the wedge-shaped supports, prepared in advance, to the front legs.
- Attach the armrests and the rear support for them to each other, clamp them with clamps.
- Insert the armrests into their seats. Screw them onto the rear legs and remove the clamps.
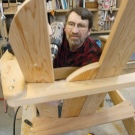
To make the chair look finished, and the screws are not visible, make plugs from scraps of wood, clean and glue them by inserting them into the holes.
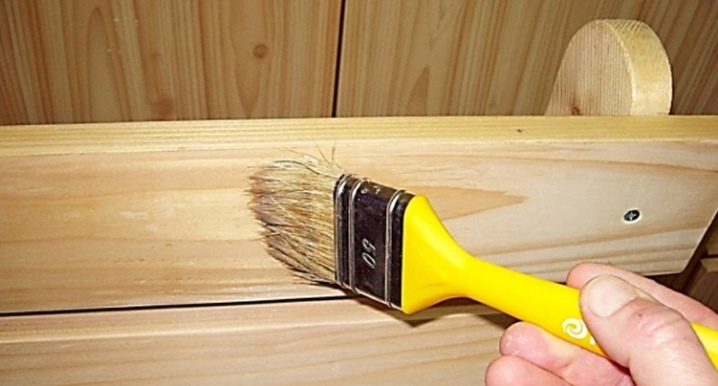
Finishing
After the glue dries, and the chair "gets stronger" and the whole structure does not stagger, cover the product with varnish. Previously, the varnish can be brightened with ink from ballpoint pens, diluted with paint on the same base, or use an industrial color (not on the water). You can add shavings from wood waste crushed into dust. But remember that it is much more difficult to clean a matte surface from dirty spots than a glossy one.
To learn how to make a garden chair with your own hands, see the video below.


The comment was sent successfully.