Methods for digitizing photographic films
The debate between proponents of digital and analog photography is virtually endless. But the fact that storing photos on disks and flash drives, in the "clouds" is more convenient and practical, hardly anyone will dispute. And therefore, it is important to know the key ways to digitize photographic films, their nuances and subtleties.

How to digitize with a scanner?
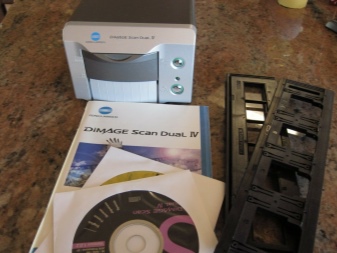
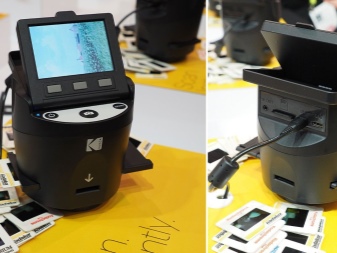
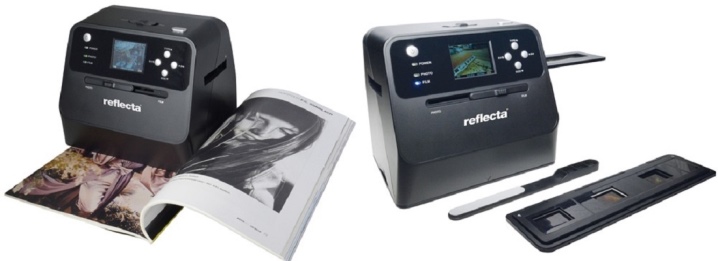
From the very beginning it is worth pointing out that digitizing photographic films at home is quite accessible even for non-professionals. It is logical to start the analysis of this topic by scanning analog images. To solve such a problem, it is usually recommended to use special miniature scanners. They work relatively quickly and guarantee a decent quality of shooting. Experts recommend first of all Dimage Scan Dual IV, MDFC-1400.
But it is not at all necessary to buy such expensive models in all cases. Digitization on a conventional scanner can give not the worst results.
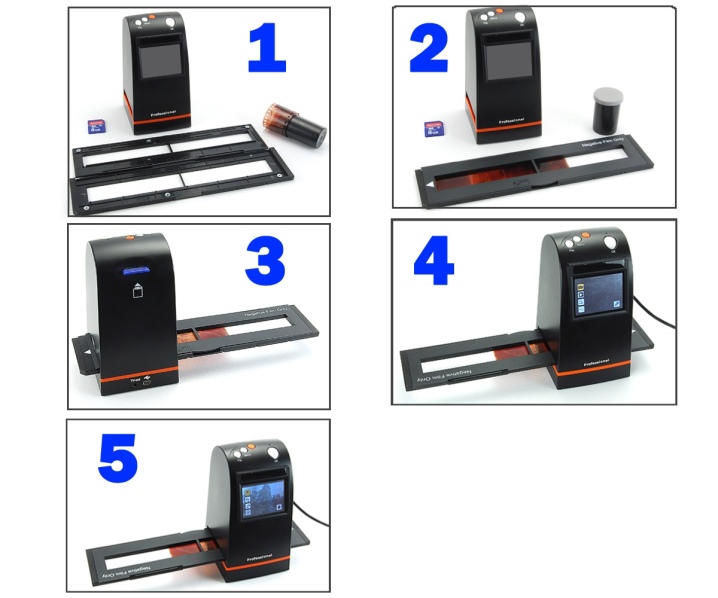
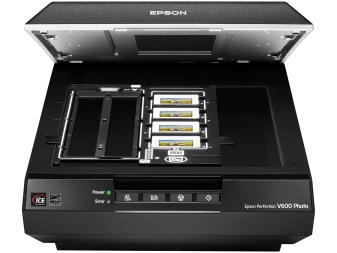
Some versions even have a special compartment for holding the film. This option is available in advanced scanners Epson and Canon. The films are fixed in a holder, scanned, and then the negative is saved to a computer and post-processed.
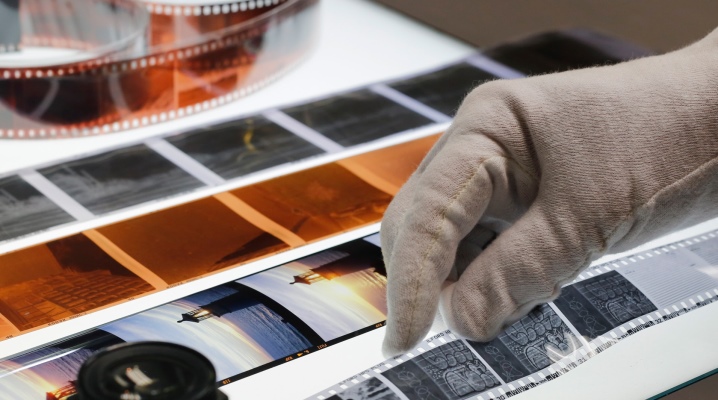
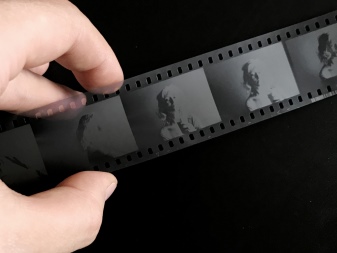
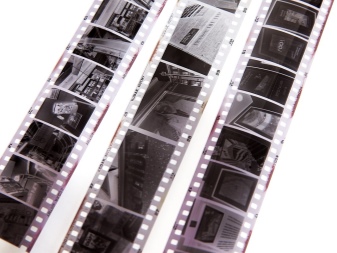
But here it is worth making one more digression - namely, to point out that you have to work with quite different films. A positive image, or positive for short, conveys colors and shades as realistically as possible, in a natural range. The vast majority of photographic images on film, however, are color negative. The areas shaded in reality will be rendered with lightening, and those areas that are dark on the negative are in reality as well illuminated as possible. Occasionally, one comes across black and white negatives based on traditional silver compounds.
You can qualitatively digitize any film with your own hands using tablet equipment. Of course, if the scanner has the function of working with photographic materials. As a result of transillumination of frames, the reflected light enters the sensing element. Converting the received signals to digital form is relatively simple.
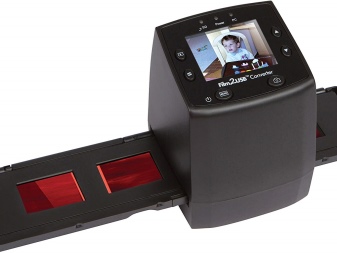
However, the glass surface is a problem. It will not scatter light rays, but will transmit them unhindered. As a result, the contrast of the digital picture is noticeably reduced. An alternative is presented by closed slide scanners - the film in such systems is firmly held in the frame. It then goes inside the scanner, where nothing interferes with the transmission.
Some of the models are even equipped with anti-Newtonian glasses.
Their essence is simple. When transparent surfaces are not ideal in terms of alignment, the abutting areas provoke light interference. In "laboratory" conditions on photographic film, it appears as concentric iridescent rings. But in real shooting, a huge number of factors affect the shape and size of such areas, and therefore they can look very unusual.
Truth, photographers are not happy with this "play of light"... And frames for scanning also solve the problem only partially. They will not be able to level the surface 100%. And that's why we need anti-Newtonian glass, which will partially compensate for interference distortions. But the best result, judging by the reviews, is given by the use of finely matted glasses.
Returning to the main topic, it is worth mentioning the possibility of using pseudo-drum scanners. The film is not placed there directly, but arched. A special curvature helps to eliminate uneven sharpness in images. An important side effect, by the way, is also an increase in the clarity of the picture as a whole. Great for blurry and low-light photos.
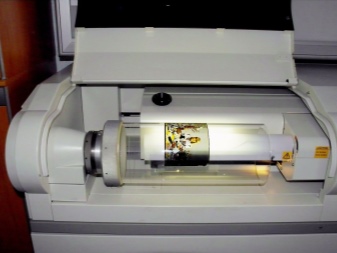
Drum-type photographic scanners use the most light-sensitive photocells. Original images are fixed on a special cylinder (drum). They are placed on the outside, but show through after scrolling on the inside. The work will be quick, and you can get a sharp, crisp shot with minimal effort.
However, the technical complexity greatly increases the cost and size of drum scanners, which is why such a technique is hardly suitable for home use.
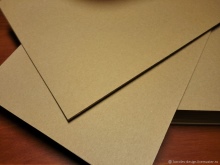
A radical way to save money is to use "conventional" (non-specialized) scanners. For this you have to do a little work with your hands. Take a sheet of A4 cardboard with a silver side. A template is drawn for the future reflector, then the workpiece is cut and folded with a silver edge inward. After the "wedge" has dried with one open side, you can immediately start using it.

How to properly reshoot with a camera?
Unfortunately, scanning is not always possible. After all relatively few people can use a home or work scanner... This does not mean that you need to accept, give up everything and put off old photos until a better moment. It is quite possible to digitize them by reshooting. A similar task is solved both with the help of an external camera and with the use of smartphones.
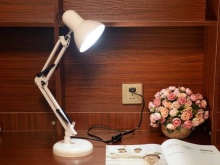
Of course, not every smartphone will fit. It is advisable to choose models with the highest possible resolution, otherwise you will not have to rely on clear photos. It is recommended to turn off the flash and set the maximum possible resolution before shooting. As a backlight, use:
- desk lamp;
- electric lights;
- headlights of cars and motorcycles;
- laptop screens or computer monitors (which are set to the highest possible brightness).
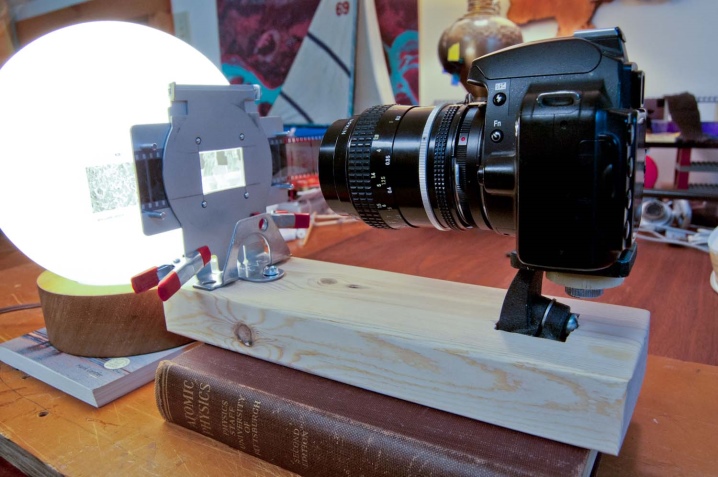
To transfer the image yourself to a computer from a film negative, you need to use a camera with a macro mode.
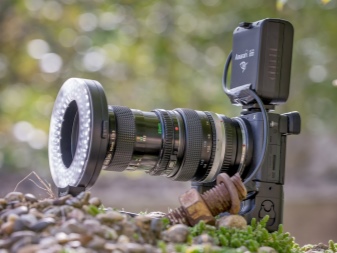
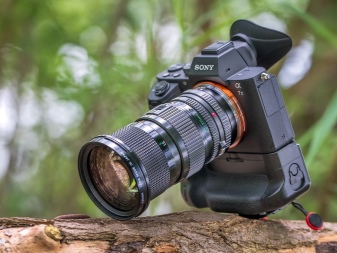
This will increase the resolution of the frame. Important: photo reproduction should be carried out on a white background, and after that, the resulting image should be corrected using special programs. Some camera models already have specialized lens attachments, so there is no special need to "stretch the sheets" and do something else like that.
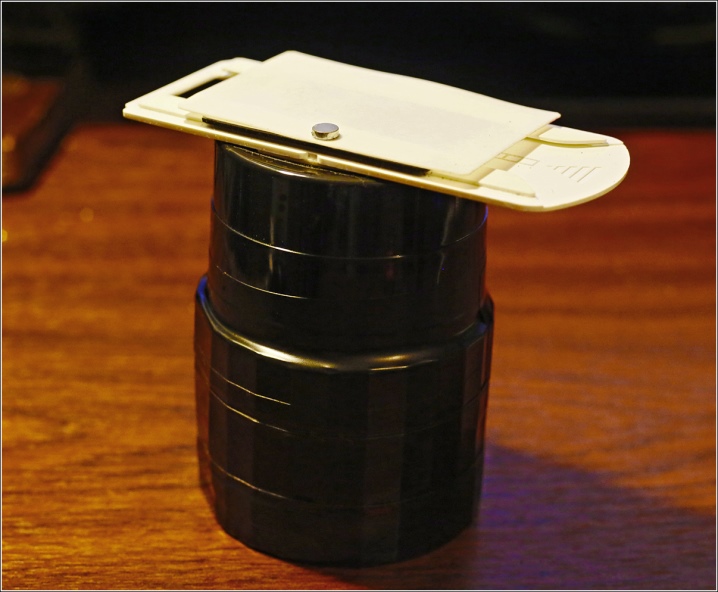
It is quite possible to make a cylindrical nozzle yourself. For this purpose, take a cylinder, the diameter of which is slightly larger than the cross-section of the lens. Canning, tea, coffee and the like metal cans are used. Sometimes they even use containers for fish feed. A piece of cardboard or plastic is attached to one side of the cylinder. In such a "site" (the term of photographers) a hole is cut exactly to the size of the frames (most often 35 mm).

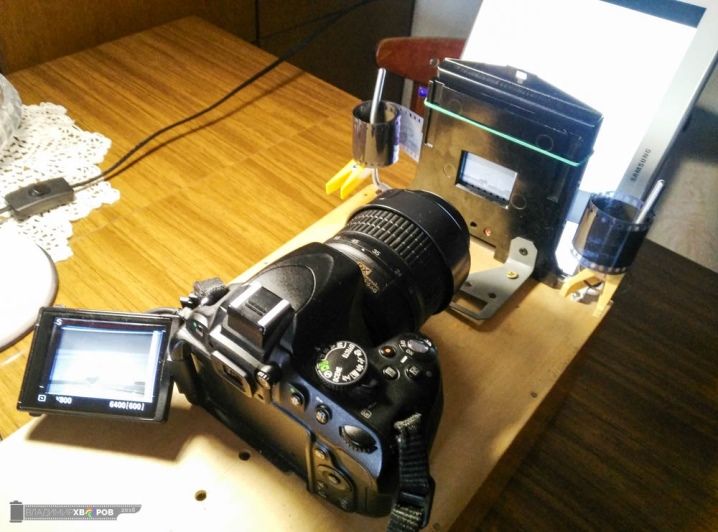
You need to string the cylinder onto the lens with the other side. The camera is placed on a tripod exactly in front of the light source. There should not be any other sources, absolute darkness is required. The film is placed at a certain distance from the lamp (but not more than 0.15 m). This will ensure optimal conditions for capturing color and black-and-white shots, as well as exclude the thermal effects of lighting fixtures.
other methods
An alternative solution will come in handy for those who can only copy film to a mobile phone. DFor work you will need:
- box without a lid (size approximately 0.2x0.15 m);
- scissors;
- stationery knife;
- a piece of thin plastic with a white or matte surface;
- two sheets of cardboard (slightly larger than the bottom of the box);
- student ruler;
- pencil of any hardness;
- small table lamp or pocket lamp.

The ruler is used to determine the length and width of the frame on the film. A corresponding rectangle is cut out in the center of one of the cardboard sheets, then this procedure is repeated with the other sheet.
At the edges of the resulting "window" 0.01 m recede and cuts are made, the length of which is slightly larger than the width of the opening.
They retreat again 0.01 m and again make a cut. Do the same twice on the other side of the hole. Then they take up the plastic to prepare the light diffuser. The plastic tape should be the same width as the notches. Its length is approximately 0.08-0.1 m.
First, the tape is inserted into the cuts closest to the window. Precisely in these cuts, above the tape, the photographic film is wound. When everything unnecessary is removed from the table, a flashlight is inserted into the box. On the box with the flashlight on, put on the entire previously made blank.
The second sheet of cardboard is laid very neatly, combining the windows. Otherwise, the camera will be clogged with excess light. Having chosen a suitable frame, you need to switch the camera to macro mode. Images are obtained in negative image. Further work takes place with the help of special software.
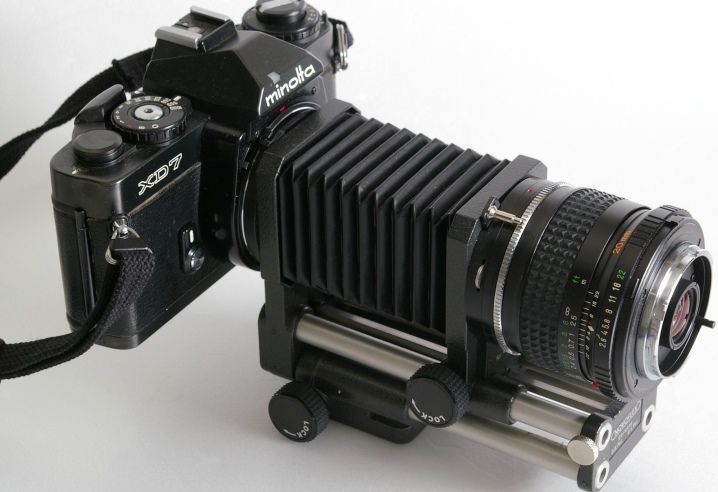
It is worth considering another possible option for digitizing films. It is about working with a photo enlarger. In this case, it is used, of course, not by itself, but in conjunction with a high-quality flatbed scanner. The magnifier is oriented so that the lens axis makes an angle of 90 degrees with the film surface. The film itself is placed in a standard frame.
Be sure to achieve diffuse matte illumination of the entire frame. This is achieved by installing a scattering structure. Preferably illumination with a cold spectrum fluorescent lamp having a base. An incandescent lamp can be used for black and white films, but when scanning color images, such a noise source is unacceptable.
Exposure is selected by testing for each type of negative.

The selection of the distance between the lens and the magnifier is also individual. The extreme points of the aperture are best avoided. It should be borne in mind that a tripod is not always possible to use. Copying is possible in any place where direct light will not hit the film. The film must be wiped off dust before it is inserted into the enlarger.
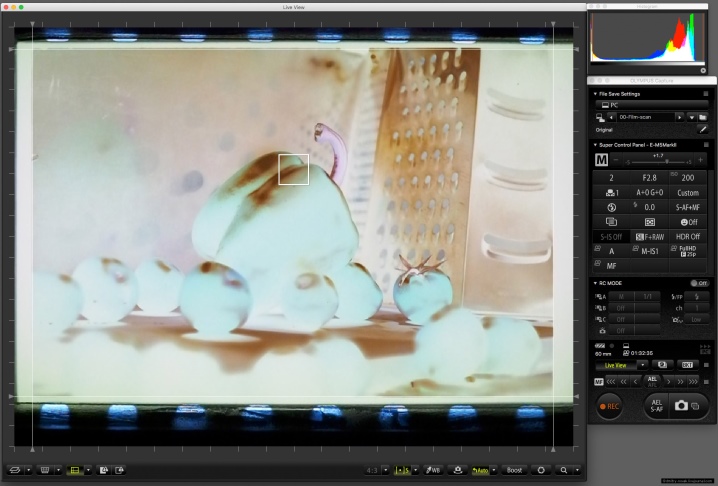
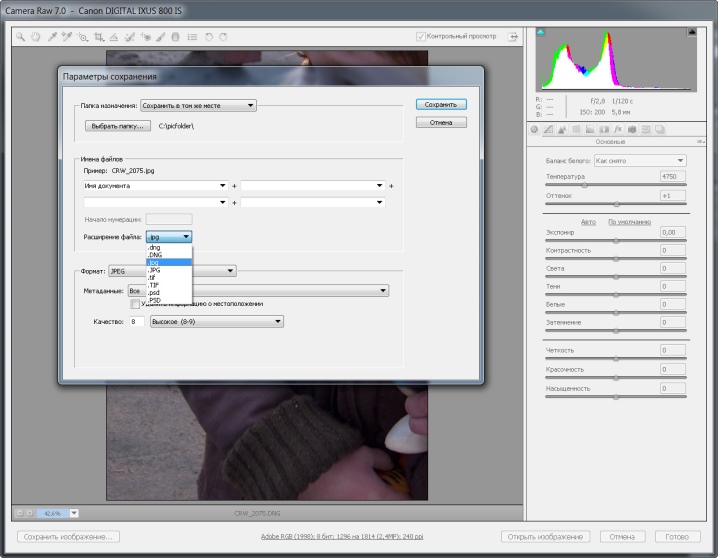
The ISO of the magnifier should be kept to a minimum. A shutter lag of 2 seconds is usually sufficient, but sometimes it takes 5 or 10 seconds. We recommend saving frames in RAW format. Special programs allow you to control the process directly from your computer. This method guarantees excellent results even with old films.
How to edit?
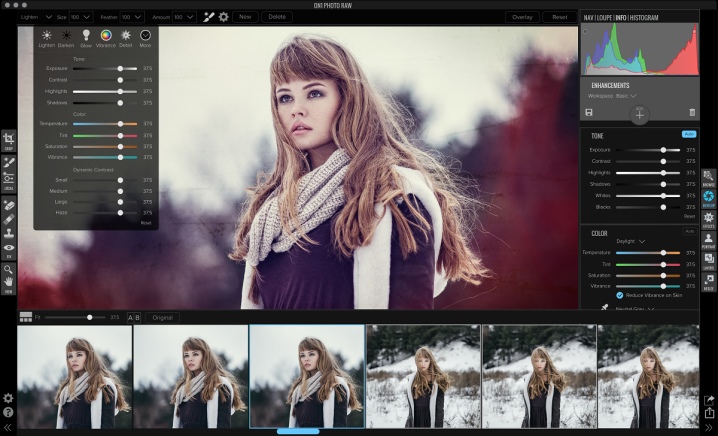
First you need to choose a suitable photo editor. There are quite a lot of free programs, so the choice is huge. Next, you need to crop the required frame. When this is done, the colors are inverted and then corrected:
- brightness;
- saturation level;
- contrast level.
Before serious file processing, you should convert RAW to TIF. You need to choose the first color filter in order, which the converter will offer. To invert colors, you can use a special plug-in or a preset of curved lines. However, the simplest hotkey inversion is no worse.
Pulling out colors and lights starts with Auto mode, which at least gives you an idea of where things are going.
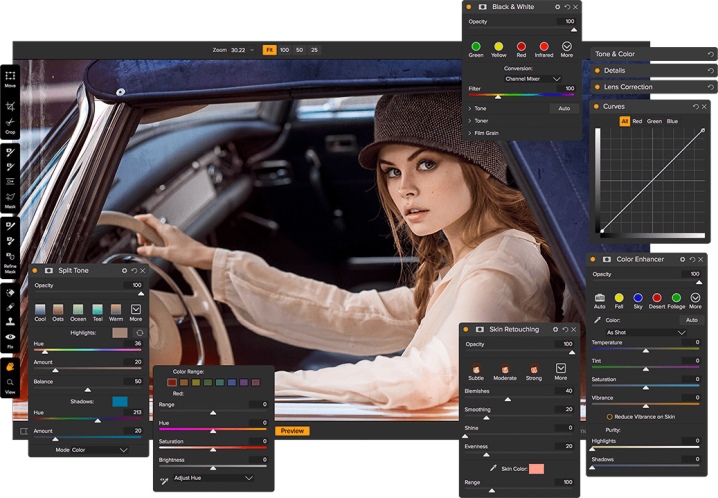
Serious and painstaking manual work lies ahead. The color components are changed strictly one by one. The decisive color correction in many editors is done with the Levels tool. You also need:
- increase the brightness of colors;
- increase sharpness;
- reduce the size of the image;
- transform the final image into JPG or TIFF.
How to digitize films at home in 20 minutes, see below.


The comment was sent successfully.