How to use the camera correctly?
If earlier only professionals used SLR cameras, now they are available to ordinary buyers who love high-quality pictures. Despite the widespread use of this type of technology, many still do not know how to properly handle it.
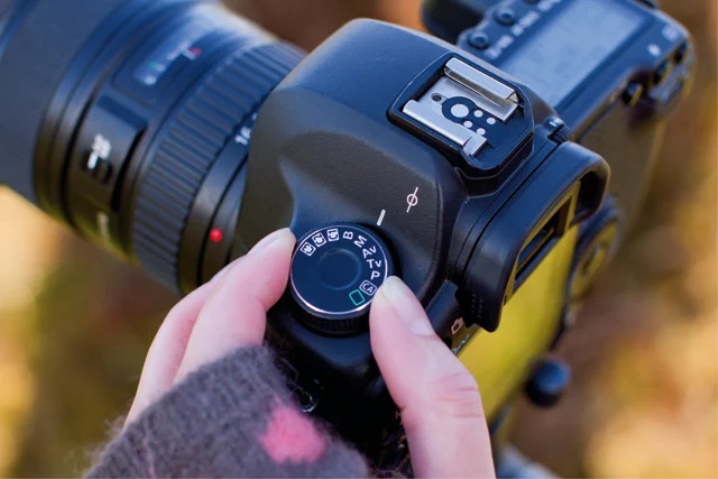
Shooting modes and effects
Modern technology is equipped with a large number of shooting modes and effects. And all this must be able to use.
Auto
This mode is specially designed for those who don't want the hassle of manual tuning. Its main advantage is that the technique independently selects the optimal settings... It is fast and very convenient especially for novice photographers with no experience.
As a disadvantage, it can be noted that through the automatic mode it will not be possible to give the photo individuality or to realize a complex creative idea.
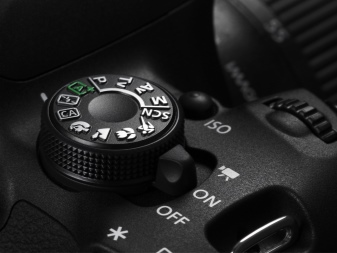
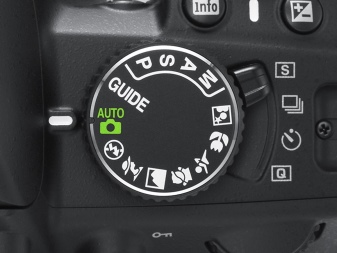
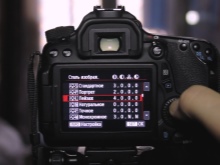
Scene modes
This is a set of automatic modes that must be selected depending on the shooting conditions. For example, using the Portrait options, you can blur the background or create beautiful bokeh, and at a later time, it is recommended to use the Night or Night City options depending on the location. Switching between modes is very simple and quick.
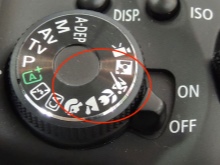
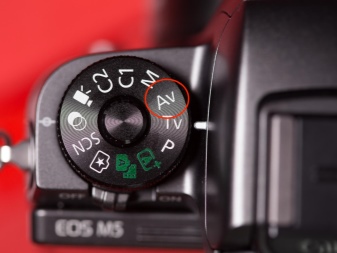
Av
Moving on to manual control of the technique - aperture priority mode. It is easy to guess from the name that when choosing it, the photographer controls the lens aperture, changing the amount of light that passes through the lens and enters the matrix. The lower the value (denoted by f), the wider the aperture is. It can also be used to change the blur of the background.

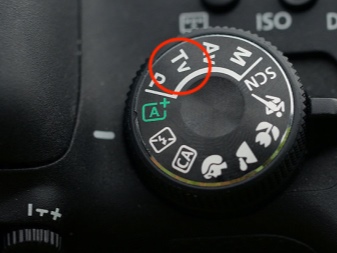
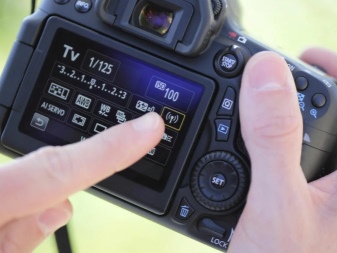
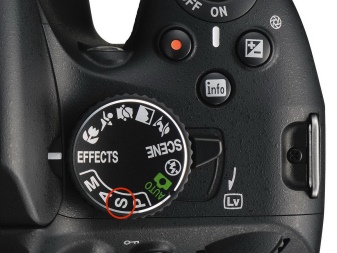
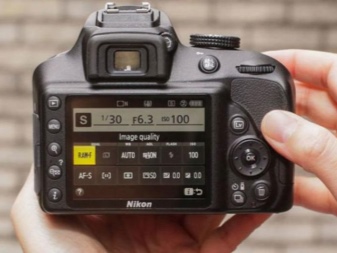
S or Tv
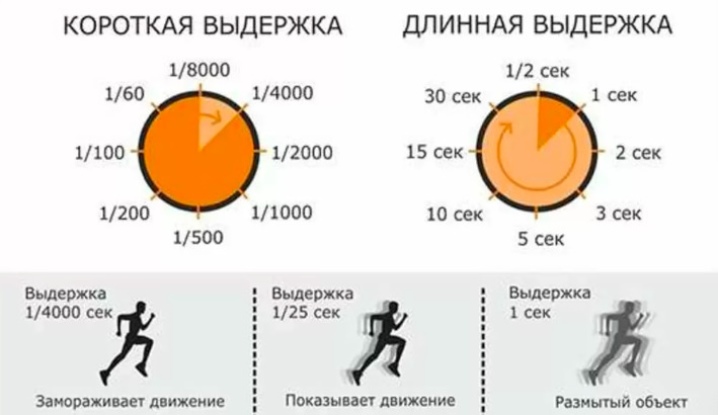
In this case, the photographer will have to work with endurance... This mode is less in demand compared to the above. It controls the shutter speed, which is triggered every time a picture is taken. Manufacturers measure this parameter in fractions of a second (for example, 1/200 sec). And you can also set a slow shutter speed, which will last a few seconds or even half a minute. Changes to shutter speed especially affect how moving subjects will appear in the picture.
A slow shutter speed is used at night to get as much light as possible into the lens.
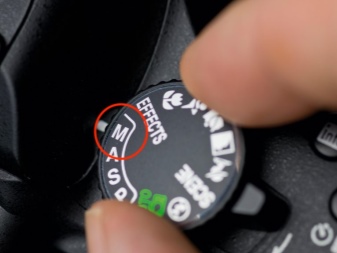
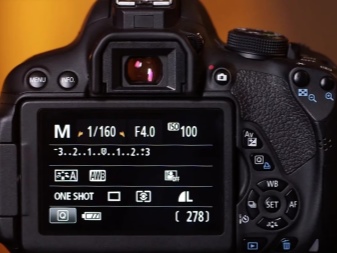
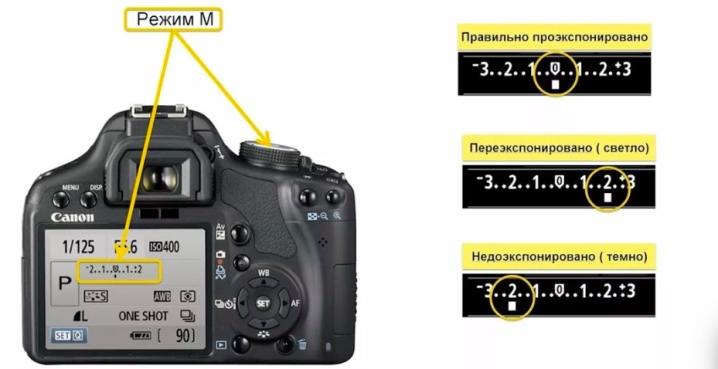
M
This is the most difficult mode, which is called manual. In this case the user will need to set two parameters independently - shutter speed and aperture.
Note: When choosing any of the manual modes, it is recommended that you do some practice tests and compare the results. Feel free to experiment. The digital format of photography provides an almost unlimited supply of frames.
How to setup?
To understand the settings of the mirror equipment, you need to understand the basic parameters and consider them in more detail.
The first term that aspiring photographers come across is exposition... In simple terms, it is the amount of sunlight or other light sources hitting the film or sensitive matrix. And also the wording is used - exhibiting... This is a process during which the opening of the aperture, the shutter speed parameter and also the photosensitivity of the matrix itself are set.
Excerpt
The amount of time that the camera shutter remains open is called shutter speed.Typically, a fast shutter speed is used to get crisp images. Each model of mirror technology has a set of standard values. When choosing the required value you should focus on the illumination, as well as the speed of objects when it comes to dynamic shooting.
If you have seen night shots in which celestial objects leave a trail of light, these are photos taken at a long exposure.
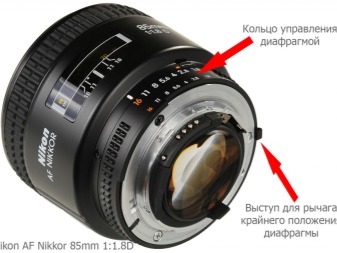
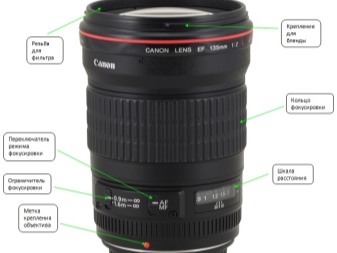
Diaphragm
Many beginners, who take a camera in their hands for the first time, pay attention to the adjustable element located in the camera lens. It's about the diaphragm. By changing the diameter of the aperture opening, it regulates the luminous flux. It should be noted that the main camera settings are shutter speed and aperture. For the convenience of users, modern trademarks have developed a number of standard values, between which you can quickly switch in the menu.
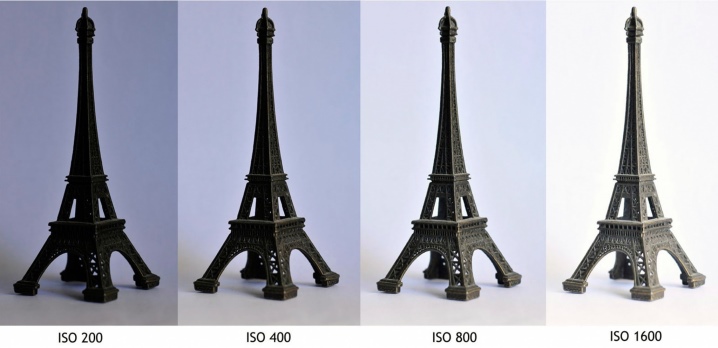
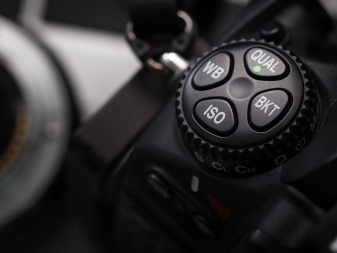
ISO
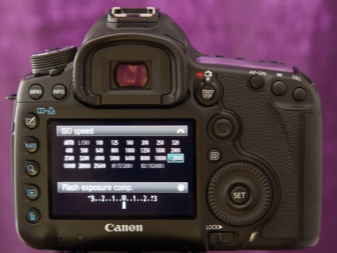
These three letters indicate the sensitivity of the matrix to light. Everything is simple here. The higher the set parameter, the more sensitive this element will be. ISO is indicated by a number. In this case, a number of blanks are also provided. As a rule, the lowest value is 100, and the highest depends on the technical characteristics of the device (12800 or more).
Now you know what the basic settings for DSLRs are. Choose different values to achieve the desired result. If you succeed in capturing the picture you intended, remember the options you selected and use them next time under the same conditions.
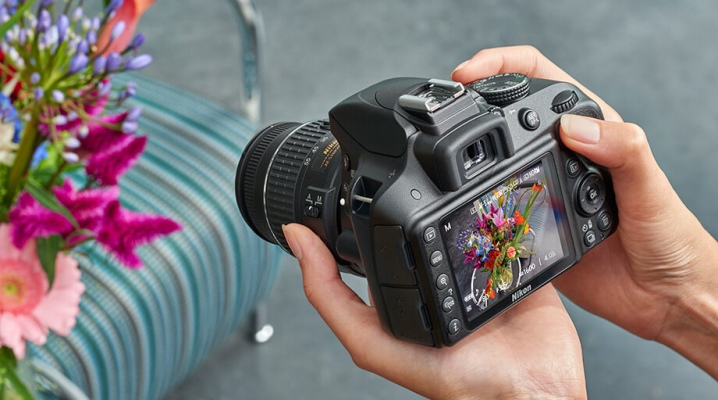
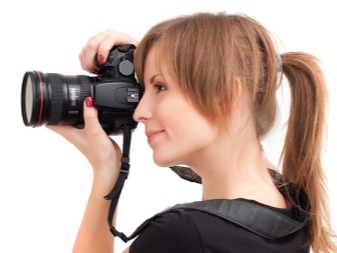
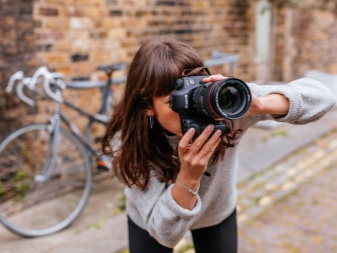
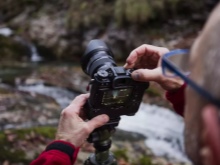
How to hold it correctly?
The SLR technique differs significantly from the standard film cameras called "soap dishes". They are different in size and ergonomics. Correct grip is the basis for competent exploitation. When using the technique, the right hand should be on the handle (assuming the user is right-handed). Use your left hand to hold the lens to the left, especially if it is a large telephoto lens.
This position allows not only to hold the device comfortably, but also to control the lens by adjusting the zoom (zoom in and out) and other parliaments.
If your camera has a strap, you need to put it around your neck.
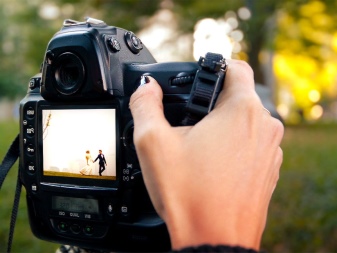
How to take pictures?
The instruction manual includes many points, however, to learn how to use a camera (take pictures or shoot videos), you just need to know the basics.
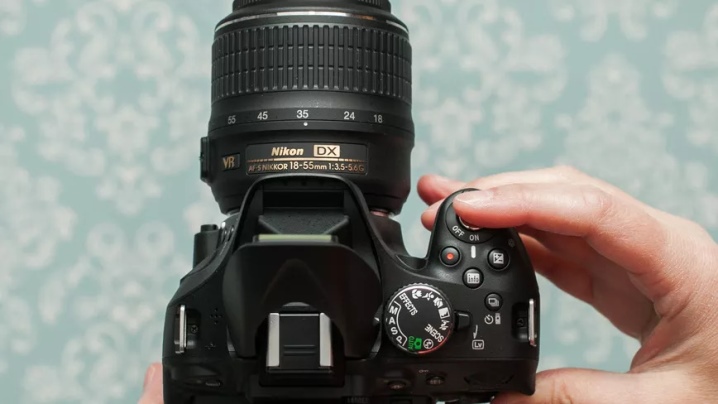
Don't forget to turn on the technique before starting. The required button or lever is located on the top panel, on the handle. The camera will notify you about turning on with a light signal, if it is provided by the model. Make sure you have a memory card in the slot where the photos will be saved.
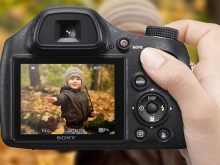
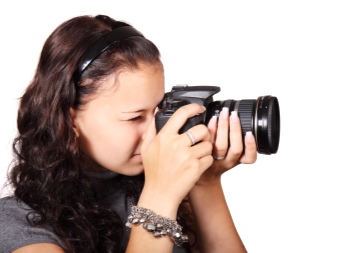
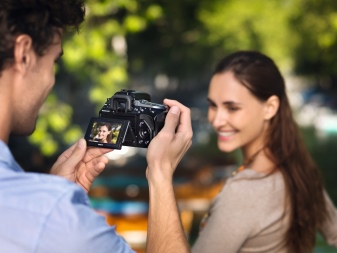
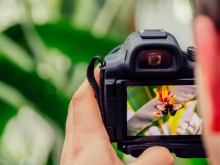
Next, you need to build a frame. Evaluate the future picture through the viewfinder (a special window at the top of the camera). Change your position depending on what you want to see in the photo. You can also sight with the screen, but professionals recommend using the viewfinder.

Once you've decided how your photo will look, set the options as needed. This can be the usual auto mode, one of the scene modes, or manual adjustment. You can switch between settings using a special rotary ring or in the camera menu (depending on the model and functionality of the device).
Take a test shot, open it on the screen and see the result. If it doesn't suit you, change the settings. For example, if the photo comes out dark, open the iris, increase the sensor's light sensitivity or change other parameters. When shooting handheld, use a fast shutter speed, otherwise your photos will be blurry. Working with modern SLR cameras is not as difficult as it might seem at first glance.
Useful Tips
To get good and beautiful photos, take advice from professional photographers.
- The quality of pictures depends not only on the technical characteristics of the camera, but also on the memory card... Choose media with a high write speed.
- Be sure to keep the lens clean at all times. Wipe it with a soft cloth. To remove fingerprints and streaks, use special products available from a photography store.
- If you are going to take pictures in the evening or at night, get a tripod. You also need a remote control to start the camera without touching it. At slow shutter speeds, even a small hand movement will affect the image quality.
- For portrait photography, it is recommended that you choose a cloudy day for photography beginners. Soft and diffused lighting will play into the hands, while bright sunlight will create harsh and harsh shadows on the face.
To learn how to use a DSLR in 15 minutes, see the video below.


The comment was sent successfully.