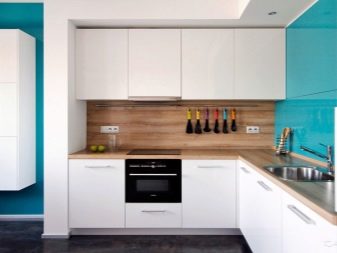
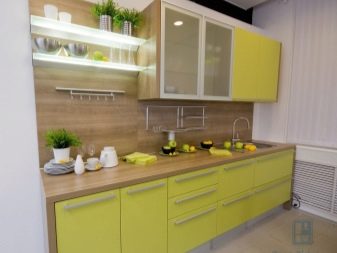
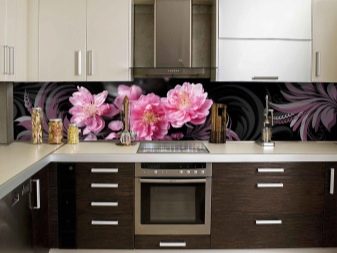
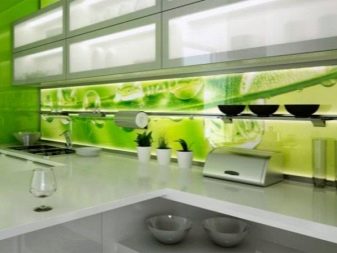
How to properly install an apron in the kitchen?
Perhaps every housewife from childhood knows that a kitchen apron needs to be worn so as not to stain clothes while working in the kitchen. But today we will talk about aprons, which are "put on" the walls in order to protect them in the working area from splashing water and grease, to make an ensemble of a kitchen set and an apron, to decorate the kitchen with the help of such a design move. This is especially true for small kitchens, since a properly selected apron can also visually increase the space.
Features of choice
According to its characteristics, the material for kitchen aprons can be natural and artificial, hard and soft, flexible and tough. Each is good in its own way, each has negative properties. Before choosing, you must carefully weigh the pros and cons, such as:
- proximity to a gas stove;
- unevenness of the wall;
- the amount of light in the kitchen;
- the capabilities and skills of the master;
- difficulties in further care;
- fragility of the material;
- whether this apron fits the general design idea in texture, color;
- installation complexity;
- issue price.

Apron materials
After all the planning questions have been studied, you can think about the material. Since there are a lot of options, you can always choose the right one.
Plastic
The most popular panels are of three types of eraser: ABS, acrylic glass, PVC.
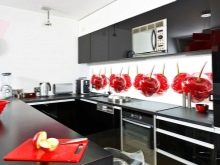
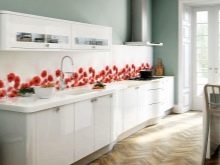
- ABS - flexible and light sheet, on one side of which a picture is applied by photo printing. It is easy to install, durable, inexpensive, transported in the form of a roll, resistant to minor damage, decorative, heat-resistant, not afraid of moisture.
Among the disadvantages: for installation next to a gas stove, an additional heat-resistant screen is required, it burns out in the sun, it is afraid of strong mechanical shocks, it is not suitable for cleaning with acetone or solvent, the wall under it should be relatively flat, it lasts 3-5 years.
- Acrylic glass may well replace tempered or skinned. It is easy to install it with your own hands, and you can do this both before installing the furniture, and after. If there is already wallpaper or photo wallpaper on the wall, then acrylic glass can simply be fixed on top, because it is more transparent than usual. Such plastic is impact-resistant, does not fade, and has a reduced fire hazard.
Among the minuses: does not like abrasive cleaning agents, not the cheapest material, it is not recommended to install it near a gas stove.

- Pvc - one of the simplest ways to decorate the kitchen, suitable for summer cottages, dormitories, rented housing. It can be in the form of sheets or strips. The variety of appearance is huge, you can mount it yourself.
But it is necessary to wash the drops on the panel immediately, polyvinyl chloride does not withstand high temperatures, quickly fades and is easily scratched.
Fiberboard (fiberboard)
One of the budget options for finishing the working area in the kitchen. Fiberboard is used with a laminated coating that will withstand splashes of liquids, small scratches. Plates are easy to mount on a relatively flat surface, they can even hide small wall defects.
Their appearance can resemble a smooth surface, as well as ceramic tiles in both color and monochrome.
MDF (MDF - Medium Density Fibreboard - medium density fiberboard)
MDF panels come in different thicknesses, with or without a matte or glossy pattern, but with a PVC film on the front side. It is she who protects the board from moisture and makes it aesthetically pleasing.The film washes well and remains intact for a long time. Very often, such panels imitate brickwork, natural stone, photo wallpaper, glass, mosaic, ceramic tiles. For this, buyers appreciate it.
The wall panel will cover the gap between the kitchen unit and the wall with its own thickness or fastening rails - this is a plus. Of the minuses: more complex installation of wide slabs and the obligatory presence of a flat wall for the installation of thin panels.
Since the material, like fiberboard, is based on sawdust, this material is unlikely to be suitable for mounting on wet walls. If only after special treatment of the fastening rails and plates with bioprotective impregnation against mold and decay.

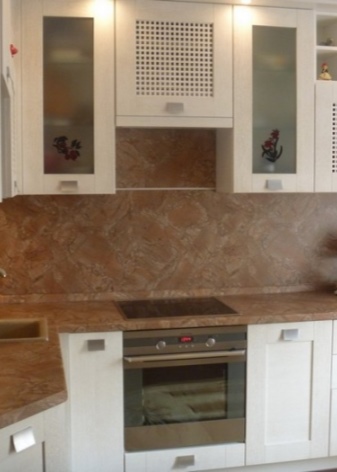
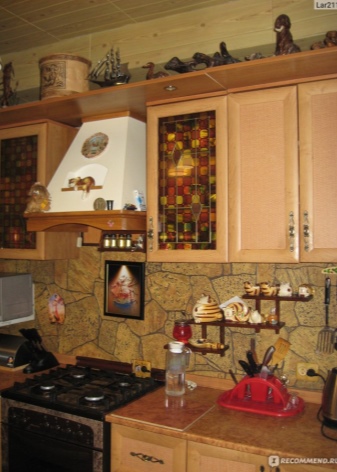
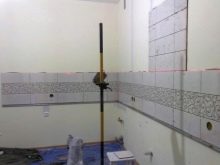
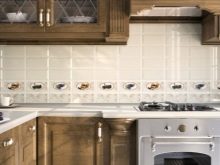
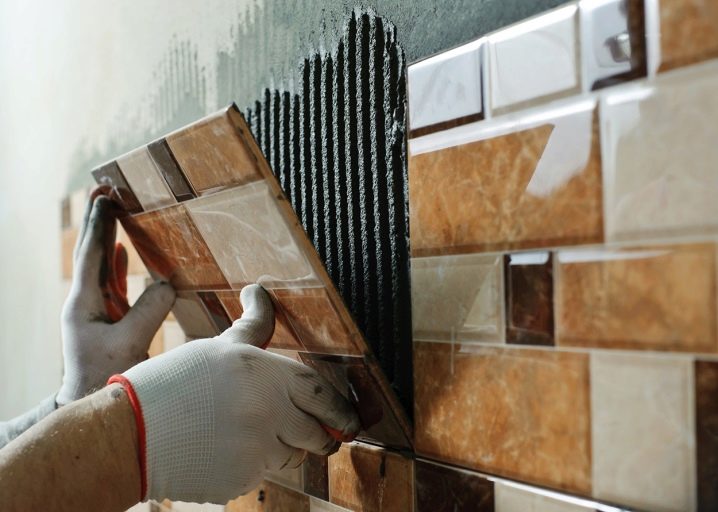
Ceramic tile
On the one hand, this familiar way of laying a kitchen apron is a thing for centuries, on the other hand, not every home craftsman can do it. Before starting the installation, the wall must be perfectly leveled: remove the old apron, putty any cracks, prime it. Masters recommend using concrete contact for this (especially if there is oil paint or alkyd enamel on the wall).
In addition, it is important to correctly calculate the required amount of material, taking into account the fact that the tiles will have to be cut. Such an apron is usually mounted before installing a kitchen unit. This means that you can bring the tiles a little behind the cabinets, and close the gap between the furniture and the wall. If you plan to lay out tiles with furniture already placed, then you should take care of the safety of cabinets, stoves and other furniture and equipment.
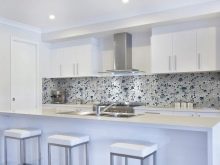
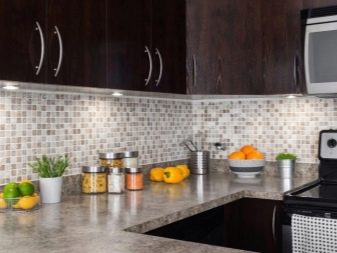
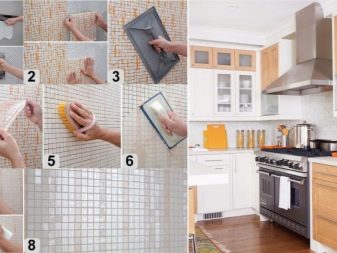
Mosaic
Mosaic also means tiles, but with a size of only 12-20 mm against 75-200 mm of ordinary tiles. Working with such small material is, of course, much more difficult. Therefore, professionals propose to first fix the mosaic (in any order or in the form of a plot panel) on a square base, and only then glue the squares to the wall.
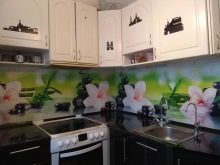
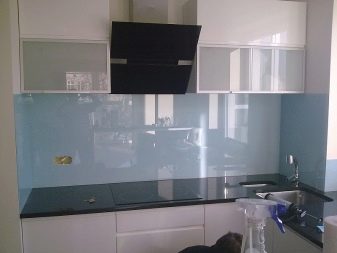
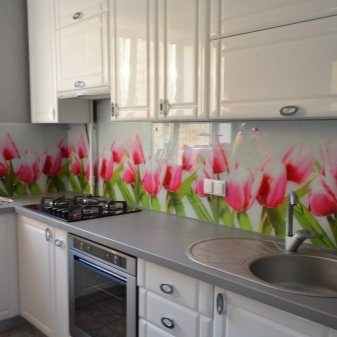
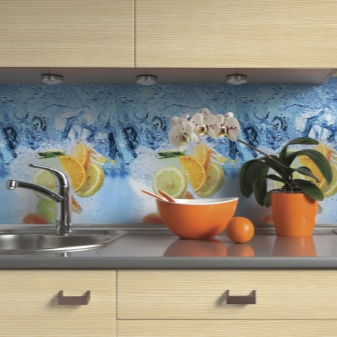
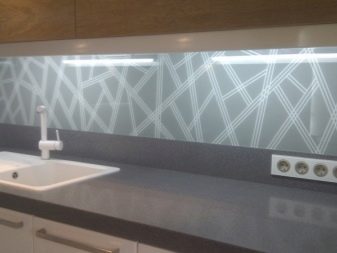
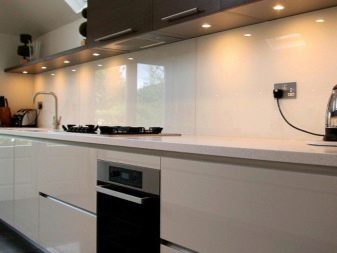
Glass
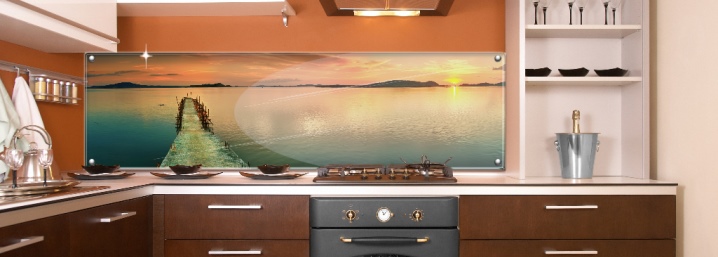
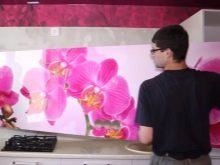
Of course, the glass must be heat-resistant, tempered, thick, with a processed edge. Such material can be simply transparent and cover, for example, a brick wall. The second option is tinted or frosted glass, but you will have to constantly take care of it, since any drop will be visible. The third option is photo printing from the back.
It is difficult to say how long such an apron will last in a large restless family, but such a wall panel itself is a very beautiful solution for kitchen design.
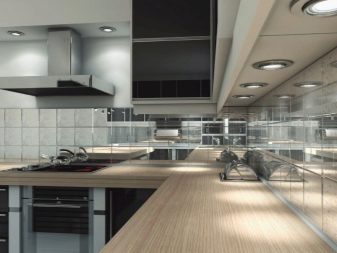
Mirror
Can be regarded as a kind of glass. The main disadvantage is fragility, if it is based on natural glass. If plastic is taken as a basis, then this option will be more reliable. Such an apron will definitely visually increase the space of the kitchen, and when light enters, it will make it even brighter. The mirror can be combined with drawings or photographs on one panel.
But it should be remembered that the number of drops falling on a reflective surface will visually double.

Brickwork, natural or artificial stone
In the case of brickwork, you may not need to install it if the kitchen is finished in the Loft style. The only problem here is how to protect the brick. Just like a stone: cover with varnish, water repellent or put a protective screen made of natural or acrylic glass.
In the case of laying artificial stone, the work technology will be approximately the same as when installing ceramic tiles: a perfectly flat wall, good glue and a professional craftsman.


Wall mounting methods
The method of attachment will largely depend on the severity of the apron or its individual elements. Here are the possible different options:
Glue
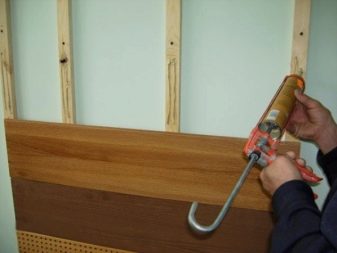
One of the most popular are liquid nails. Liquid nails can be used to glue plastic, fiberboard, light MDF panel, ceramic tiles and mosaics, artificial stone, mirror to a flat degreased wall. The main thing is accuracy: the adhesive should not be applied too close to the edge of the panel.
Experts recommend that all adhesive solutions should not be applied pointwise, but along the perimeter plus a horizontal middle strip (or several) - in this case, air currents that can peel off the material will not walk under the panel.
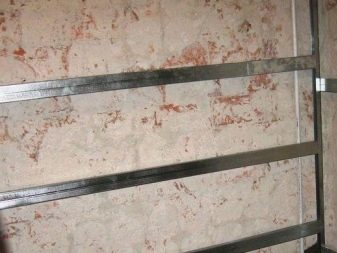
Installation of lathing
This method is used when there is a fear that the panel may fall due to its own gravity. The second reason is that the wall is too uneven. Third, it is much easier to dismantle and replace with another apron using a crate than liquid nails. Both fiberboard and PVC panels can be mounted on the crate. But one of the heaviest materials is the thick MDF board.
Using the crate, panels can be installed in several ways:
- installation of a wooden bar to the wall (with screws or glue), fixing panels with glue to a bar;
- fastening panels to a bar with self-tapping screws or dowels;
- installation of an aluminum profile as a bar, fixing the panels to the profile with self-tapping screws.
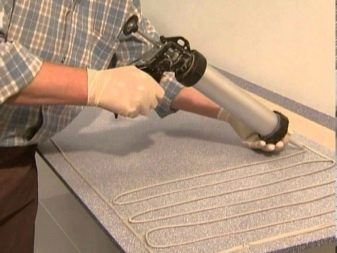
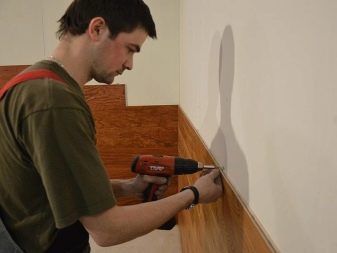
Let's consider step by step in more detail how to install an MDF model with your own hands on self-tapping screws.
- Before starting work, the furniture must be moved aside and the wall must be carefully leveled.
- A frame made of timber and metal profiles is mounted according to the level. The thickness of the timber should be no more than 0.5 cm so that the apron goes behind the countertop.
- The timber is treated with biosecurity.
- The apron is applied to the wall and the markings are made for the holes. Holes are drilled on the MDF plate - blanks for self-tapping screws.
- Only after that the apron is again applied to the wall and tightened with self-tapping screws. They begin to screw in the screws little by little: first in the corners, then closer to the center.
- For aesthetics, caps can be installed on self-tapping screws.
Standard fasteners
Suitable for not too heavy panels. On their reverse side, hinges are glued in a suitable way (available in different versions). Markings are made on the wall where the hooks for these loops will be screwed. Using a drill, holes are drilled into which dowels with hooks are inserted. Then the panel is hung up.
If the hooks are made only along the upper edge, then the panels will hang at different levels from the wall - the gap will be larger at the top, and the bottom will fit snugly against the wall. Not very pretty, but it's easier to mount the apron. Hooks in two rows will make the look more harmonious and attractive.
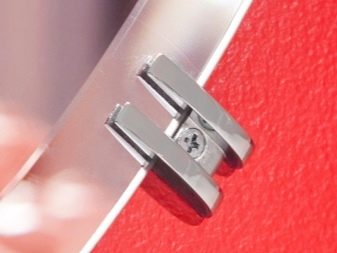
Using furniture glass holders
A great variety of them are sold: in metal, plastic. A large number of holders are required to attach the entire apron. In addition, it is worth considering that they will not withstand heavy material (thick glass or MDF) and they will be visible after installation. But this is not a problem at all: cute mounts do not attract too much attention. But the mounting method is simple - the holders are fixed on the wall (with glue or screws), and the apron is inserted into the holders.
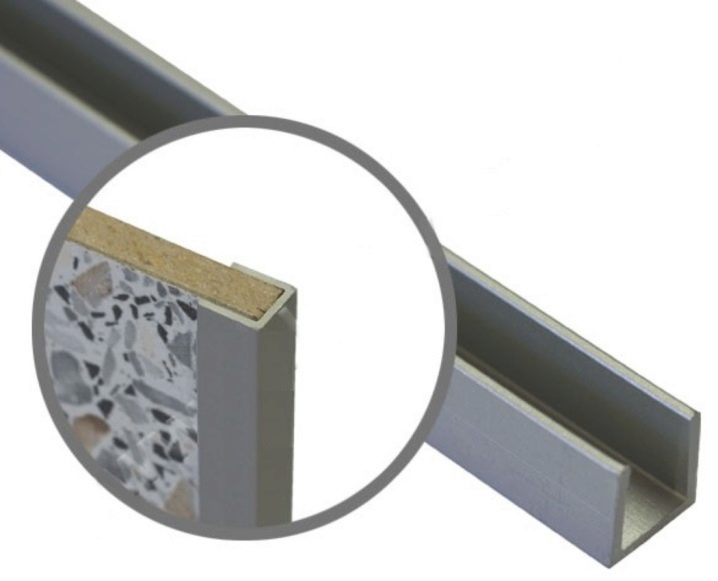
Metal U-profiles or U-profiles
Such profiles are installed on the top and bottom of the apron, after which the wall panel is simply inserted and advanced like a wardrobe door. In this method, the main thing is a clear calculation, otherwise the light canvas will warp, and the heavy one simply will not enter the grooves.
Laying tiles and mosaics on cement mortar
The method is considered outdated, but a properly installed tile will last for more than a decade. This method is chosen mainly because of the cheapness of the cement itself in comparison with the glue.
In order for the ceramics not to fall off after a week, it is necessary to strictly observe the laying technology. But not every home craftsman can do this.
How to install an MDF apron in the kitchen, see the next video.


The comment was sent successfully.