How and from what to make an apron for the kitchen with your own hands?
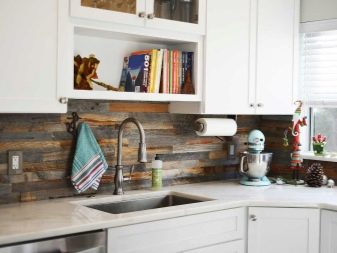
An apron is usually called a part of the wall directly above the main work surfaces of the kitchen - a stove and a sink. It is this part of the wall that is most exposed to various negative effects of pollution and high temperatures, and therefore the apron is usually made of specific materials and stands out noticeably against the background of the decoration of the rest of the room. Let's consider how to make the apron practical and not spoil the overall aesthetic impression.
How to choose a material?
Probably, nowhere else in the apartment there are walls that would be exposed to such an intense destructive and polluting effect, so the choice of finishing material for the apron simply cannot be accidental. To prevent repairs from becoming unusable too quickly, it is better to make an apron from materials that meet the following mandatory criteria.
- Resistant to significant heat. During large-scale cooking in the kitchen it can be hot in general, but the hottest object in it is the stove or hob, and the apron is directly adjacent to it. In addition, hot steam often accumulates here, which, even with reliable operation of the hood, contacts the adjacent wall.
- Resistant to moisture. Steam was already mentioned a little above, but an even more intense source of moisture is a sink, from which splashes fly in all directions.
In addition, a worktop is often located next to the stove, on which various juicy ingredients that can form splashes are cut. The material of the apron should not succumb to the destructive action of water, otherwise it will not last long.
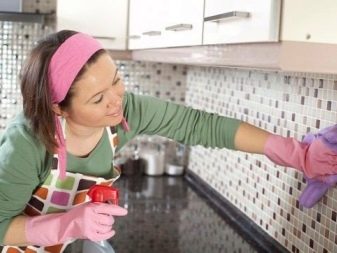
- Easy cleaning. The fact that an apron does not deteriorate from contact with water and other liquids does not mean that it cannot be damaged by them. The finishing material in this part of the wall must be deprived of the ability to absorb moisture, otherwise its color will quickly become undefined and will be associated exclusively with dirt. Dirt on the apron is especially noticeable in a white or other plain kitchen, so the set is often made unusual in color, which at the same time makes it more beautiful.
- Environmental friendliness and hygiene. As befits any other facing material in an apartment, an apron should in no case be toxic. Unfortunately, many synthetic materials of our time are capable of emitting harmful fumes, especially when heated, therefore their use in the kitchen is strictly prohibited: you must be sure that, even after trying the finishing on the tooth, you will not get poisoned. In this case, the material must not only be well cleaned, but must also be hypoallergenic and unfavorable for the growth of bacteria and other microorganisms.
- Aesthetics. The apron is hardly the central detail of the kitchen, but at the same time it is always in sight - it is not obstructed by anything and is located approximately at eye level. Even if you are not a supporter of exotic or extravagant ideas in the design of the room, you should at least make sure that this part of the wall fits into the overall look of the kitchen and does not elementarily affect the psyche.
We will not specifically put the last criterion on the list, since it does not characterize the material of the apron from an operational point of view, and yet the overwhelming majority of consumers will not ignore it - we are talking about cost.
There are many options for the apron, so finding a relatively budget solution is not such a problem, although it is possible that the cheapness will affect certain finishing characteristics.
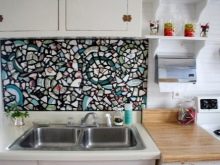
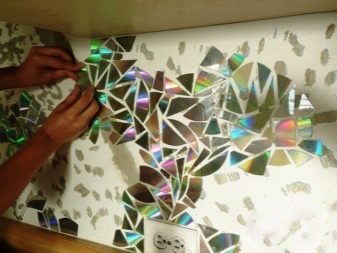
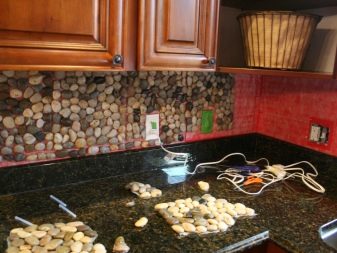
Interestingly, the problem can be solved not only with the help of generally recognized finishing materials - you can find design models for finishing the apron literally from improvised means. Even old discs or children's repetitive drawing boards can be used as an unusual solution. Not everyone will like these options, but they clearly illustrate that the approach to solving the problem can be different.
Preparation
Depending on the material chosen, the installation of the apron may look fundamentally different, but still consider some basic principles that are always relevant.
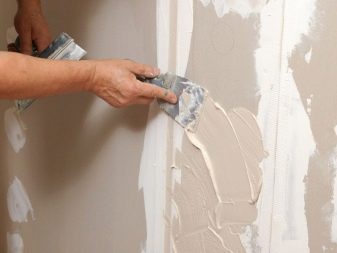
- First you need to understand that the apron can be installed on a bare wall without any finishing, which is important in the case of plaster or tiles, or it can be attached over the old finish if it is glass or laminate. Regardless of how the installation is carried out, it is advisable to prepare the wall under the future location of the apron by degreasing it and carefully removing the fungus: this will help tiles and plaster to hold better, in the case of hinged panels, it will simply protect against the spread of bacteria and the same mold.
- If certain signs of destruction are clearly visible on the surface of the wall, it is better to immediately repair all cracks and potholes, since even when attaching the hinged panels, they can eventually cause them to peel off.
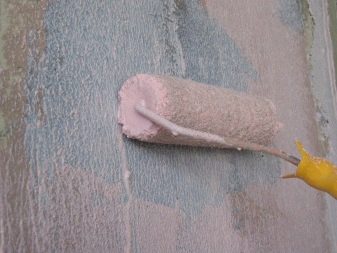
In the case of tiles or plaster, as well as any other similar finish, the wall must first be primed and left in this form at least for a day, but glass and other similar aprons do not need this process.
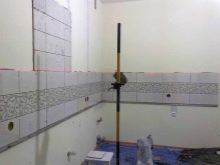
- A separate point is the correct calculation of the amount of consumables. Before performing the installation work, it is necessary not only to correctly calculate the length and width of the future apron, but also to clearly mark the place of its future installation on the wall. Places for fastening must also be included in such a peculiar plan, if we are talking about screwing the panels.
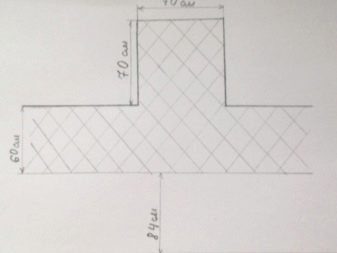
- The length of the apron is almost always determined by the corners, door and window openings, but how it should be in height is solely the planner's decision. As a rule, the apron is limited from below by a sink, stove and countertop, and from above by wall cabinets and a hood. Accordingly, it is necessary to estimate the levels of the upper and lower furniture and calculate the dimensions of the apron so that it completely covers the space between them.
If the same hood is fixed well above the bottom edge of the cabinets, the apron is usually brought up to it so as not to disturb the integrity of the visible finish. In this case, the apron should go a few centimeters behind the kitchen furniture in order to avoid the formation of gaps, unless it is connected to it by means of baseboards.
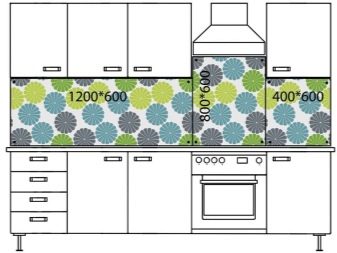
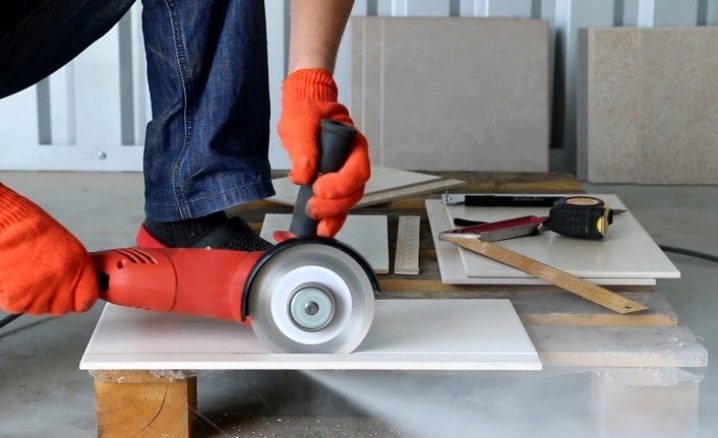
- It is more convenient to choose a finish after the exact dimensions of the apron become known. Cutting the same tile, especially if you do the installation yourself, will be much easier if the length and width of the apron are multiples of the parameters of each individual tile.
Making an apron
The process of making an apron with your own hands largely depends on what material you have chosen. For example, when using materials at hand, it is not always easy to find advice, at least on how to properly fix them on the wall. On the other hand, self-installation leaves maximum freedom of action, for example, you can immediately provide outlets where they should not initially be.
In theory, of course, a good master for a certain amount will agree to arrange your kitchen apron the way you want it, but doing it yourself reveals the advantage in the form of significant cost savings. If you decide to finish the wall above the kitchen work surface with your own hands, it is worth taking a closer look at the individual characteristics of the main materials.
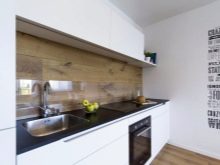
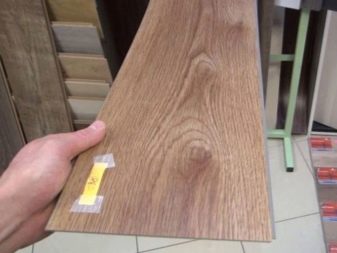
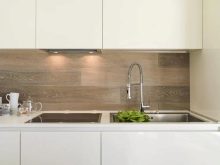
Laminate
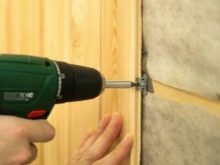
If this material is successfully used for lining floors in the kitchen, then it may just as well be useful for an apron. Let's make a reservation right away that not all types of laminate are waterproof, so when choosing, you need to pay attention to this. In addition, this material, being synthetic, is not always safe, therefore the safety class should be designated as E1. The installation of a laminated kitchen apron is carried out on a flat wall without significant damage, therefore, the surface is usually pre-plastered. The finishing material itself is not attached directly to the wall, but to the crate, however, it is rather thin, which is why a flat wall is required.
The lathing itself can be made of various materials, although the main preference is, of course, wood derivatives.
The gap between the individual parts of the lathing usually should not exceed 30 cm, but it is worth focusing primarily on the size of the lamellas. At the same time, the space between the wooden parts does not remain empty - usually the gaps are filled with a concrete screed.
The lathing is needed, since it is on it that the lamellas are attached. For these purposes, self-tapping screws or plastic dowels are most often used, however, the difficulty of using them lies in the fact that during the fastening process it is not always possible to accurately calculate the location of the wooden base. To solve this problem, in some cases, wood glue is used, but it is not always appropriate - it all depends on the material of the lathing.
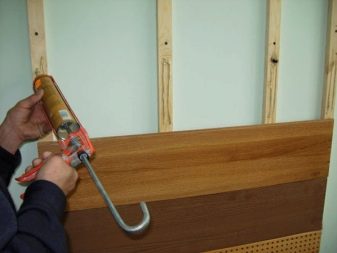
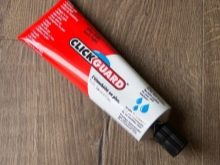
A surface made of laminated boards, a priori, cannot be airtight by itself, therefore, in order to avoid the appearance of mold and other negative phenomena, all joints between the laminate elements are coated with a sealant. In this case, it is important to first check how smooth and flat the surface of the assembled apron is, because any bulging or dents are fraught with rapid destruction of the structure.
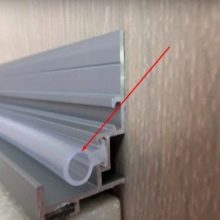
The final finishing touch is the installation of decorative polymer corners along the contour of contact of the new apron with the furniture. Those are usually selected according to the color scheme in accordance with the shade of the apron. The fixation is usually done with liquid nails.
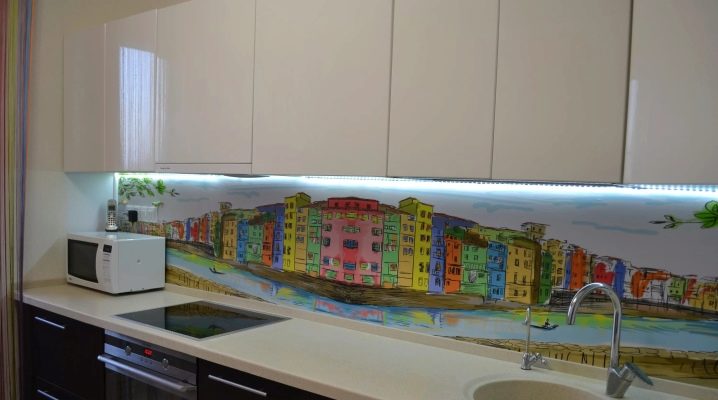
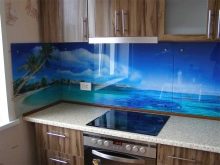
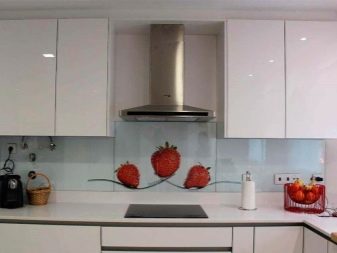
From glass
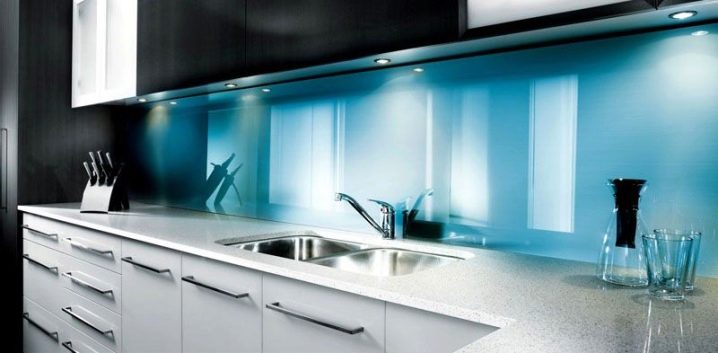
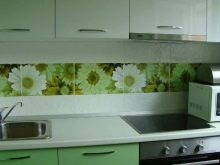
The glass kitchen apron, also known as skinali, has become an increasingly popular solution in recent years. Do not think that such a supposedly fragile material will not cope with operation in a kitchen: of course, special plexiglass is used, which is not afraid of almost any impact.
It is very easy to take care of such an apron, since it is perfectly smooth and there are not even the slightest gaps in it, and most importantly, gluing photographic film allows you to make this part of the kitchen not only beautiful, but truly unique and unique.
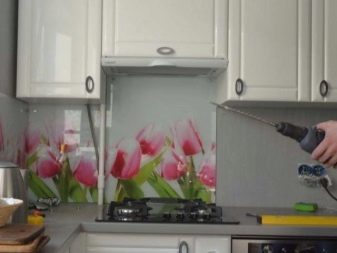
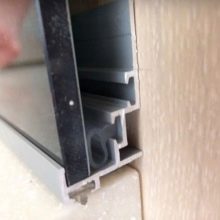
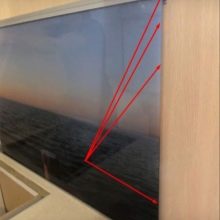
Since skinned - the material is integral and deflections in it are impossible, the most important thing is to initially set the correct plane. In this case, the preparation of the wall is not required, but you will have to start by installing aluminum profiles and corners both on the tabletop below and on the lower edge of the cabinets at the top, as well as on one side (the second is made out at the very last moment). The difficulty of this task lies in the extremely accurate marking of the fasteners, they must provide an ideal plane for the future apron.
The glass itself will need to be ordered in a special workshop, taking accurate measurements and even slightly reducing the dimensions - you are unlikely to be able to accurately cut the plexiglass at home.
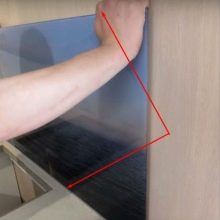
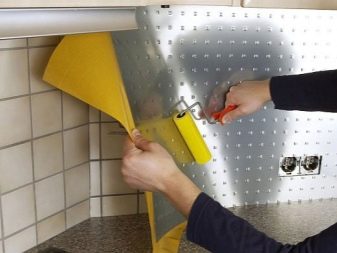
In its original form, it will be deprived of a picture, so the film with photo printing must also be ordered or bought separately. For gluing, the glass is moistened with water, and then, slowly, layer by layer, a film is applied, using a plastic wallpaper spatula, diligently expelling the slightest air bubbles to the surface.
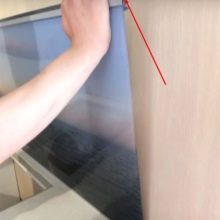
If you wish, you can also decorate the future apron with interior lighting., for this, an LED strip is glued on the inside of the glass in the right places, which is connected to the mains via a 12 V adapter. After that, they proceed to the neat installation of glass (or several glasses, if the apron is made multi-layer). At the end of this procedure, the last side profile, which was not there before, is carefully put in its place and fixed with liquid nails. Finally, the joints with the furniture are neatly sheathed with furniture plinth.
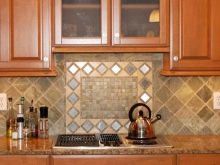
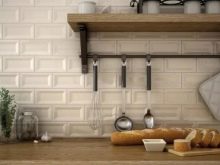
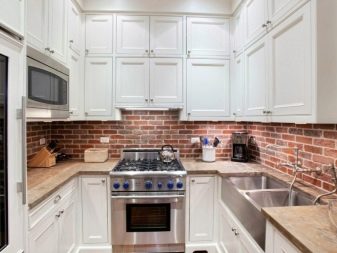
From tiles
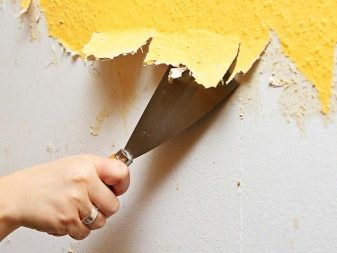
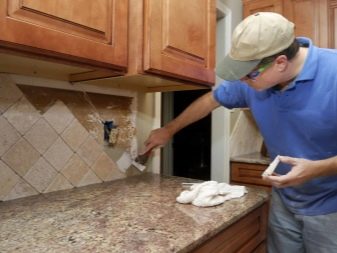
Laying out an apron from a tile is perhaps the most reliable and durable option, although it involves the most work. To begin with, you should thoroughly clean the walls of any old coatings, including mortar, you may even need a perforator to solve this task. Having reached the plaster, it is necessary to assess its condition: if there are areas that threaten to fall off soon, they must be removed immediately and the remaining irregularities should be repaired, in the same way mold, fungus and greasy stains should be removed. It is advisable to bring the surface as flat as possible, however small notches are even welcome: this way the glue will set better. If the apron will be located on at least two adjacent walls, care should be taken to create a perfectly even corner.
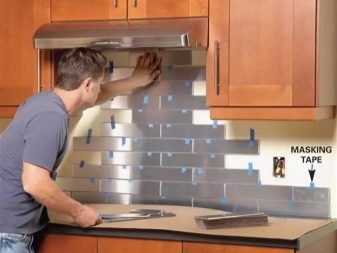
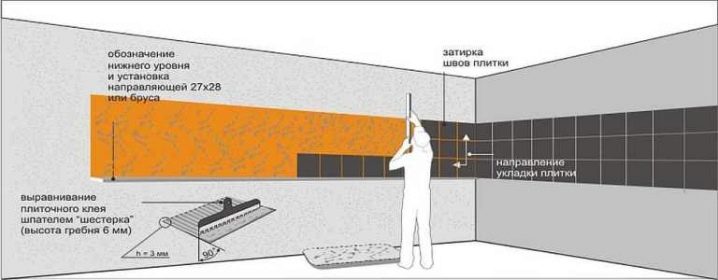
Immediately before installing the tiles, markings must be applied to the wall: some masters, for the sake of perfectly even styling, do not even mark the apron as a whole, but each individual tile. At the same stage, you should decide where the laying will start - from the center or from the edge. In the first case, the apron may look well centered, but then you need to perfectly accurately cut the tiles from both opposite ends, the second option is more suitable if one of the edges is poorly visible - the trimmed element will be placed there.
Some types of tiles are attached to mortar, but for a beginner it is better to choose the material that is attached with glue. The latter is usually sold in the form of a dry powder; it must be diluted strictly according to the instructions immediately before installing the apron, since it dries very quickly. For the same reason, you should not dilute too much glue if you are not sure that you will have time to lay the tiles before it dries, but you should not save on it either.
A flat wooden bar is installed under the lower edge of the future apron - it will not allow the bottom row of tiles to slide down, as an alternative, a metal profile will also work. A plumb line with a load is used to mark the vertical edges.
It will be easier for a beginner to work if he chooses large tiles and uses an orderly installation method.
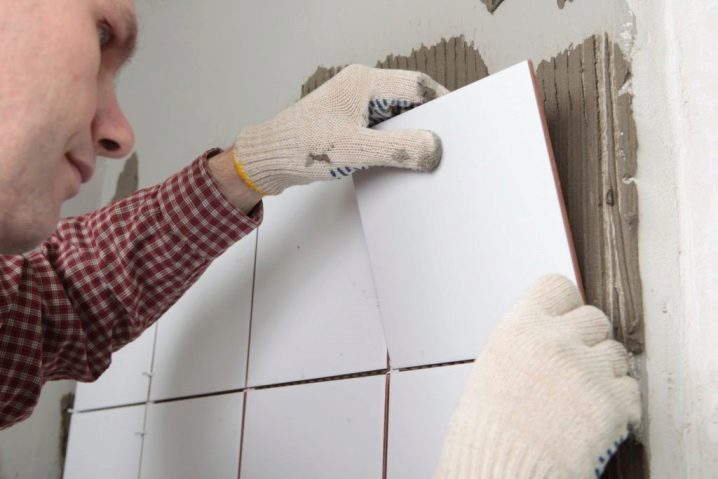
The adhesive is applied to the wall or the tile itself with a notched trowel, its layer must have grooves. The installation of the tile is carried out by simple pressing and tapping with a rubber mallet or even with your hand. After each installed tile, it is worth checking its location in level: if the laying occurred obliquely, you need to immediately remove the element and repeat its fastening until the glue has dried.
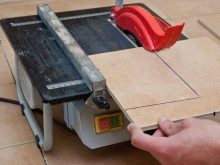
All subsequent ones are kept in the first row, so he needs to be allowed to dry for at least a day, before the expiration of this period, the upper rows should not be mounted. Tiling around corners or edges should only be done from the inside using a tile cutter or similar tool. When cutting, some tiles are guaranteed to crumble, so the material should be taken with a margin of at least 10%.
After all the tiles are laid and dried, they must be gently tapped with the same rubber mallet. The tile that gives a dull sound is not laid securely - it is removed and reinforced. If the check is successful, wash the apron from the repair dust and rub the grout into the seams with a rubber spatula. When the seams are dry, the grout in them is trimmed and wiped with damp rags.
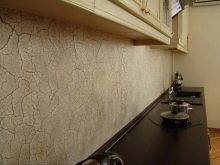
From plaster
This solution is one of the cheapest (if we are not talking about an expensive decorative variety) and at the same time simple.The plaster surface is uniform, there are no cracks or irregularities in it. It should be noted that no one in their right mind will ever make an apron from pure plaster, because this material will simply flow from moisture, but if it is carefully covered with acrylic varnish in several layers, then even this option has a right to exist.
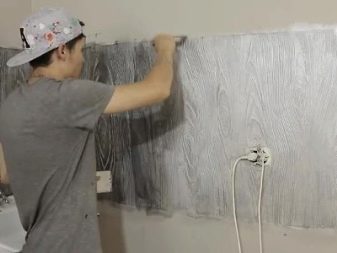
The walls are prepared according to the same principle as for tiles - all previous finishing is removed, the surface is degreased and cleaned of dirt and mold. The surface may not be leveled if you decide to use very cheap ordinary plaster, but it looks mediocre, and for expensive decorative varieties, leveling the walls with their help will be a senseless waste of a lot of money. For this reason, the walls are almost always pre-leveled, this allows the expensive mixture to be applied in a thin layer.
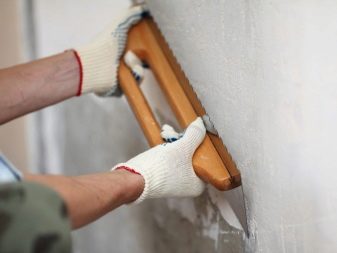
Plaster is usually sold as a dry powder, so you first need to dilute it to a liquid but thick state: detailed instructions should be present on the package. After that, the mixture is applied with a spatula to the previously primed wall and leveled with it. You can decorate the surface with sparkles or interspersed with small seashells.
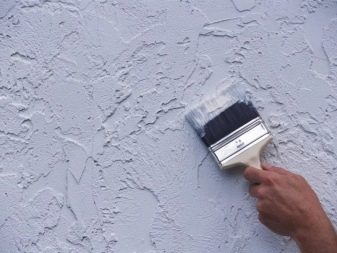
When the plaster dries up, it is covered with acrylic varnish using sprayers, it is better to do this in several layers, letting the previous one dry first.
Is it easy to change it?
Sometimes an overall good apron is damaged in one small place, which suggests that it should be replaced or repaired without extensive work, without removing the cabinets.
- If the apron consists of separate small elements, then in many cases it can be updated. In the case of tiles or laminates, you should try to remove the damaged parts as carefully as possible, then replace them with others or even use the old ones if they have not crumbled. It is advisable to put one or two new tiles instead of old ones only if you have both tiles and grout of the desired shades.
- As for updating a strictly apron to a newer one due to minor damage, in some cases a new layer can be located right on top of the old one. Actually, this option is appropriate in all cases, if you are sure that the bottom layer is holding tight and will not fall off under the weight of the additional one.
- If the apron has significant damage or has simply been in use for a long time, you simply cannot do without removing it before installing a new one.
How to quickly and efficiently make a laminate kitchen apron, see below.


The comment was sent successfully.