How to make an extension cord with your own hands?
An extension cord is a very useful and necessary thing in the house. With the help of a simple electrical device, you can simultaneously connect a large number of electrical appliances: computer, TV, iron, washing machine, regardless of size, remoteness in the apartment, functionality, purpose.

Manufacturing features
The first power strip with multiple outlets was launched in 1972. The invention belongs to engineer Peter Talbot, who worked at the time at Kambrook.
The innovation was not patented in a timely manner, but the device became widely known, therefore, the firm and the engineer did not receive any rewards for the creation of a useful electromechanical device from other manufacturers.

Modern extension cords are produced in a large assortment. They are endowed with:
- different designs;
- the number of multi-socket outlets;
- various cord lengths.


There are also other design improvements - switch, light indication, surge protector. Extension cords work from an electric voltage of 100-127 V, 220-240 V, depending on the accepted standards. An extension cord with a long wire and many sockets is convenient not only for powering a large number of electrical appliances inside a house or apartment. It will definitely come in handy during repair work, when you need to bring the connection point, for example, to the fence or to the facade of the building. In this case, the installation of a stationary outlet looks impractical, therefore, the power supply of electrical appliances is carried out using a mobile device.
Making an extension cord with your own hands is beneficial, first of all, from an economic point of view.

An electromechanical device assembled from improvised objects will in any case cost less than a ready-made device bought in a store. However, before the assembly process, you should carefully think about the extension cord model, because there are a lot of design options for devices - you will have to choose one. To simplify the task, it makes sense to list the common models of modern extension cords.
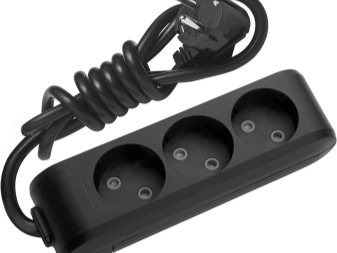
- Domestic. A simple design (usually with three outlets) without modern improvements: power buttons, surge protectors, indicators and other things.

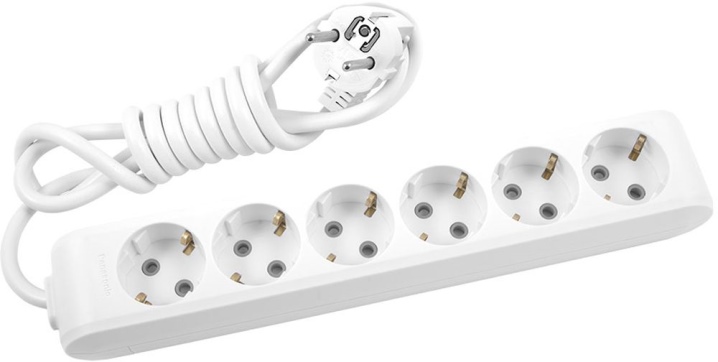
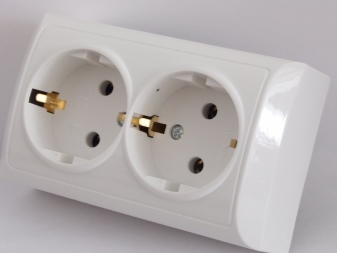
- Grounding. A device with grounding contacts for connecting 3-6 electrical appliances. The landing socket holds the plug tightly.
- With a button. Such a device is very convenient when you need to immediately turn on several electrical appliances connected to the extension cord. Not an equivalent replacement for a surge protector.
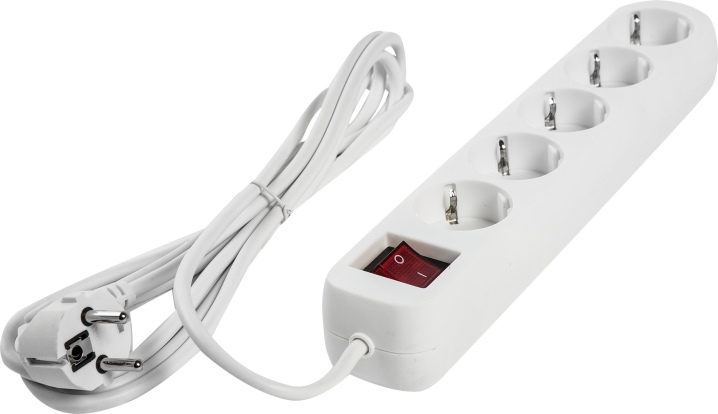
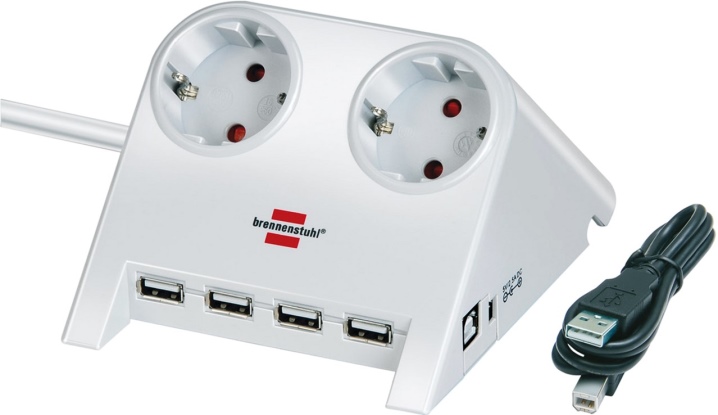
- With power filter. The key design feature of the power strip is the built-in surge protector. It protects electrical appliances connected to sockets from surges, voltage surges.
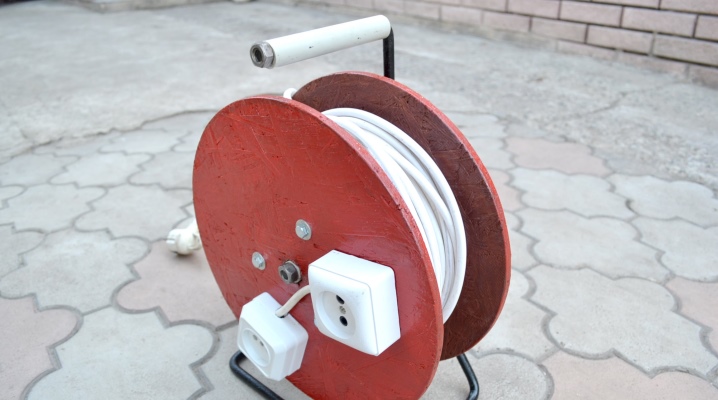
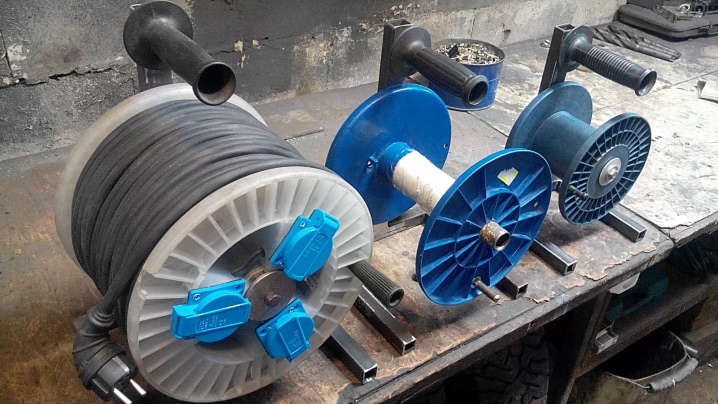
- Portable (on reels). It is widely used in industries, construction sites. Also, it will always come in handy in a private house if any external work is required using an electric tool.

There are enough types of extension cords for a man to be able to answer the question of which electrical device he will assemble in the first place.
How to do it?
In order to assemble the most simple device that will work from a 220 V network, you must first prepare the tool, as well as materials. If a design with a light bulb is provided, you should buy an LED that operates on AC in advance. In another case, when the assembly of the carrier on the reel is required, you need to think about this aspect, from which structural bases to make the drum.
You should also prepare a power cable with wires, a plug assembly kit, external sockets and a high-voltage adapter (the power filter can be assembled by yourself if you have the appropriate knowledge in electrics). You will also need a long cord, a wooden base to connect the structure. Many craftsmen make extension cords with their own hands, and such electromechanical devices work for a long time and efficiently.

Preparation
To assemble a household power strip with multiple outlets without assistance, you will need tools:
- pliers;
- soldering iron;
- screwdriver;
- screws;
- sharp knife;
- base materials (wooden block or plastic base, they can be cut from the canister);
- hacksaw for metal;
- sandpaper;
- small vice for fixing the workpiece.


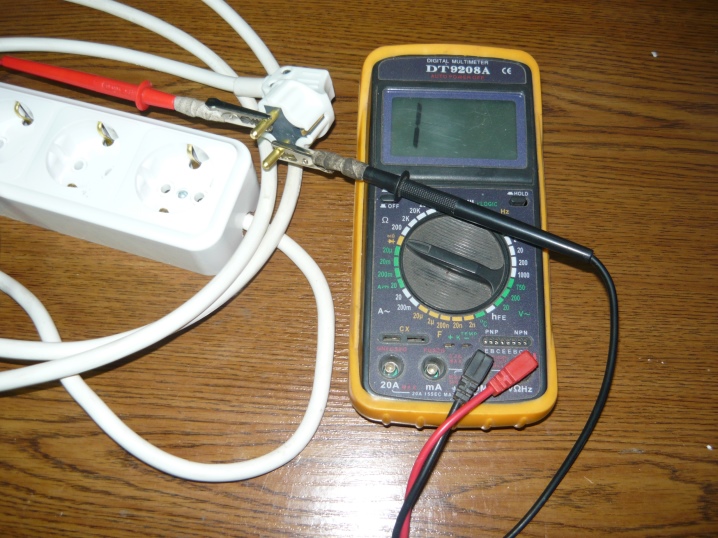
It is also necessary to prepare a voltage meter in order to be able to ring the contacts after assembly.
Of the materials you need to have at hand:
- 3-4 overhead sockets;
- high voltage cable;
- plug or the necessary elements for assembly.

It is quite easy and quick to assemble an electrical extension cord without special devices. For beginners without practice, it is recommended to start working with just such a model of an electromechanical device.
A more sophisticated fixture - with a power filter, indicator light and shutdown button - requires advanced electrical knowledge and skills to assemble.
Therefore, here the best solution would be to work on a household extension cord.

Assembly
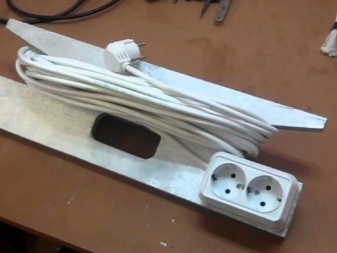
The first step is to make a base for the extension cord. Estimate how much space in length and width 3-4 overhead sockets will take on a wooden board or plastic stand. Fix the prepared workpiece in a vice and saw off the required part with a hacksaw for metal. To clean the sharp edges of the bar from burrs with sandpaper.
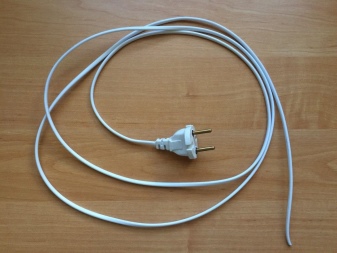
Now you need to connect the electrical plug to the long wire. Disassemble the device purchased in advance, strip the contacts in the power cable and connect the copper ends to the plug terminals. Bolt and assemble. Remember the color scheme for later wiring. If the plug and multicore cable are purchased assembled (non-separable option), the task of assembling a household extension cord is simplified.


Next, you will need to disassemble the overhead sockets, as well as perform a rather painstaking work to connect each device according to the color scheme. Cut off the required amount of wire from the contact cable, carefully cut the insulation with a sharp knife and cut the wires (usually red and blue) into separate pieces of equal length. Strip the contacts on both sides and connect all overhead sockets in series in color.
Now, according to the color scheme, connect the wire cable to the contacts of the first patch socket.
Before the final part of the assembly process of the extension cord, it is recommended to check the electromechanical device, namely, to ring a voltage meter. Move the switch of the device to the "Resistance" mark and connect one probe to one plug, and the second one to the contact of the last socket. This should be done according to the color line of the wires. If the arrow of the device deviates, then the extension cord is assembled without errors.
The last stage is the final assembly of the electromechanical device. The connected overhead sockets must be placed on a prepared base (wooden block) and screwed in with self-tapping screws. Check the functionality of the extension cord with the electrical devices turned on. With experience, you can assemble a garage extension cord with a rotating coil and stand. To make such a device with your own hands, you will need the same tools plus:
- polypropylene pipes;
- 5 polypropylene corners;
- 30 meters of cable;
- 4 plugs;
- electrical plug;
- threaded studs;
- nuts;
- 2 tees;
- sewer coupling (110th);
- 2 round plywood boards.


The first step is to prepare a homemade extension stand. Take a polypropylene pipe and cut it into certain lengths so that you end up with a reliable and solid foundation. You will also need to cut off the long end of the pipe for the subsequent installation of the limiter on the top of the electromechanical device.
You need to assemble a quadrangular stand using polypropylene corners prepared in advance.

As a result, it is necessary to achieve a closed base of tubes and corners, on one side of which the L-shaped structure should rise upwards. You will need it to mount the rotating wire spool.
Now you should take round cutting boards and apply the markings. Plywood circles must be selected so that they can rotate freely after assembly of the extension, so this fact should be taken into account. Attach a piece of pipe to the central part of the boards, circle it with a pencil and drill around it. Then apply the sewer sleeve, mark the locations of the holes for the internal studs, make holes.

The next step is to assemble the coil. Insert the studs into the holes of one board, put on the sleeve, attach the second circle and tighten with nuts on the other side. Now you need to screw the sockets to the coil. For this purpose, drill characteristic holes and fix the electromechanical device using small self-tapping screws, not forgetting to first connect the wire cable with an electrical plug.
The finished coil must be installed on the L-shaped section. Take a polypropylene pipe, cut it to size and solder it into the rack. Cut the protruding end with a hacksaw for metal and put on a plug. The last stage is the installation of the handle. This element can also be made from tube or other material.

Operating rules
It is necessary to assemble a household homemade extension cord from factory materials in order to avoid force majeure situations. There should be no exposed wires or damaged areas on the carrier. If the cable is frayed over time, the hazardous areas need to be insulated. In order to prevent overheating of the cable, when using the extension cord at maximum loads, the wire must be completely unwound.
How to make an extension cord with your own hands, see below.


The comment was sent successfully.