Replacing the doorknob: preparation and step-by-step guide to the process
It is difficult to imagine a comfortable and high-quality door without a handle. This element allows you to use the door leaf with maximum convenience. You can install a new or dismantle an old handle with your own hands. This process does not take up a lot of effort and free time. Today we will consider in detail how to change the door handle correctly, and also find out what types of such fittings exist.
Varieties of door handles
Do not think that absolutely all doorknobs are the same. In fact, these elements differ in design and installation method. Let's consider in detail what types of pens exist on the modern market.
- Overhead (incised). These handle options are very common. They are considered simple and straightforward. Overhead handles are installed as simply and quickly as possible - even a beginner who has never been involved in similar work can cope with such a task. These handles just need to be fixed on the door leaf itself.
- Mortise. These types of door handles are more complex and trickier to install. To fix such elements, it is required to pre-drill a hole of suitable dimensions in the door leaf.
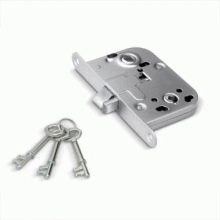
Mortise subtypes of door handles are divided into the following types.
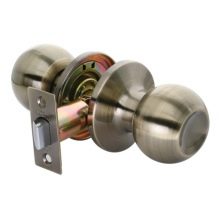
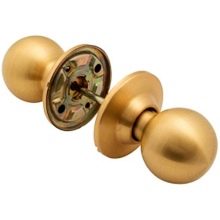
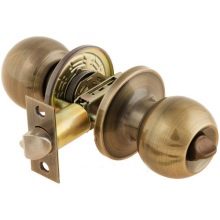
- Swivel and knob models. These options unlock the door leaf. All operations are performed by turning the holder itself. At the same time, no pressure is made on the handle itself, as many users think. In many cases, these devices are equipped with special locking mechanisms (latch) that block the locking tongue. Thanks to the presence of such details, the door can be closed from the inside. It should be noted that these handles can be safely called very convenient to use, since they have a round shape.
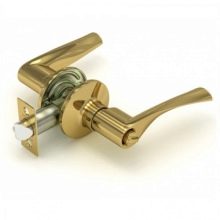
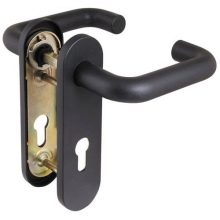
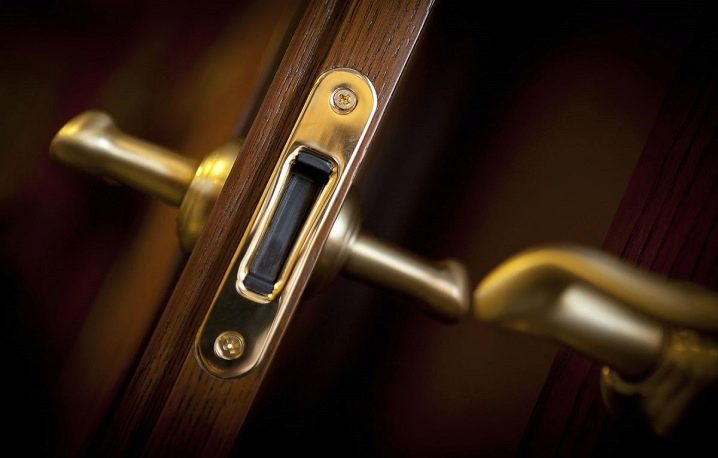
- Push-on or with a latch. The second most popular are these types of door handles. Their names speak for themselves - the mechanism in such elements is activated by light pressure on a special lever.

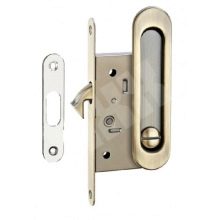
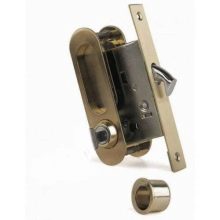
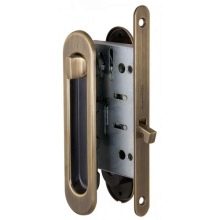
- Hidden type. We should also highlight interesting hidden door handles. These devices are most often purchased specifically for various kinds of sliding systems. For example, these can be compartment doors that are relevant in our time. During the movement of the shutters, these products do not interfere in any way, do not harm either the walls or wallpaper in the room.
At what height to install?
Many users wonder at what height it is customary to install door handles. There are no specific regulations here. There are simply no standards for the height of the handles. Usually, in canvases made of MDF or timber, they are mounted at a distance of 1 m from the floor. Of course, the handle can be lowered or raised at will - it all depends on the preferences of the owners.
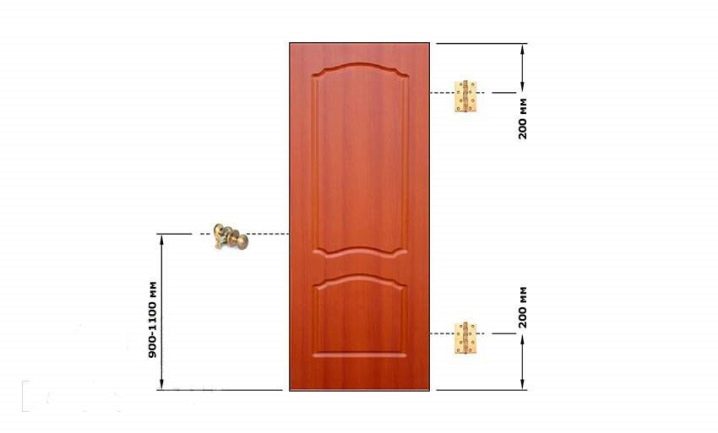
It is important to consider that the choice of a certain distance of the handle from the floor is influenced by the growth of household members. In practice, a handle 1 m above the floor is optimal for both adults and children. When installing the door handle, one must also bear in mind the level of the handles on the rest of the door leaves in the dwelling.Remember - all accessories must be located at the same height, otherwise it will look ridiculous and attract unnecessary attention.
Required tools
If you have decided to install the door handle yourself, then you will need to stock up on all the necessary tools. These include:
- pencil;
- injection;
- roulette;
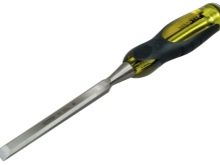
- chisel;
- screwdriver;
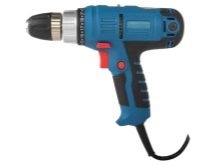
- drill;
- drill;
- crown.

Instead of a screwdriver and a crown, it is permissible to use other improvised devices, however, it must be borne in mind that the quality of all work can be significantly affected by this, and it will take more time. For this reason, experts recommend using only high-quality tools and not replacing them with analogues.
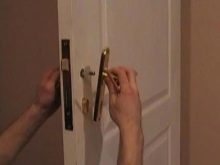
Replacing the door handle step by step
If you have stocked up with all the required tools, then you can start replacing the door handle yourself. Do not be afraid to carry out such work with your own hands - they are very simple, even beginners who have never encountered such things before can easily cope with them. All that is required of you is to strictly follow the simple step-by-step instructions.
Door markings
It is necessary to start such work with the marking of the existing interior linen. Having calculated at what height the handle will be located, it will be necessary to place marks in those places where the necessary holes will subsequently be made. In this case, it is advisable to use a simple pencil, tape measure and a corner. With the help of these devices, you will need to draw a horizontal line on a flat plane. Then transfer it to the end and opposite half of the sash.
On the front half of the door in the middle of the transverse strip, one more mark must be set. It represents the space reserved for the tongue recess. From the extreme line of the sash, keeping a step of 0.6 cm, you need to draw a point (on both sides of the canvas). It is this place that will be allocated for the installation of the handle.
Drilling holes
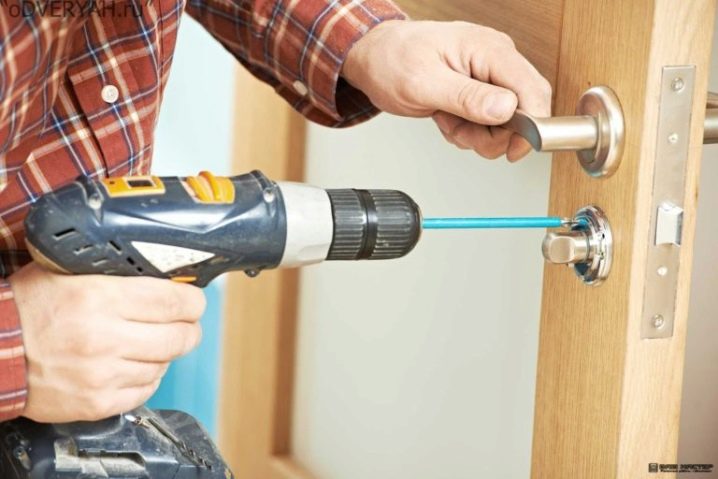
The next step is to drill the necessary holes for fixing the handle and lock. It does not matter in what sequence you make the holes. The main thing is to remember that there is no need to rush in such matters. Be careful, take your time. Otherwise, you can seriously complicate the work. In order to embed the handle itself into the interior doors, you need to drill a hole with a drill and a special crown. To make the hole even and aesthetically pleasing, it is required to make it inside and outside the sash, maintaining a depth of ½ the thickness of the door itself.
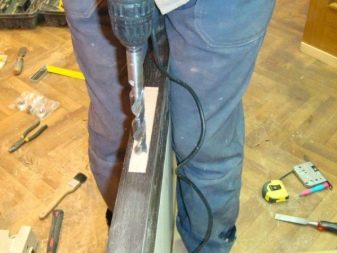
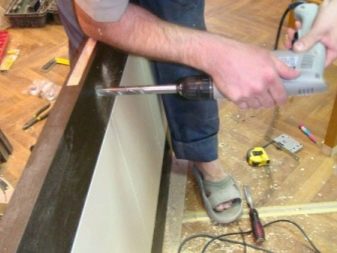
Professionals recommend that for greater strength and reliability, mark this depth with a felt-tip pen on the crown. If everything is done correctly, then you probably will not cause any damage to the product. To keep the hole straight, the drill will need to be held straight - the tool should not deflect to either side, so you need to be careful. To correctly insert the latch, you will need to arm yourself with tools such as a pen and a drill. In the course of carrying out such work, you will need to be as careful and accurate as possible, because the distance between the pen drill and the angle of the end is usually insignificant.
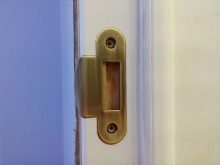
Installation of the lock
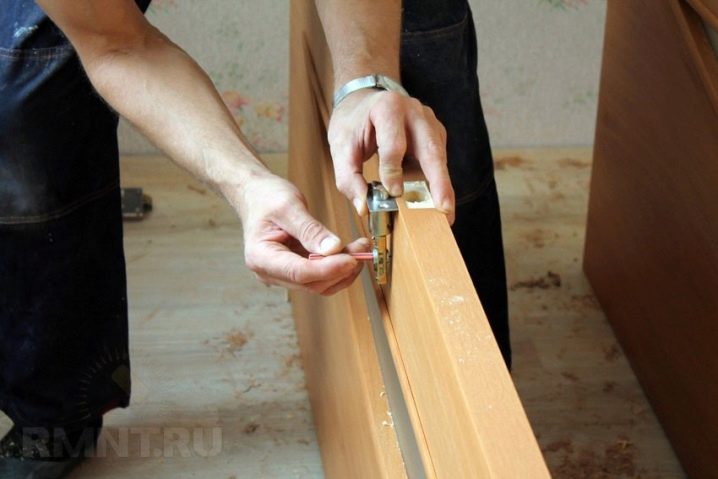
Next, you will need to install a locking mechanism in the door. It should be inserted into a specially drilled opening. Press the trim into the end frame of the door leaf. Circle it with a simple pencil (always on all sides). Then you need to clean the base from the top layer using a chisel and make a notch for the thickness of the overlay. This stage is required in order to press the lining into the door base. Further, the cover will definitely need to be fixed with screws. The notches are made especially for them, of course, even before the installation of the fasteners.
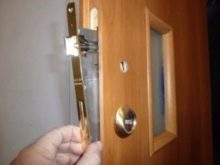
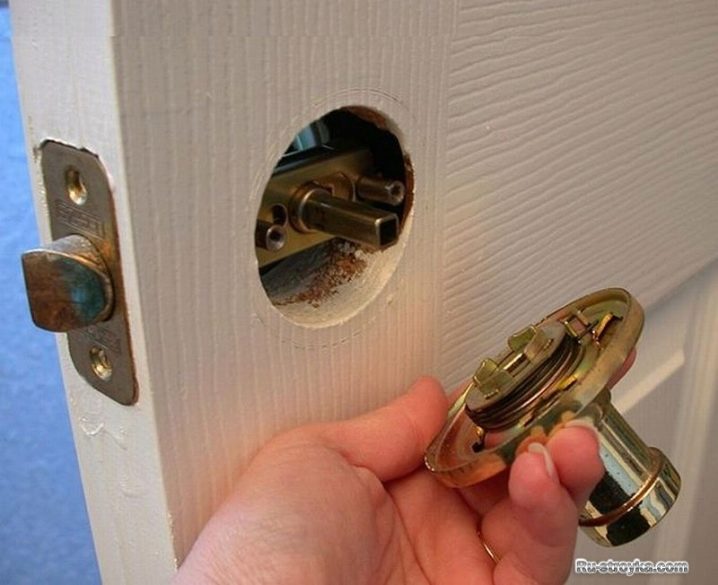
Handle insert
Models with screws on the outside do not need to be disassembled.When mounting one of the parts of the structure in its place, it is very important to try to get into the holes of the latch with two guide parts that have a thread specifically for the bolts. After inserting the second guide piece, the device will need to be tightened with the bolts. It is required to tighten the fasteners with uniform movements in order for the handle to work correctly.
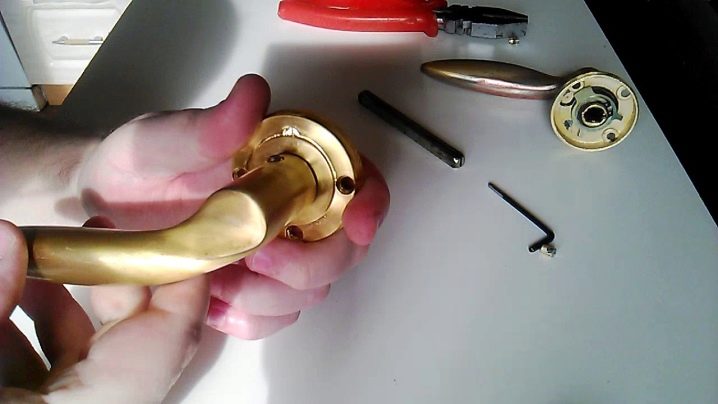
As for products with hidden screws, they must be disassembled. Here, a detailed instruction, as well as a specialized key, will come in handy. The handle can be removed without any problems by pressing the stopper with a key. The fittings must be installed in place only after the collapsible component is attached to the bolts.
Loot markup
Having correctly installed the door handle, you will need to make a special recess for the tongue in the loot. For this purpose, it will be necessary to transfer the dimensions correctly. Meticulously and accurately executed markings in this case will guarantee the correct functioning of the lock and the door structure. To set the marks, you need to close the door, and then mark the gap on the strip from the top to the bottom of the tongue. Find the center of the lock using the square. Place a mark in the tray there. A recess should be made at the place of the marked mark, and the excess material should be removed with a chisel.
Cutting a groove in a slot
Even before you screwed on the invoice component, you need to look again at how the interior door in the apartment closes. If there is no friction and other similar defects, then this will mean that the groove for the tongue was made according to the standard and is correct. Then try to close the door structure and not jerk it too much. If the sash begins to swing, then this should indicate that there is a backlash in the structure. Do not be afraid of this - there is nothing to worry about. When the groove is completed with a striker, everything will be in order.
The otvet will need to be fixed in one level with the loot. As during the fixation of the locking mechanism, it will need to be "drowned" in the loot. There are times when, after fixing the overhead part, the backlash does not disappear, and the door structures continue to stagger further. This defect can be eliminated by bending the tongue with a hole with a screwdriver.

Care of fittings
It is not difficult to change the handle with your own hands, but the procedures with this part will not end there. These fittings will need to be properly looked after so that they serve as long as possible and do not cause problems during operation. It should be borne in mind that over time, door handles begin to wear out and age, which, of course, affects their quality and performance. In order to care for the door handles, you will need to do the following.
- Wipe them from dust deposits using specialized cleaning products. Try to avoid formulations containing corrosive acids, alkalis and abrasive components. These substances can seriously damage door hardware. Moreover, under the influence of such means, the handles can rust. After completing washing, the products will need to be wiped with a dry cloth.
- It will be necessary to tighten the handles if they become loose. If you neglect these simple procedures, the mechanism will simply fail.
- Try to handle the door handles as carefully and carefully as possible, so as not to cause mechanical damage to them. These can negatively affect not only the design of products, but also their functionality.
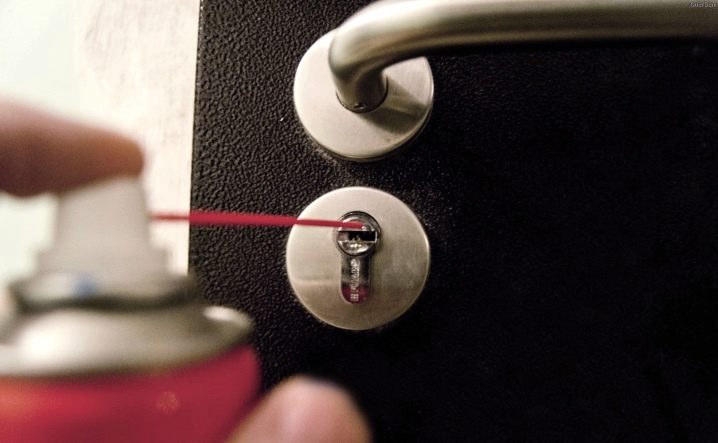
Do not forget that you will need to competently take care not only of the handle itself, but also of the locking mechanism. In this case, you will need to regularly lubricate the existing mechanism using specialized tools. In certain cases, compositions such as sunflower or vegetable oil are used to replace them.We must not forget that it will not be so easy to get to most of the details of the existing structure, therefore, when lubricating, they often use a convenient nozzle made in the form of a long and thin tube. For this purpose, some users completely remove the overhead elements or dismantle the handles.
Useful Tips
Take advantage of the advice of professionals, to choose the right door hardware.
- Before going to the store to buy a new doorknob, it is advised to unscrew the old cover in order to take it with you.
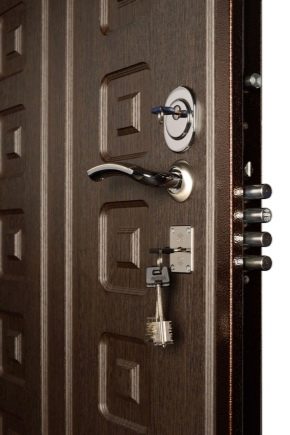
- Experts recommend buying handles with an internal armor plate. Such models are more expensive, but they are more reliable and better protect against hacking.
- If you are looking for the simplest grips, you can go for anything from plastic to metal. The scheme of their installation will not change from this and will be the same.
- If you are choosing handles for double doors, then it is better to give preference to models designed for swing doors. If you buy simple options on an outlet, then their installation may not be the quickest and easiest.
For replacement of the doorknob, see the video below.


The comment was sent successfully.