How to install door hinges and how to hang a door on them?

Installing door hinges during do-it-yourself repairs is a responsible job, because the accuracy of orienting the door relative to the jamb depends on their correct insertion. The slightest misalignment can lead to a loose closing or, in the most severe cases, a complete impossibility of closing with a lock. Therefore, there are two ways out - to learn how to hang the door on the buttonholes yourself or to entrust this important procedure to a qualified specialist.
How to choose?
There are several types of door hinges.
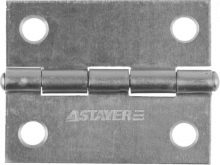
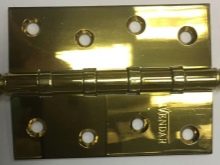
Steel
The most durable and reliable. They are not very attractive. Chrome-plated products are more attractive, but their cost is also higher than that of ordinary ones. The term of use of these elements is practically unlimited.
Brass
The most beautiful in appearance, but short-lived loops. Brass is a soft alloy, therefore it tends to grind off rather quickly.
Brass plated
The materials for their manufacture are alloys "like brass". Relatively cheap parts, but their service life is short, as they wear out too soon.


The design of the door hinges depends on the material of the door leaf.
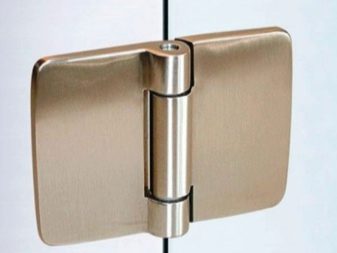
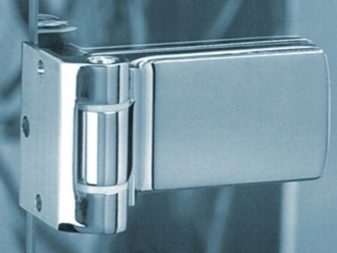
- Elements for glass doors (for example, bath or sauna) - clasp and fix the glass on both sides. Inserts made of rubber or silicone help in fixing. For the installation of such door hinges, special equipment is required.
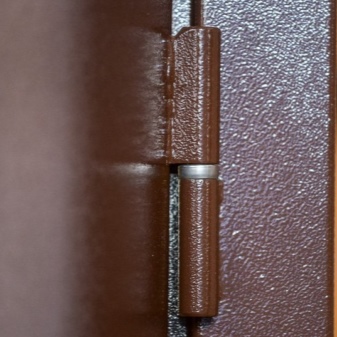
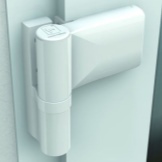
- For metal doors, hinges are divided into external and hidden. In the design of the outer ones, there are support ball bearings or insert balls and an adjustment screw. This is to compensate for the abrasion of metal parts. Internal hinges (hidden) prevent unwanted persons from entering the room - damage or removal is impossible, since they are devoid of protruding parts.

- For plastic doors, the hinges are equipped with devices for adjusting the distance between the door leaf and the frame. They are mounted by craftsmen on metal-plastic doors used for balconies and loggias.
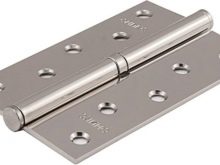
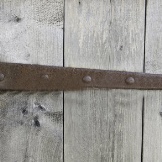
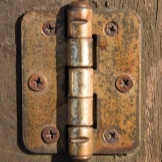
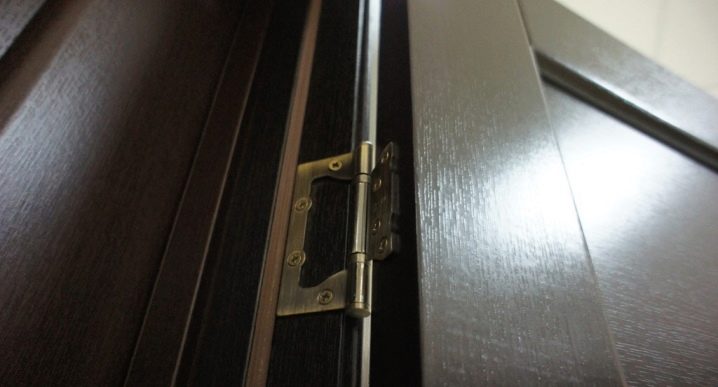
- Models for wooden doors are divided into overhead, or card (simple and corner), mortise, screwed and Italian. Overhead can be removable and non-removable. It is possible to independently install them on the doors between rooms using carpentry tools.

The choice of door hinges is influenced by the following parameters.
- The weight. For massive and oversized doors, additional hinges are required, whereas usually only two of them are needed. In this case, the third loop is not installed in the middle, but is shifted slightly upward. It should also be noted that not all fastening elements are suitable for doors of increased weight.
- The presence or absence of ball bearings. They are necessary so that heavy doors open easily and do not creak.
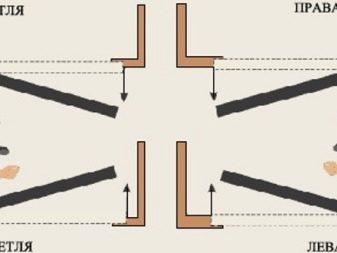
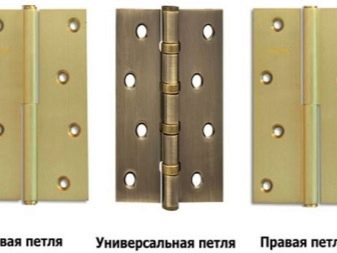
- Opening vector. On this basis, the hinges are divided into right, left and universal. The latter type of products can be attached from either side, but their installation and dismantling are complicated at the same time.
- Intensity of exploitation.
When choosing products in a store, be sure to check them - sometimes they sell defective products. It is advisable to choose such a color of the model so that it does not stand out from the color scheme of the door, handle and lock. The same goes for the fasteners.
How to install correctly?
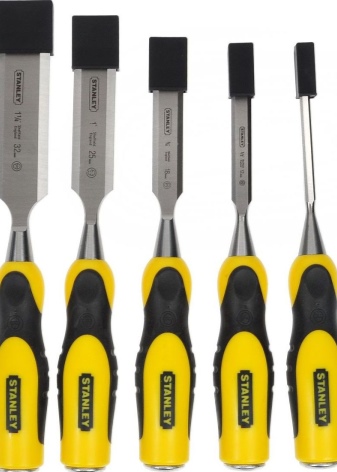
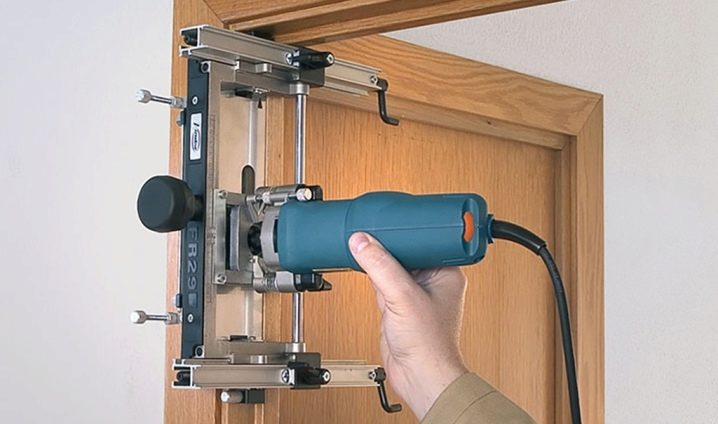
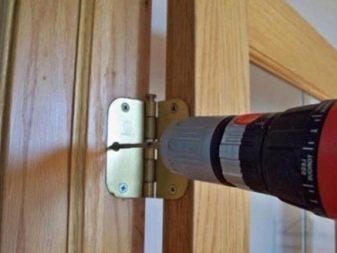
To insert hinges into a wooden door, you need the following tools:
- electric cutter (chisel) and hammer;

- screwdriver;
- screws;
- a pencil for carpentry work;
- construction plumb line (level);
- wedges made of wood.


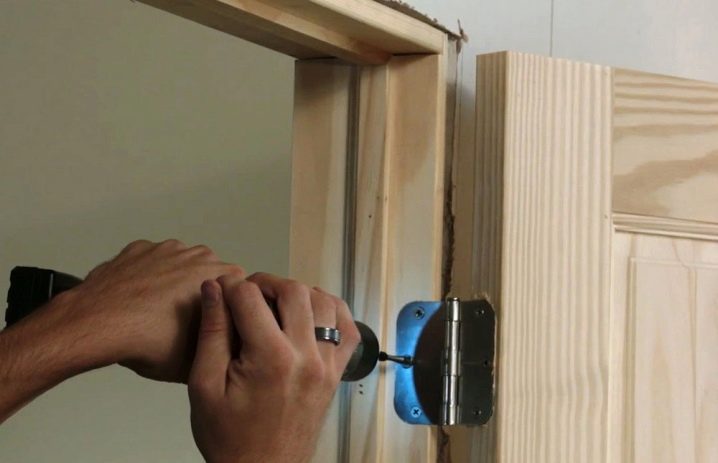
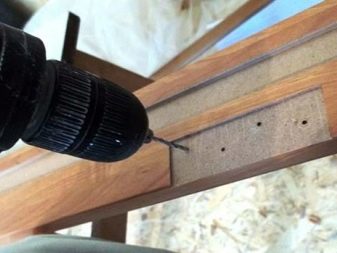
First you need to markup. Measure 20-25 cm from the top and bottom of the door leaf and mark with a pencil. Check the wood in this area for defects and damage, if found, slightly displace the markings.
Attach the edges of the buttonholes to the marks and outline their outline. Use a chisel to cut a recess in the door along the outlined contour to the depth of the thickness of the tool. Remove excess wood using a chisel and hammer. If you make a mistake at this stage, use cardboard or rubber liners.
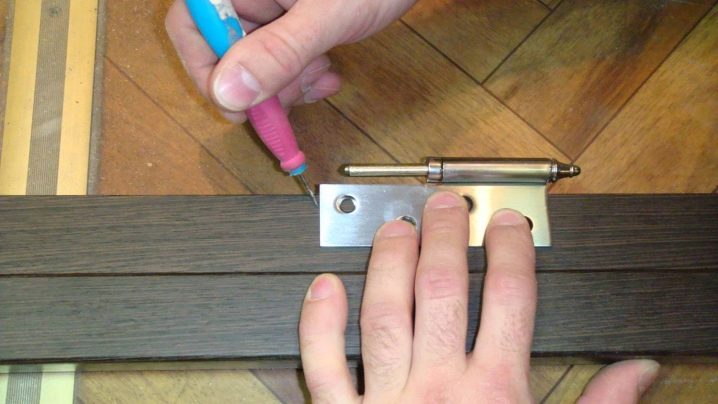
Attach the hinges to the door leaf with screws (self-tapping screws). Drill thin screw holes to prevent cracking.
The same procedures are carried out with the doorframe. To cut out the contour of the door hinges in the frame, the door leaf is fixed with wooden wedges, while leaving a gap of 2-3 mm between it and the frame. To facilitate the work, if the lock is already cut in, close the door with a key.
Check the position of the door in space using a plumb line - deviations in any direction are unacceptable. For accurate marking, unscrew the hinges from the door leaf.
Avoid excessive deepening of the notch on the door frame - it will lead to distortion of the door leaf when opening and closing.
In case of insufficient experience in working with carpentry tools, the ideal option would be to install "flush-mounted" butterfly hinges. When the door is closed, both of their parts are nested one into the other. For easy opening and closing of the door, a small gap is needed between the leaf and the frame.
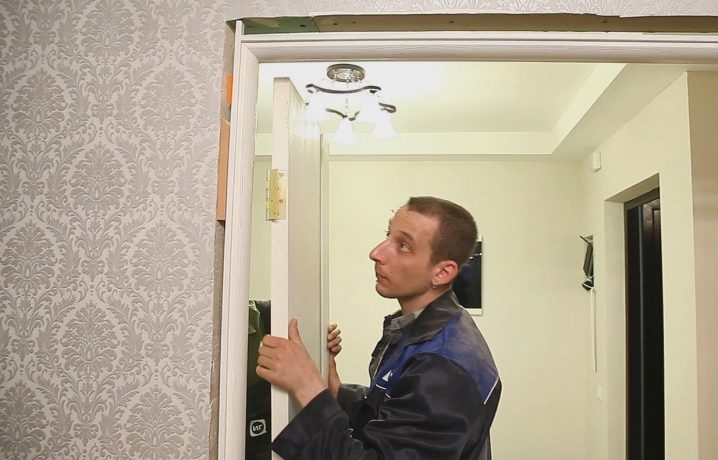
Installation instructions
- Measure from the top of the door frame about 25 cm, attach the product and circle the outline. This is necessary to correct the position of the part in case of its displacement.
- Drill small holes in the fastening points of the self-tapping screws.
- Attach the hinges to the jamb.
- Place the door in the opening, observing the required clearances. Secure it perfectly horizontally using wooden wedges.
- Mark the location of the upper buttonhole.
- Screw on the top hinge and remove the wedges. Support the blade temporarily to prevent it from skewing and deforming the hinge.
- Check the verticality of its position.
- Mark the location of the lower hinge. Drill the holes for the screws.
- Replace the screws and secure the bottom hinge.
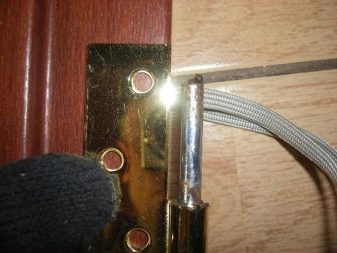
To put the hinges on the metal entrance group, you need to perform slightly different steps.
Required tools:
- welding machine;
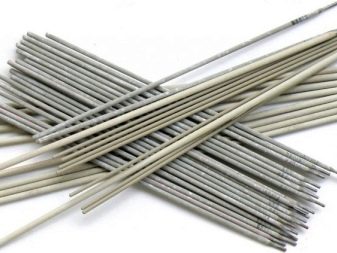
- 3-4 mm electrodes;
- grinder with a sharpening wheel;
- felt-tip pen;
- 3 mm metal plates.


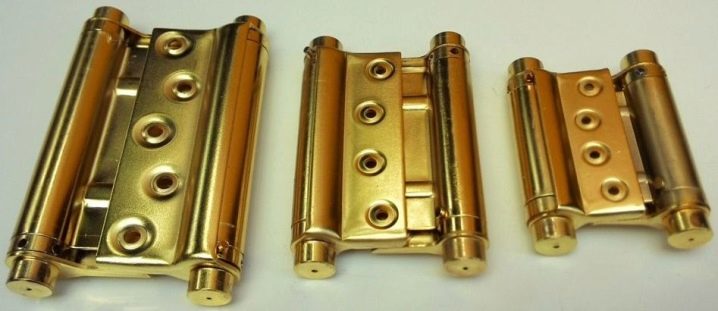
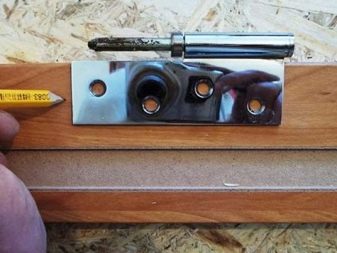
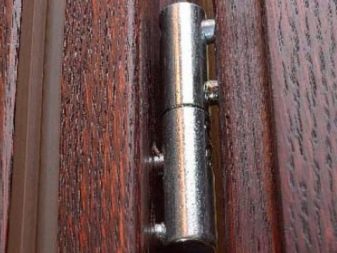
Mounting steps for overhead hinges with ball bearing and adjustment screw
- install the metal door into the door frame;
- place the prepared plates under and on the sides of the canvas to ensure the required distance between it and the box;
- measure 24-25 cm from the bottom and top and mark this place with a felt-tip pen;
- attach the hinges with orientation along the markings and determine their location in which the freedom of opening and closing the door is ensured;
- spot weld the hinges so that they reliably support the door mass (before that, remove the bearing and adjustment screw);
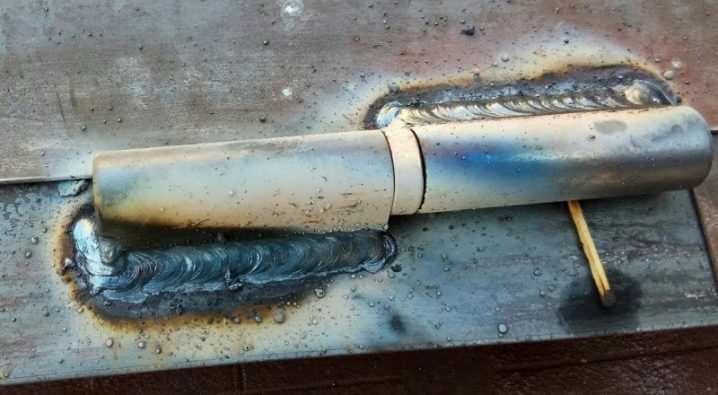
- check the correctness of their location by carefully closing / opening the door, also pay attention to the freedom of movement of the door, the absence of tilting and the completeness of the opening;
- if everything is done correctly, overhaul all the details;
- remove the slag with a grinder until the joint is smooth;
- insert the ball bearing and adjustment screw;
- paint the door and hinges, pour the grease inside.

If you have doubts about your ability to properly weld fasteners to an iron door, call a specialist.
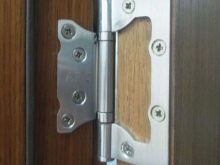
For fake canvases, it is better to use corner buttonholes.Their difference from straight lines is that instead of plates they have two corners.

Installation of corner overhead models is carried out according to the same algorithm as for straight lines - one part is attached to the end of the door leaf, and the second to the jamb.
Currently, improved types of products are used more during installation. Hidden models do not spoil the surface of the door leaf by their presence, they do not require special care for themselves, and doors on such hinges are better able to resist burglary and unauthorized entry.
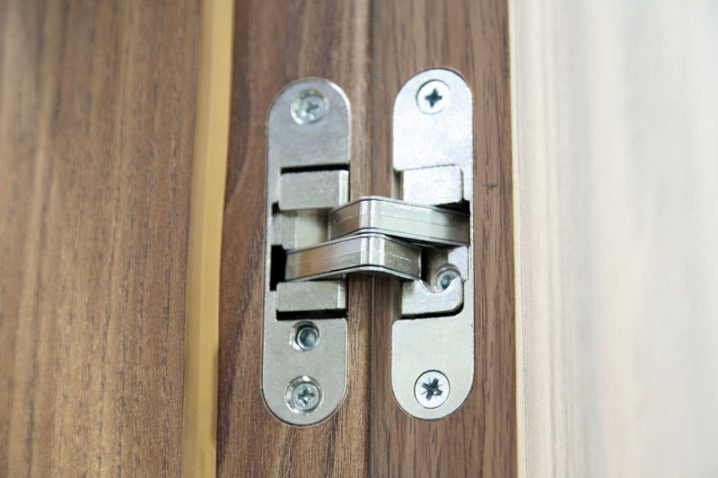
Sidebar of hidden elements
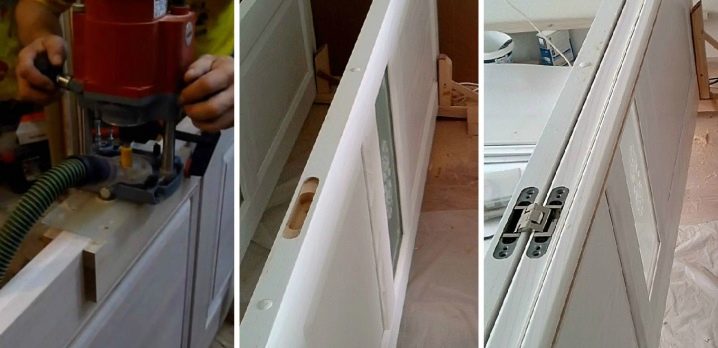
- mark the location of the parts of the product;
- use an electric milling cutter to cut a hole for the mechanism;
- in the place intended for fasteners, make a recess with a chisel;
- disassemble the buttonholes;
- insert most of it into the jamb and secure with screws;
- a smaller part is fixed in the door leaf;
- connect the elements and tighten the adjustment screw;
- if you have a desire to mask prominent parts of the products, install decorative overlays.
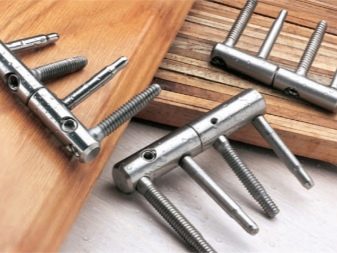
Screw-in (screw-in) and Italian models are not as common as others. The installation of Italian hinges follows the same scenario as the installation of invoices, but with one difference - the elements are fixed at the top and bottom of the door, and not at the side.
The screwed-in hinges are very easy to recognize by how they look: instead of side plates with holes for fasteners, they have threaded pins, through which they are fixed in the door leaf and the box. For false doors, this is the best alternative. In addition, they are adjustable and virtually invisible.
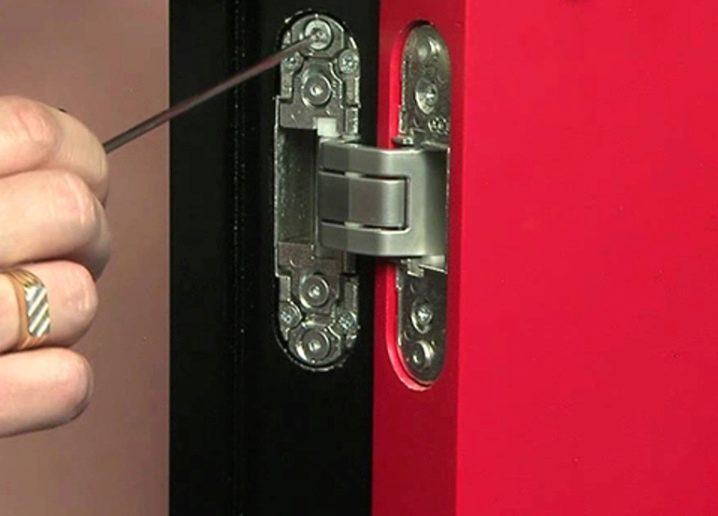
How to adjust the structure?
When loosening the attachment hinges, you need to tighten the screws. Newer models include a hex wrench adjustable mechanism that pulls the door to the desired position.
Hidden hinges can only be adjusted in the open position. It is necessary to remove the camouflage pads and then tighten the screw. Adjustments can be made in three directions.

How to hang a canvas on them?
Before you finally hang the door on the hinges, carefully check the correctness of its position vertically and horizontally using a building level (plumb line). Eliminate any inaccuracies in position and hang the door. Be sure to support it while cutting the hinges so that the first cut-in part does not deform under the weight of the blade.
Try to do everything neatly and accurately. In this case, the saying “Measure seven times, cut once” is relevant. With careless measurements or errors in the fixing process, you risk ruining both the door leaf and the door frame, and this is not only additional efforts and spoiled mood, but also quite sensitive financial costs.
Instructions for the correct insertion of the door hinge are in the video below.


The comment was sent successfully.