Reproduction of balsam at home
The Balsamin family includes one- and perennial herbaceous plants. One of the representatives is balsam; its genus includes about 500 species. The plant is found not only on all continents (in the humid tropical forests of Indochina and Africa, on the islands of Sumatra and Madagascar, in the coniferous taiga of Siberia), but also successfully bred at home. We will tell you about the reproduction of balsam at home.
Peculiarities
Balsam has many "nicknames". For its hygrophilous character, it is called "Vanka wet", for the appearance of a sugary liquid similar to dew at the edges of the leaf plate - "Monastic sugar", for the inaccessibility of seeds - "Impatient", for abundant flowering all year round - "Diligent Lizzie".
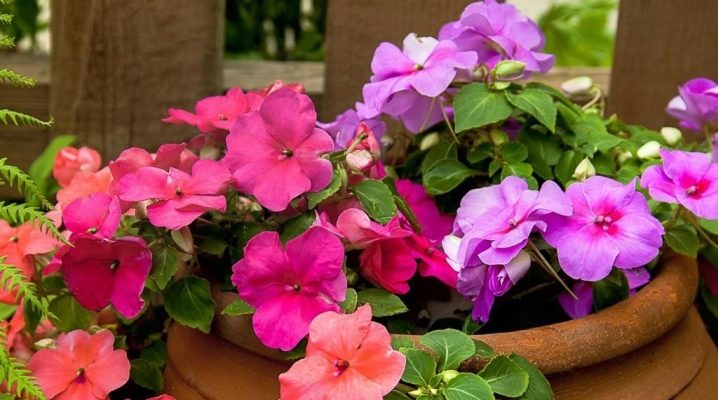
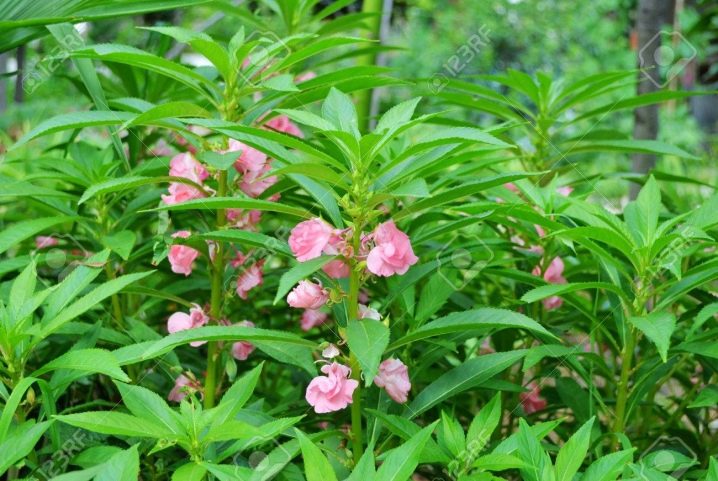
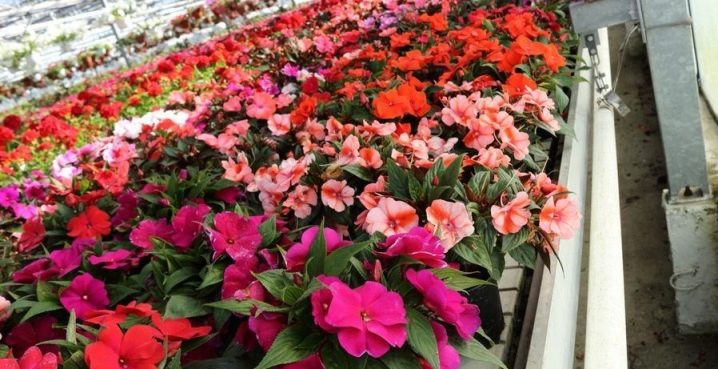
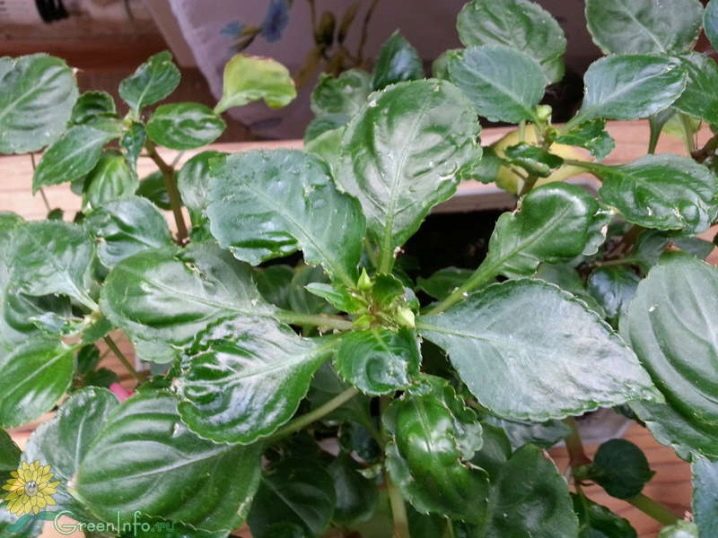
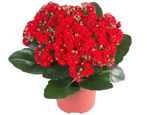
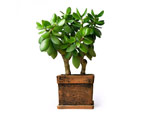
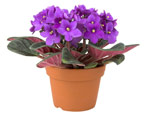
Balsam is a small bush. It has an erect stem, which is adjoined by twigs with many leaves. They are oval in shape and are pointed at the base. The flowers of the plant have an irregular shape and texture. They are smooth or terry, collected in inflorescences or single.
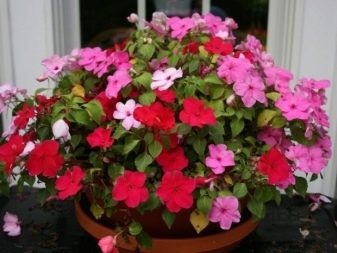
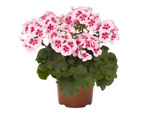
The buds are colored in one (white, pink, coral, red, orange) or several colors, depending on which species the plant belongs to. Of all indoor plants, balsam is the most undemanding. You do not need special skills to care for a flower and breed it.

Reproduction
There are two ways to propagate a plant: by seed or cuttings.
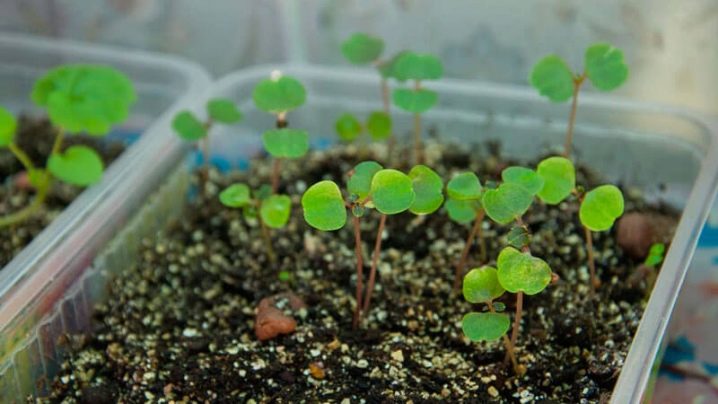
Seeds
Seed propagation is a painstaking and long way to get a new crop. Much in the time of the procedure depends on the choice of seeds:
- to decorate flower beds / loggias in summer, annual plants are chosen;
- seeds of perennial varieties are chosen for growing on the windowsill;
- if in the future they want to propagate balsams, then they do not buy seeds of hybrids;
- to obtain a culture with flowers of the desired shape and coloring, they refuse to buy a mixture of varieties.
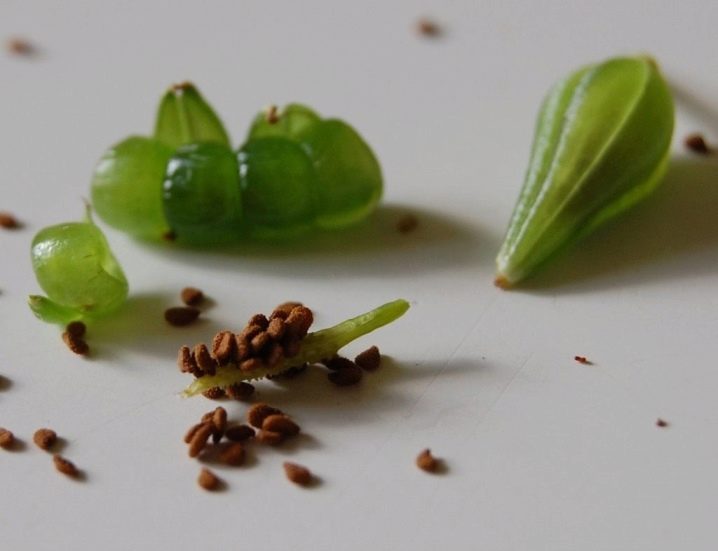
When buying seeds, look at their expiration date. They germinate for 7-8 years. The closer the date on the package to the day of purchase, the better.
Propagation of balsam by seeds is not an easy process. Seeds sprout for a long time, and besides, many sprouts die at the initial stage. To germinate them, special conditions are observed. The chance that the plant will turn out the same as in the photo from the package is minimal. Varietal plants do not transfer their characteristics to the seed.
Cuttings
The most common breeding method is cuttings. It is classified as vegetative. A new plant is obtained using separate parts of the daughter - cuttings. The method is popular for the following reasons.
- The varietal characteristics of the culture are preserved.
- Due to the simplicity of the technology, a beginner in floriculture who has no experience in breeding indoor plants will cope with reproduction.
- The result is quickly obtained: having carried out cuttings in March, in the summer you can already enjoy the sight of a flowering plant.
- Efficiency: almost always, a new plant develops a root system. A stalk does not give roots if the grower neglects the requirements for the procedure, or propagated it in improper conditions.
Perennial varieties of balsam such as "New Guinea hybrid", "Creeping" or "Waller's balsam" are propagated by cuttings.
Basic nuances
To propagate a plant at home, special requirements are met.
Spring is the best time for grafting balsam, because the metabolic processes taking place in it are accelerated. Cells are actively dividing, forming new ones, and cuttings easily acquire roots.
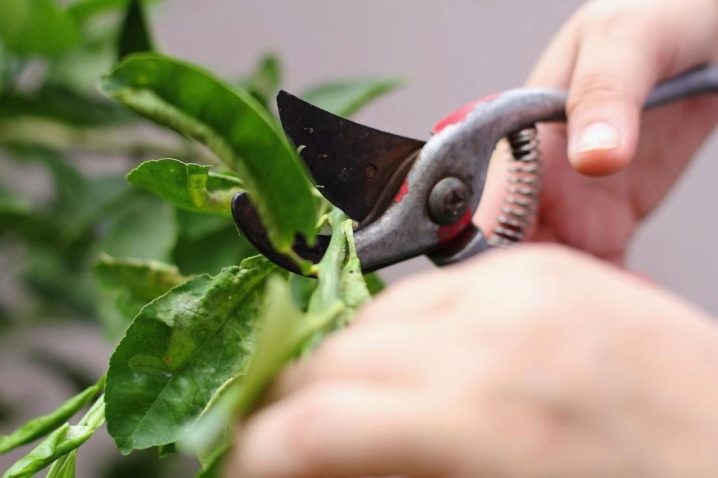
A week before rooting, balsam is fed with complex fertilizers. From a healthy plant, the tops of young twigs with 2-3 internodes 8-10 centimeters long are cutv. Ideally, there should be no flowers on the cut shoot, but if there are, remove them. Also, the leaves located at the bottom of the cutting are cut off, and the upper ones are left.
Before rooting, the tips of the petioles are dipped in a general-purpose growth hormone solution. Experienced growers use root stimulants. Both improve rooting, accelerate the formation and development of powerful roots. Cuttings are treated with a dry mixture of a growth stimulant with charcoal or kept in a solution diluted in water.
Rooting methods
There are two ways to root cuttings. The first is in the water, and the second is in the ground.
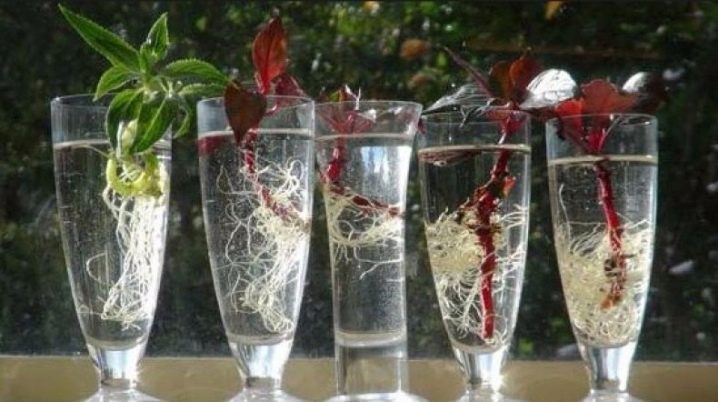
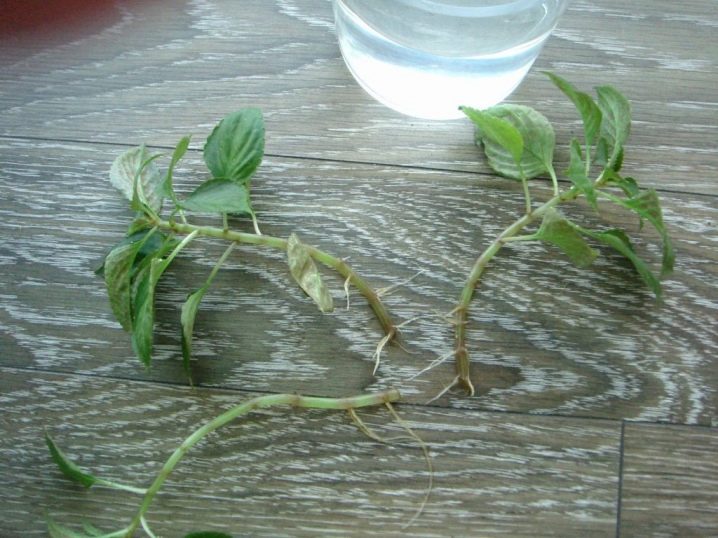
In water
Take a container made of plastic or dark glass, pour water at room temperature and immerse the cut cuttings in it. The lower leaves are cut off so that they do not cause rotting of the cutting. The container is placed in a bright and warm place. After a week, they check whether the roots have appeared or not.
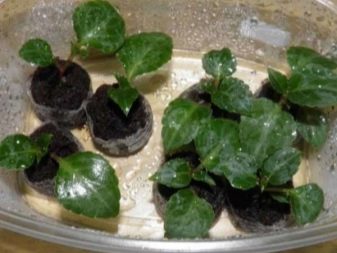
In the ground
The cuttings are rooted in a substrate formed by 1 part wet sand / peat mixture, 1 part vermiculite and 2 parts perlite. Peat nourishes the shoot, and vermiculite and perlite give the ground looseness, air permeability and prevent hypothermia / overheating of the root system. If the cuttings are rooted in the ground to a permanent place, carefully select it.
For beginners in floriculture, it is better to buy a special soil in a flower shop, and experienced florists to make it on their own using one of the recipes:
- garden soil + sand in equal parts;
- 2 parts deciduous humus + 1 part peat + 1 part river sand.
The soil should not be nutritious. Before planting, be sure to disinfect the substrate for 2 hours in the oven.
This will rid the soil of harmful microorganisms. Then the earth is spilled with a powder, solution or paste called "Fitosporin-M" to improve the microflora and reduce the risk of developing "black leg" in young plants.
Pot selection
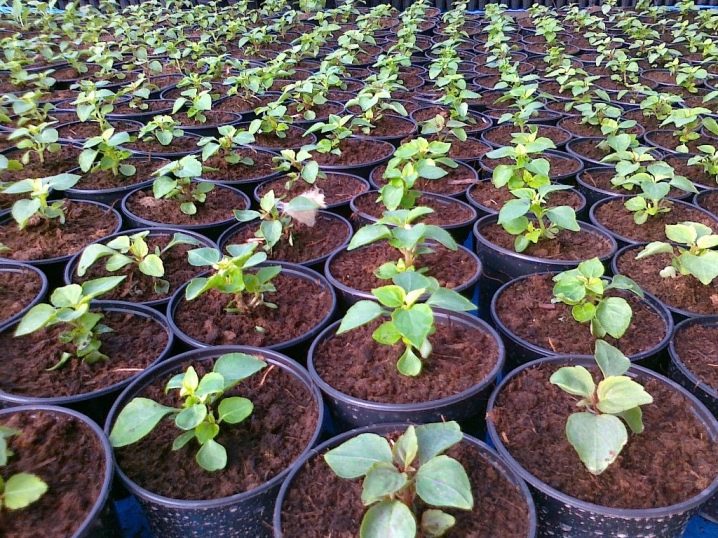
The cuttings are rooted in the ground using plastic cups, making holes in them to drain the water. The state of development of the roots of the seedling is monitored through the transparent walls.
When transplanting after rooting, a clay, ceramic or plastic pot of small volume and diameter is used.
In a cramped container, the plant blooms actively, and in a bulk container it grows the root system and leaf mass without flowering. If there is no container other than a wide one, then several rooted cuttings are planted in it.
Landing
Before planting, prepare everything you need from list:
- pot;
- soil mixture;
- stalk;
- drainage.
Holes are made at the bottom of the pot to drain water. Then a drainage layer 2-3 centimeters thick is placed in it and the prepared substrate is poured flush with the edge. A stalk is placed in it, and then it is watered with warm water, to which a little potassium permanganate is added.
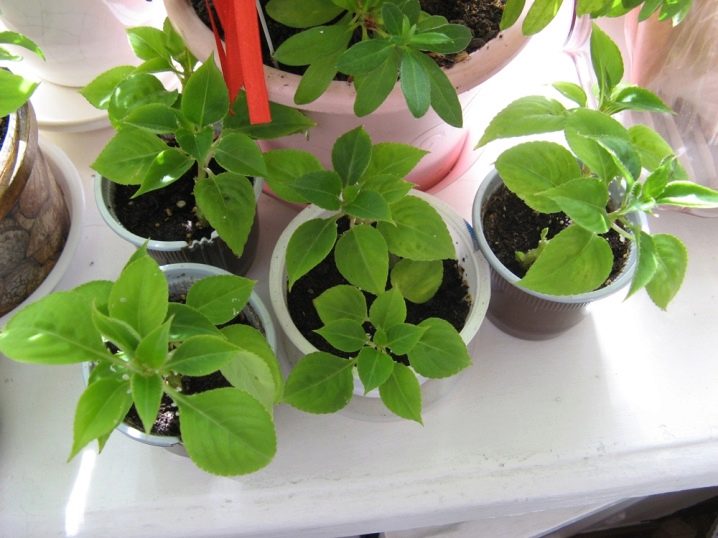
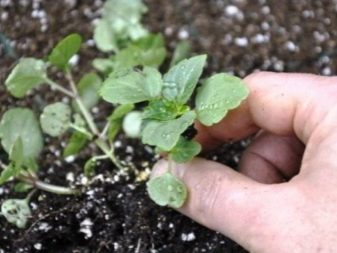
When the balsam has given roots in a plastic cup, it is transplanted into a pot by transferring it.
To do this, the plant is removed from the old container and placed in a new one along with an earthen lump. Then pour in the substrate of the same composition that was used for rooting the cuttings. It is gently crushed with hands, covering the rooted shoot and removing voids in the pot.
Care after grafting
Cover the pot with a plastic bag to help the cuttings take root quickly. It is not pressed tightly against the ground, leaving a little air. The "greenhouse" is ventilated twice a day, and the drops of water accumulated on the package are shaken off. This prevents the growth of fungus.
The container with the plant is transferred to a window with good lighting (preferably to a window facing southeast or east), but shade from the direct rays of the sun.

In order for the cuttings to take root, they provide an air temperature in the region of +22 + 25 ° C.
They are afraid of sudden temperature changes (it should not fall below + 16 ° C) and drafts.
At first, the soil is moistened with water from a spray bottle. Then the young plant is watered using a pallet so as not to overmoisten the soil and not cause rotting of the root collar in the sprouts. In the morning, in the evening and in cloudy weather, the seedlings are illuminated with a fluorescent lamp so as not to cause disturbances in their development.
If you organize the care correctly, then after 2-3 weeks the florist will notice that the balsam is developing... From this moment until the end of flowering, he must apply mineral fertilizers every 10 days. Balsam is not fed with nitrogen fertilizers. They cause overgrowth of green mass, poor flowering and serious ailments. To replenish the nitrogen content in the soil, it is better to transplant the plant into new soil once a year, replacing the old one.
When the shoots are stretched out, pinch them.Using the pinch, they will form a lush bush and contribute to the formation of more buds
It is advised to remove unnecessary twigs without regret, remove faded buds and wilted leaves. The only thing worth remembering: do not remove everything at once, otherwise the balsam will begin to stress.
Possible problems
Sometimes young balsam dies even with proper room care. A young plant is affected by gray rot. Reason: neglect of the procedure for processing a self-prepared mixture or a purchased substrate with a mixture of fungicides or heating in an oven. The cuttings rot because the "greenhouse" is not ventilated. If they wither when rooting in water, then the dry cut is to blame. The stalk is taken out of the water and a new cut is made at an angle of 45 degrees. Another reason for this phenomenon is direct sunlight on the shoot.
If the roots have grown, but the aerial part is not, then there is no reason for concern. The seedling builds up the root system.
As soon as it becomes powerful, the above-ground part will also develop. The main thing is to monitor the temperature in the room and the lighting. There are no problems with the reproduction of balsam at home. This does not require special skills and a lot of time. With the help of cuttings, you can easily get a new flowering plant.
See below for more details.


The comment was sent successfully.