Built-in wardrobe on the balcony
As a rule, a balcony or loggia is a place where people put unnecessary things. As a result, the balcony turns into a warehouse of forgotten things. But you can use the space on the balcony wisely and place a built-in wardrobe there, which would hide all household items from prying eyes and at the same time fit perfectly into the interior.
Types, their pros and cons
A built-in wardrobe on the balcony is a great option for any hostess from the messy clutter of the apartment. Such models are created according to individual measurements of a specifically selected balcony or loggia, since the walls of such a structure are directly the walls of your balcony. Shelves can be placed inside it.
The advantage of this design is that it takes up little space, fits perfectly into the interior, does not require additional expenditure of materials, and a long service life of the product. The doors can be conveniently opened and closed; in the open view, all the variety of things located on the shelves can be easily seen. The downside is that it is impossible to move or get rid of the cabinet without a complete analysis of the structure.
At the moment, designers have developed quite a lot of options for such cabinets, let's get acquainted with some of them.
Swinging
It's a timeless classic, but impractical in a tight space. The fact is that the space occupied by the doors in the open state is used irrationally.
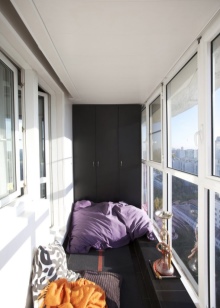
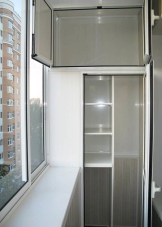
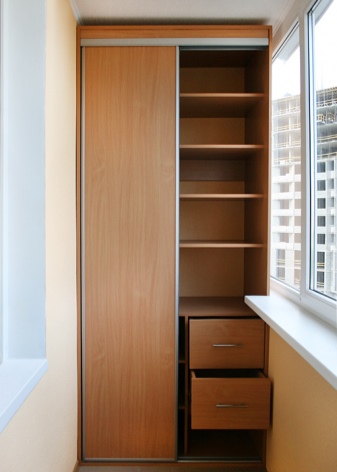
Wardrobes
They are very convenient on wide balconies, since they equally divide the structure into independent areas.
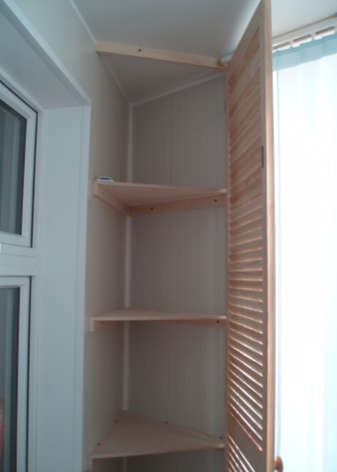
Corner models
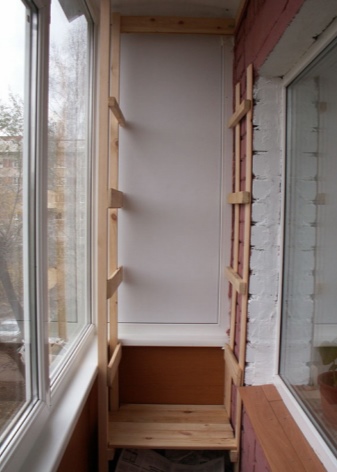
The walls of the loggia itself also serve as the foundations of this structure; shelves are placed inside the structure. The advantage of this model is that it makes the most of the balcony space, you can even place it on a non-standard balcony, for example, a corner balcony. Also, such a cabinet model will allow you to change the space of the balcony if it does not suit you with its shape.
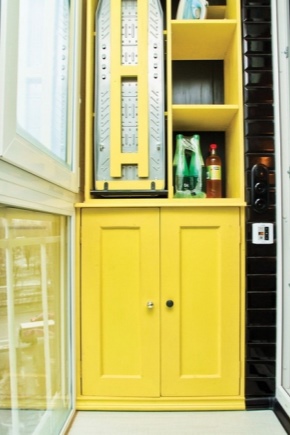
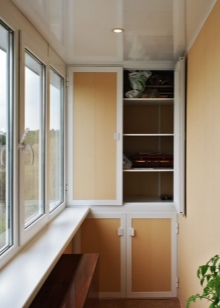
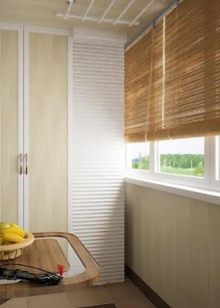
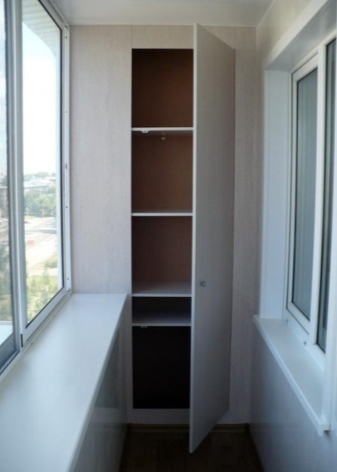
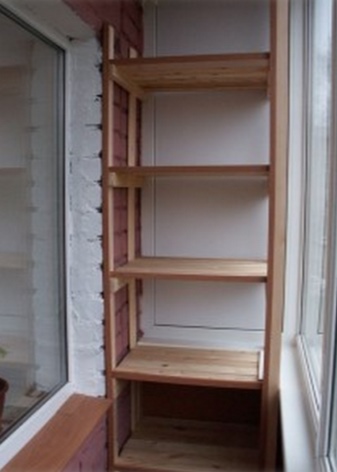
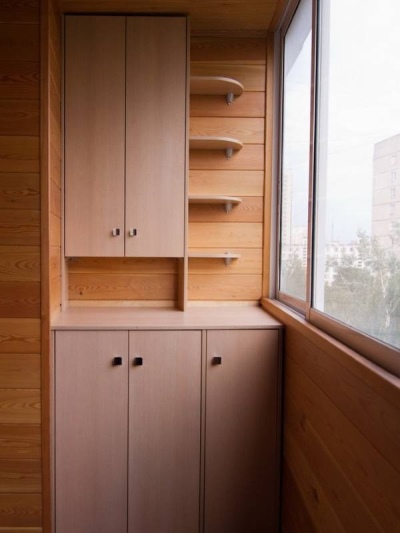
Model with open shelves
Open shelves also allow you to place items at your discretion, it is convenient to organize the space in the loggia. This model can be viewed as an interior item by placing beautiful design products there. The downside of this design is the fact that open shelves on the balcony will collect dust from the street when the doors are open.
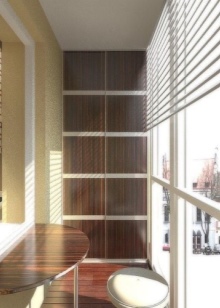
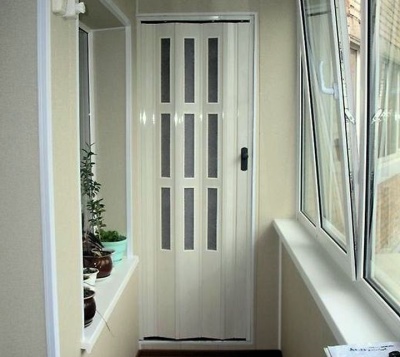
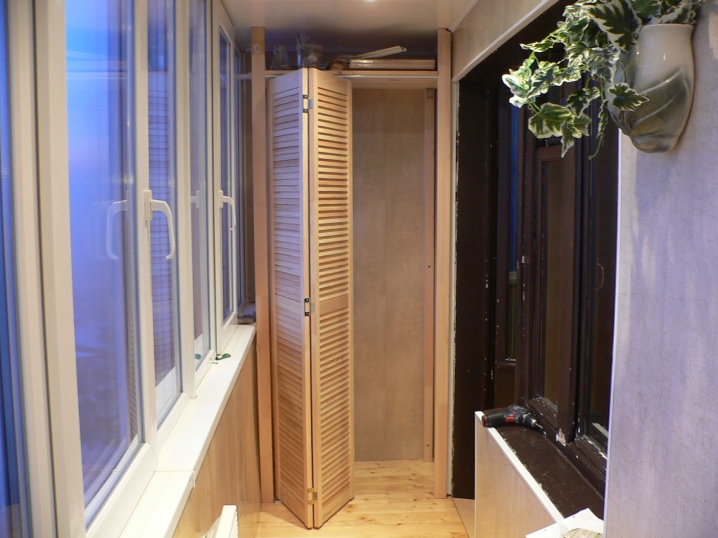
Accordion cabinet
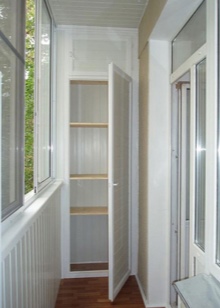
Space-saving, roomy enough, suitable for small balconies. The downside is that the doors do not fit tightly to the structure, which is why they lose their thermal insulation properties.
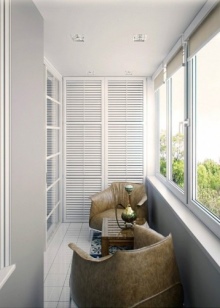
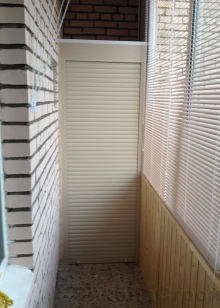
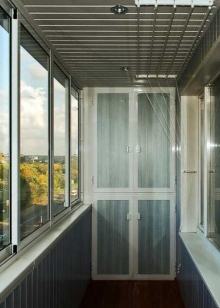
With roller shutters
Saves space, easy to assemble, fits perfectly into the interior of the balcony, durable, protects your belongings from dust. You can choose the shade of the model depending on the design of your balcony.

Materials (edit)
When choosing a material for building a cabinet, you should focus on the design idea, as well as your financial capabilities.
The most beneficial materials are as follows:
- plastic;
- Chipboard;
- wood;
- drywall.
Plastic is practical, fits perfectly into any interior, easy to use. Cabinet racks are most often made of timber, as it will support more weight. Also, the advantage of wood construction is that it is the most durable, as well as natural in structure. But the downside of wood is that it changes size depending on humidity.
It is also a good option to assemble a drywall frame, moisture problems are not terrible for him, it is quite easy to assemble and install, just handle and paint, there is practically no deformation. But this material has lower impact resistance, and the whole structure can withstand less weight than wood.
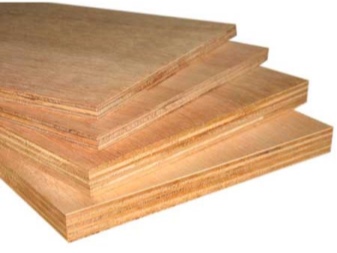
The shelves are best made of chipboard.
Selection Tips
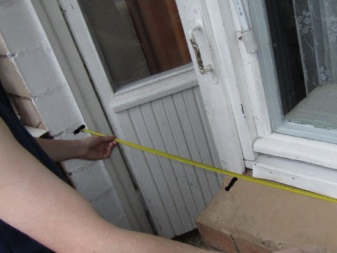
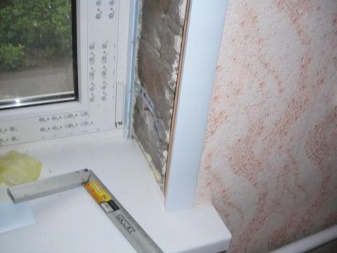
Before choosing a cabinet for your loggia or balcony, you should understand the criteria for choosing a design. First of all, you need to take into account its size, for this you need to take measurements: height, width of the balcony. When taking measurements, one should not forget about the protruding window sills, since when installing the cabinet this will also be an important factor.
You should also pay attention to the material. When choosing a material, one must proceed from considerations of temperature and humidity differences on the balcony. Furniture should tolerate moisture and low temperatures well. A wardrobe chosen according to all criteria will serve you for a long time and will not cause any inconvenience.
How to assemble with your own hands?
Assembling a built-in wardrobe on your own is not so difficult if you have a predisposition to manual labor, and you like to do something with your own hands.
Here is a step-by-step instruction for assembling the cabinet:
- Initially, you should take off the dimensions of the future cabinet: height, width, depth, taking into account the dimensions of the things stored in it in the future.
- Next, we decide on the materials and purchase the necessary accessories. During construction, you will need the following materials: an electric drill, a screwdriver, chipboard, wooden blocks, a jigsaw, ready-made doors or plywood for their manufacture, self-tapping screws.
- Then a cabinet diagram or drawing is made. After the diagram is finished, and the details are all cut from the purchased materials, it's time to proceed to the installation.

- Initially, a frame is made, for this, wooden blocks are installed in the upper part and on the floor. Then, cladding panels are attached to the finished frame. The back wall can or can not be done, at will, since its function is, in fact, performed by the wall of the balcony.
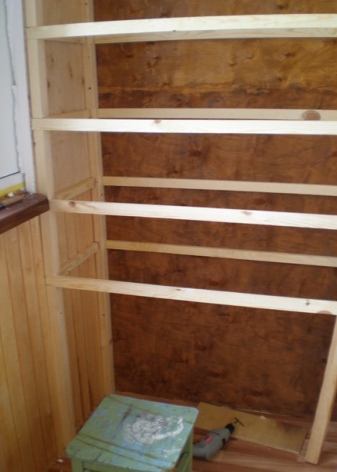
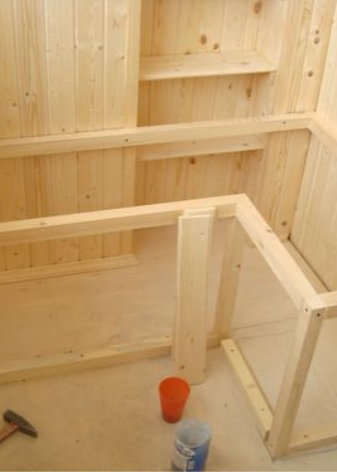
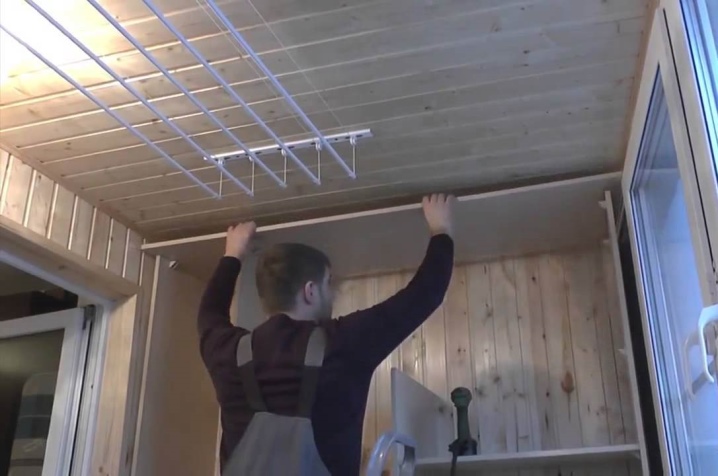
- The frame should be designed using a building level so that the doors of your cabinet do not warp, and they do not spontaneously open in the future. Also, if you wish, it is possible to introduce a lamp into your model, for this you need to cut an additional hole in the lid and put wires and a light bulb there.
- Further, they are cut out and installed on the shelf bars fixed in advance horizontally. In addition to horizontal compartments, it is also possible to make vertical division of shelves in the design.
- Next, doors are installed on the hinges. To keep the structure from moisture and temperature changes, it should be varnished. The closet is ready.
Examples in the interior
Most often, the following types of cabinets are used in the interior: swing, wardrobe, and accordion.
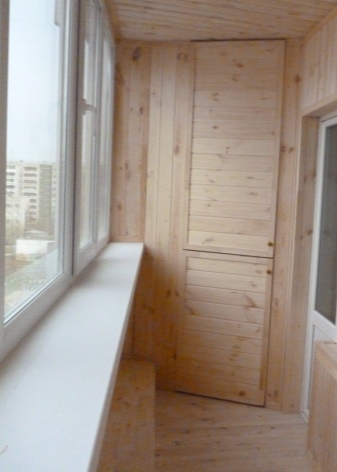
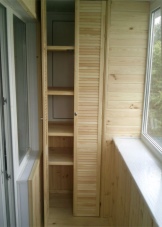
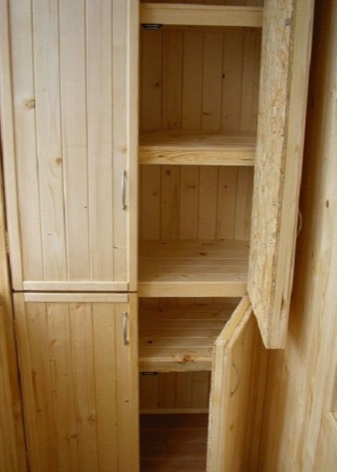
- The accordion cabinet has fewer doors than the design with swing doors, this saves space on the balcony... They also do not hit the windowsill. The price of such products is not very high, which is also undoubtedly a plus. The model shown in the photo looks simple, natural. The design perfectly matches the overall style of the interior, as the cabinet is made of wood, as well as the cladding of the balcony itself.
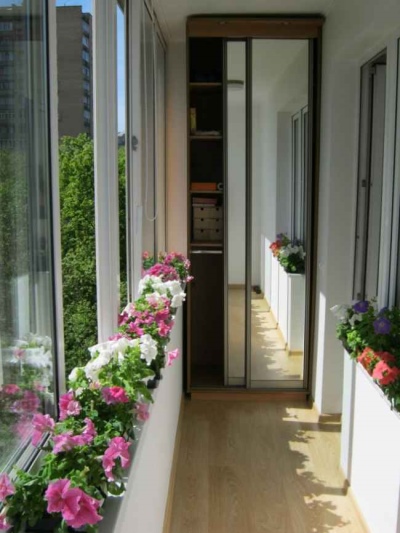
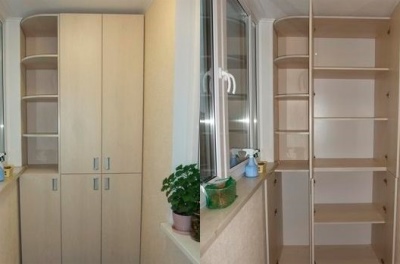
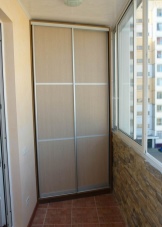
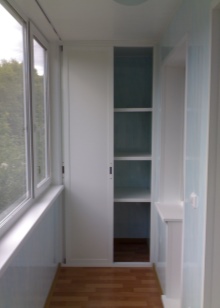
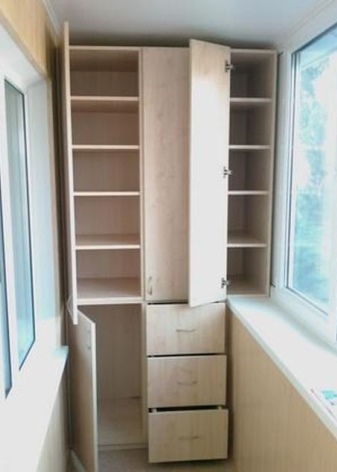
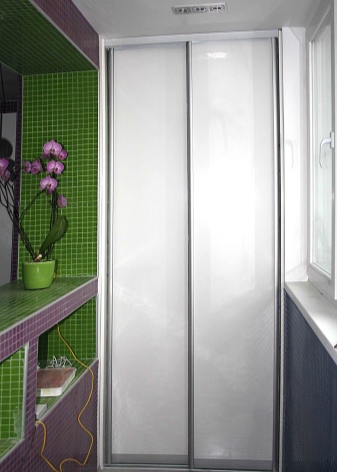
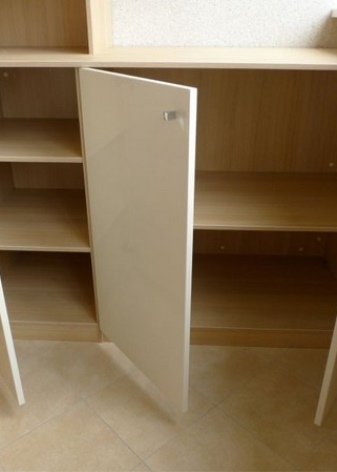
- The wardrobe is very spacious... Its doors are sliding, and when opened, they do not take up extra space. But the price category is higher than that of the "accordion". In the photo you can see two options for sliding wardrobes: with ordinary doors and with mirrored doors. The advantage of mirrored doors is the fact that they visually increase the space.
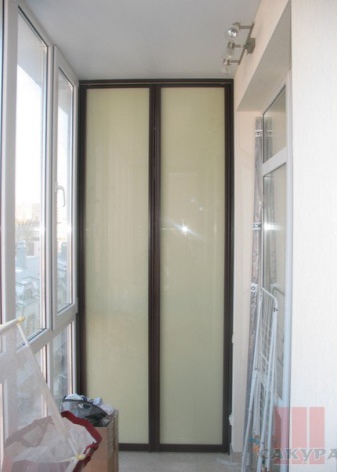
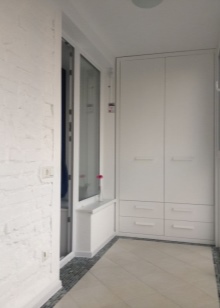
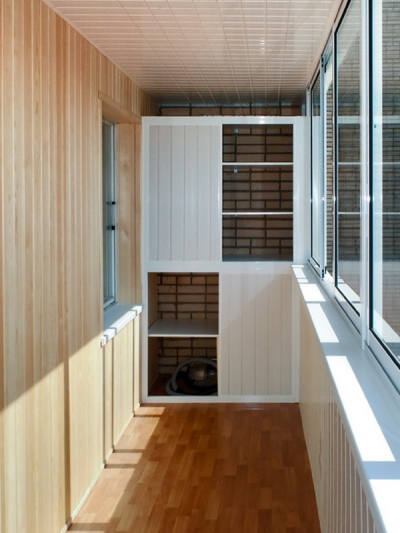
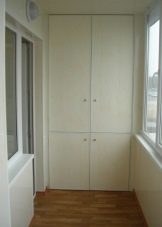
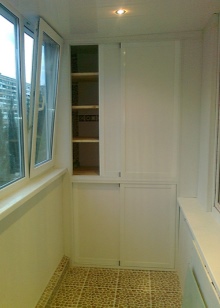
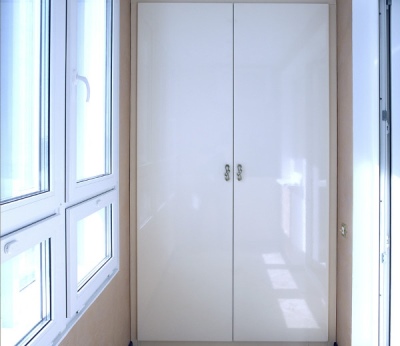
- Built-in wardrobes with hinged doors are suitable for large enough balconies. They are also roomy, but with the doors open they take up more space than previous options. The photo shows a wonderful, roomy option. Harmoniously blended into the interior, white color gives the model elegance, does not clutter up the balcony space.
- The model of cabinets with open shelves shown in the photo perfectly complements the design of the balcony., thanks to such a wardrobe, the balcony loses its everyday functional purpose and turns into a resting place for its owner.


The comment was sent successfully.