How to make a lathing for a lining?

Lining is a building material that is not going to go out of fashion. It is understandable: laconic, high-quality, it is considered an excellent basis for completely different interior ideas. Moreover, it is also environmentally friendly. True, not everyone decides to finish with clapboard, realizing that they will also have to deal with crate for it. And in vain - it's not so difficult if you approach the matter with intelligence and understanding.

What is it and what is it for?
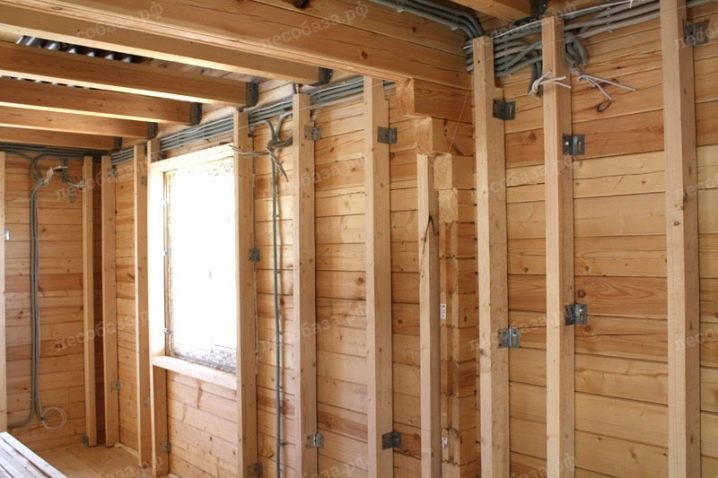
The lathing is a supporting frame that must hold the lining elements together. This is the basis of its attachment. The cladding does not involve gluing or any other method of fixing, because all this is not as practical and reliable as fastening it to the frame. And it is quite possible for a beginner to mount the lining on the crate with his own hands, that is, it is quite possible to save on calling the masters without any big risks.
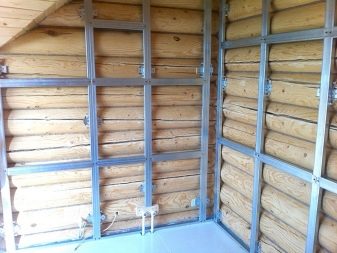
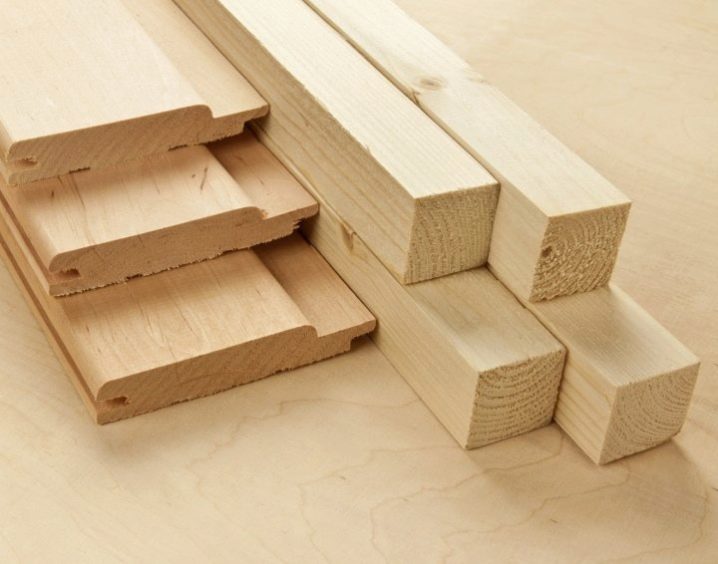
And here the owners have a choice, because the lathing can be both wooden and metal. But the timber is considered a more successful option, because it weighs a little, and is more convenient to use, and the process itself will be simpler and faster. And it can also be considered durable. If it is decided to work with a metal profile, as a rule, guides made of galvanized steel are chosen.
You can even use plastic, but it's not as cheap as it might seem. We need expensive plastic profiles that are resistant to moisture and other external influences.
Tools and materials
But this does not mean that any timber or any profiles are suitable for the lathing.
We will find out by what criteria to choose the material for the frame.
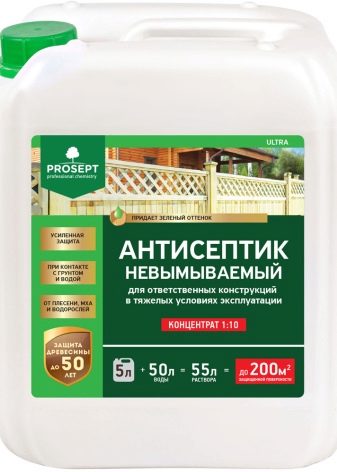
- It must be resistant to aggressive moisture... That is, if it is still metal, then only stainless steel. If it is a tree, then it is covered with special impregnations.
- If you decide to take a metal profile, take a standard one, which also serves as a frame for gypsum plasterboards.
- When choosing wooden blocks, you need to carefully examine them - they should not have cracks and a large number of knots, the shade should also be relatively uniform.
- As for the wood species, it is better to focus on larch and cedar.... But pine lumber is practically unsuitable: such wood is prone to cracking as it dries.
- The timber impregnated with special moisture-resistant compounds must dry for at least 2 days in the room where it will be used.... Such adaptation to the microclimate is required.
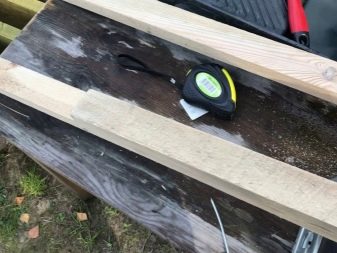
From the tools you need to take: a hacksaw for wood (if the crate is made of a bar), a level (bubble or water), a tape measure or a ruler, a construction cord, also an electric drill with a set of drills, a mallet and a hammer, screwdrivers and a carpenter's knife, and also a screwdriver.
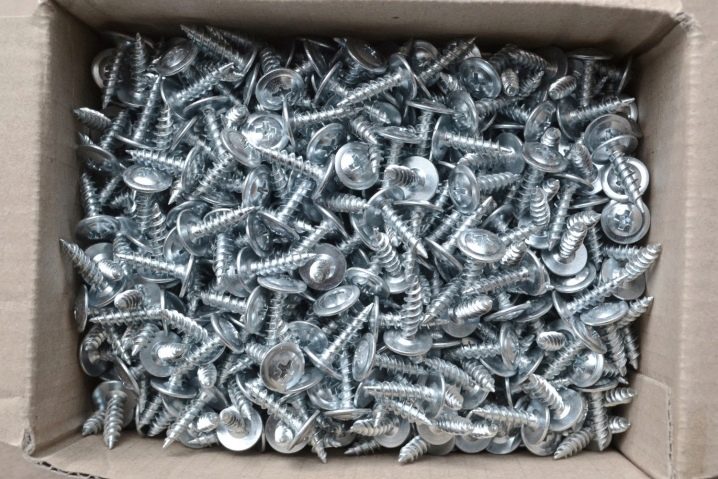
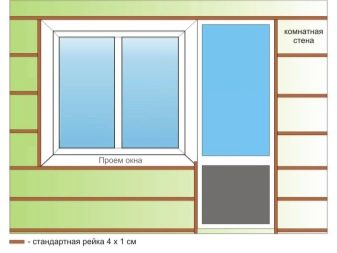
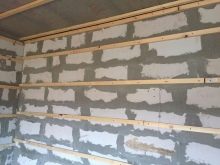
Usually, craftsmen stop on a bar with a section of 2.5x5 cm (such boards are called an inch) or 2.7x6 cm. If the crate is mounted on a concrete wall or brick, on a foam block, it is more appropriate to use dowels - they will more reliably fix the timber.
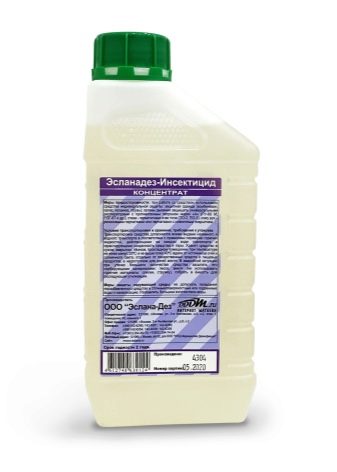
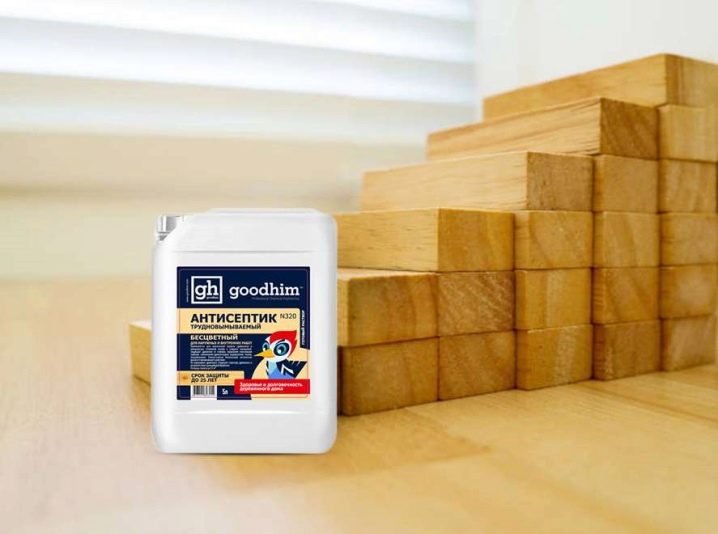
Antiseptics, insecticides - all this is no less important than basic materials and tools. And also an antifungal solution, a composition from mold and decay will be the minimum, without which there is no point in working with a bar further.
Drawing up a diagram and calculation
The lathing, in principle, can be of three types: horizontal, vertical and assuming a counter-lattice. The horizontal one is mounted to attach the vertically oriented lining. Vertical - on the contrary, for horizontal slats. And counter-lattice means installation under the sheathing of the heat-insulating layer. And the last option is possible only in the case of using a wooden beam.
Let's find out what is taken into account when drawing up a diagram.
- The size, section and shape of the bar. About what sizes are the most popular, mentioned above. Indeed, for strength, 2x2 or 2x4 rails are sufficient. And the use of larger bars will not increase the strength, but will increase the cost of repairs.
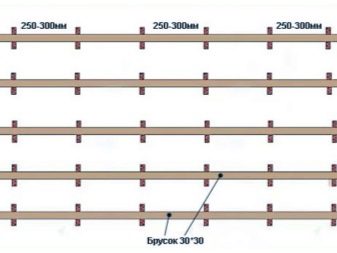
- Step... With what interval to lay the lathing: on the ceiling, this indicator is 0.4 m, on the wall - 0.5 m. This is considered the optimal formula, which guarantees both the strength of the cladding and the cost of the structure. Additional slats are attached along the length of the joint, if there is one, of course, in principle.
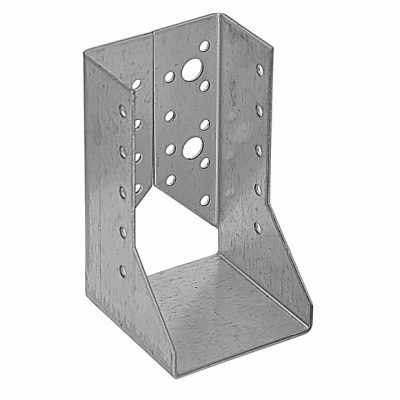
- Method of fixing to the finished surface... If the lathing were metal, special brackets would be required to fix it. But in the case of a tree, there is no need for them: the guides are placed along or across the wall, fastened with self-tapping screws or dowels.
- It is simply not necessary to calculate the distance between the bars more precisely. On the walls - horizontally, vertically and diagonally - they withstand a step between the supporting components within 50 cm. More frequent installation does not bring visible benefits - only the loss of funds, effort and time.
- But it is also impossible to increase the size of the "voids"... For example, if the step between the guides increases to 0.7 m and more, the wood will have a "field for maneuver", it will be able to change its shape over time, that is, the cladding can simply swell up, or it can bend inward.
- The ceiling lathing for the lining is therefore attached with a smaller step (40 cm), and this requires strengthening the structure.
And a little more about why the choice of tools is not random. Calculation works here as well. You cannot do without a drill and / or screwdriver, because a hundred or even more screws and dowels can be spent, and the automation of the process significantly helps to gain time. It is inconvenient to take measurements without a building ruler or tape measure, but they must be accurate.
And you can't do without a building level: in order for the coating to be installed not only firmly, but also smoothly, beautifully, you need perfect accuracy in aligning the first sheathing element with respect to the horizon.

Preparatory work
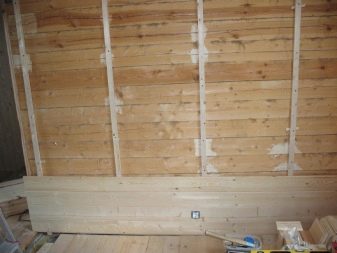
They touch both the wall (or ceiling) and the sheathing itself. Since more often the frame is made of timber, it will be further discussed just about the wooden structure.
We will learn how to prepare a bar.
- For several days (at least two), he must lie in the room where the lining will be mounted. The temperature and humidity indicators of the material and the room should be equal.
- Next is impregnation with compounds that will make the material stronger, will give it resistance to moisture and pathogens. These are at least antifungal and moisture resistant compounds, and even better, add an insecticide to this. Each layer must be allowed to dry. For processing, ordinary brushes are used.
- You can also do this: build something like a trough out of boards, pour an antiseptic (or other composition) there, send all the bars into it. We can say that they are "redeemed" there, and things will go much faster.
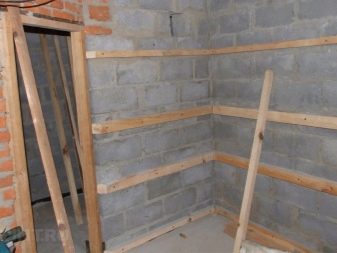
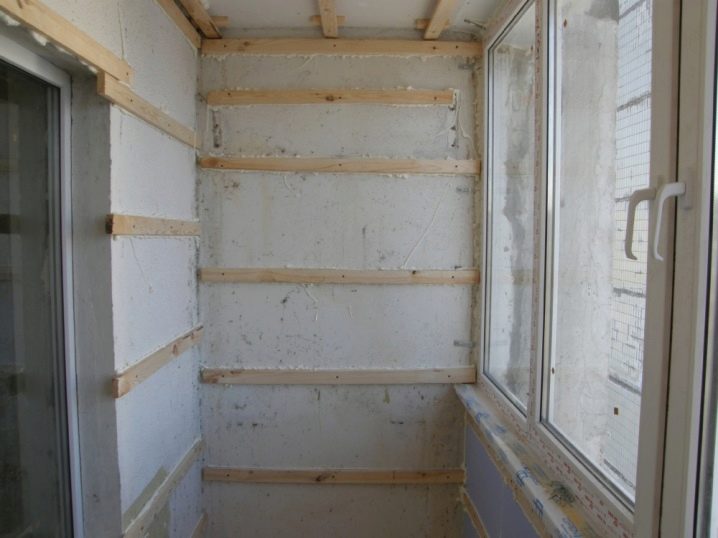
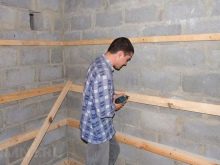
In the meantime, the timber dries up, you can prepare the walls. It is necessary to mark the width of the racks with a pencil, always using a level. All lines should be as straight as possible. And this applies to the walls of both a wooden house and a bathroom, bath, balcony, etc. This drawing is necessary: it is as a visual instruction, a plan that controls the correct placement of the frame elements.
The starting point of the crate is also to be determined. This usually becomes the lowest angle. You can find it using the same level. Then the wall must be drawn based on the measurements made.
An important question concerns the straightness of the walls. If they are slightly uneven, you can ignore it. But if they are frankly crooked, the beam will have to be fixed with the help of special suspensions, located in a line (every half a meter) and attached perpendicularly.
Do not be afraid of unnecessary expenses, these suspensions are not so expensive. Fixing them, the ends will be bent in the direction of the rail, and then aligned with a level and fixed.
However, use wood wedges for alignment correctly. You need to prepare them in advance, take everything into account in size (the wedges will be different) and do not forget to treat them with antiseptics too.
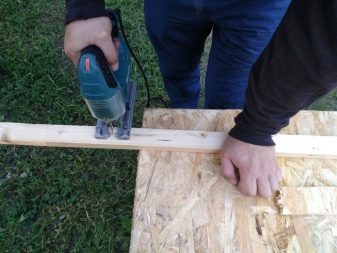
Dried bars, already adapted to the microclimate, can be cut to size. This is usually done with a jigsaw or a hacksaw. It is important to correctly mark the elements so that they can be cut perpendicularly, keeping the ends straight. And the cut off areas also need to be treated with antiseptics.
Installation technology
And now it is the process itself, the preparation for which is sometimes more voluminous than the fastening of the lathing itself.
Here is an algorithm of work.
- Holes must be made in the bar. And their diameter depends on the fasteners. It is also better to make holes for self-tapping screws to make it easier to tighten. Fasteners usually involve a minimum step of 40 cm, a maximum of 50 cm. 3 cm recede from the edge.
- The attachment points are marked on the wall, if necessary, the wall is drilled (or the ceiling)... This is usually done with a hammer drill with a drill. In order for the fastening to be really reliable, a self-tapping screw or a dowel must go into concrete or foam blocks, for example, at least 5 cm.
- If the wall is still to be leveled, suspensions are used. They are located along the line every half a meter, fastened perpendicular to the crate.
- We must not forget to bend the ends of the suspension to the bar, and then it will be leveled and fixed in the required form. This, by the way, is the most convenient and fastest way to align.
- Plane control must be constant... That is, first, the position of the elements must be set at a level, and then only the fastening takes place. Jumpers can be installed to reinforce the corners. This will make the frame as rigid as possible.
- If insulation is provided, then this should be done exactly after the frame is attached... And only then can the lining be laid.
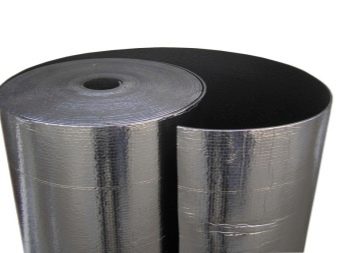
There is, of course, dependence on where exactly the crate is mounted. For example, a steam room will have its own nuances, the main of which is fake material. Building foil will be the best choice. This backing will keep the steam well and protect the surface of the walls in the steam room. And the fasteners should be more reliable in such conditions, and the corners must also be, because they will strengthen the structure.
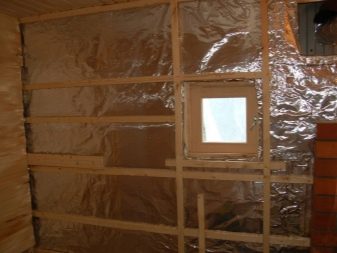
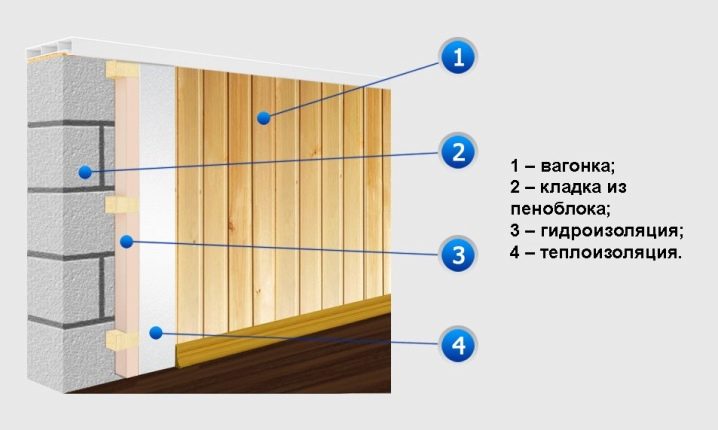
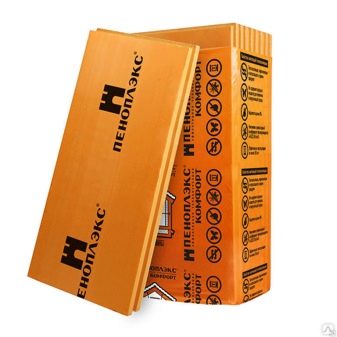
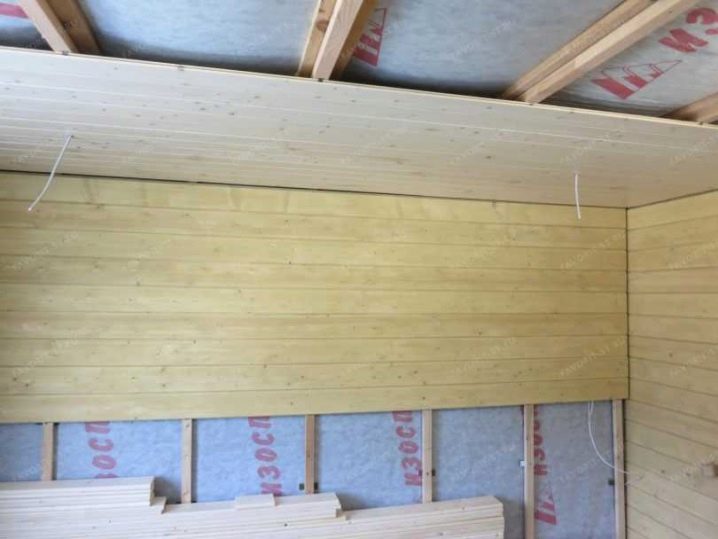
In a standard room, the choice of insulation, which will become the inner filling of the lathing under the clapboard, most often falls on mineral wool. Penoplex and polystyrene are also good. And the thickness of the insulator can be different, which depends on the type of room and on the microclimate. In the bath, the insulator can be 10 cm thick, on the balcony - smaller. And after installing the heaters, a waterproofing film is also mounted, which will protect the frame from condensation.

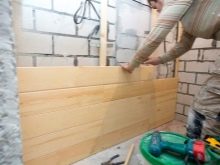
The lining itself is attached to the crate much easier. Then it can be painted, varnished, all the necessary impregnations can be used, etc. With a metal structure, the process can be delayed, because it is more difficult to work with it.
It turns out that a wooden frame is more convenient for the master himself, cheaper and simpler even in the sense that there is much more experience with it described in open sources.
How to make a crate for a lining, see below.


The comment was sent successfully.