How to make a do-it-yourself turntable?
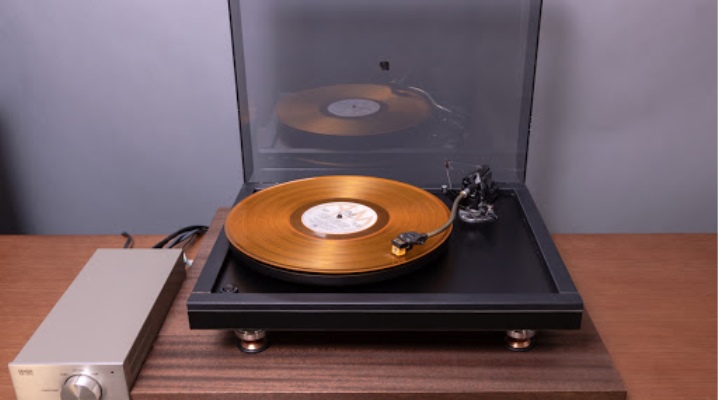
The last century has already sunk into oblivion, but retro lovers still listen to old hits and rejoice at any undertaking of young people that concerns vinyl records. Modern turntables are so different from previously known devices that even simple magnetic levitation, created by a motor, does not seem so unusual. This article explains how to make a do-it-yourself turntable.
Manufacturing
To make such a cunning apparatus without a lid, you must first prepare a number of tools and materials. For manufacturing you will need:
- filament motor (linear motor with a large number of magnetic poles);
- plywood (2 sheets) 4 and 10 cm thick;
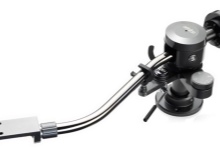
- tonearm;
- valve with a guide piece;
- 5/16 "steel ball;
- bolts;
- liquid Nails;
- pencil;
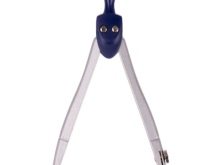
- compass.
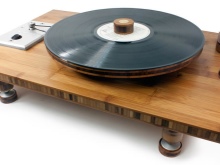
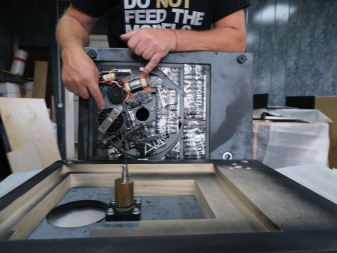
The manufacturing scheme is as follows. First of all, you should deal with plywood - it will play the role of a stand. One part is needed to support the motor, and the other is needed for the turntables and tonearm (pickup). The first part of the stand should have dimensions of 20x30x10 cm, the second - 30x30x10 cm. For the bottoms of the stands you need to make legs - small cylinders, you can make it out of wood.

Open a hole in the turntable stand at a distance of 117 mm from the edge and 33 mm from the adjacent edge. It must be cross-cutting. The valve guide should fit into this hole. The hole must be sanded against possible roughness. After the hole is prepared, it is necessary to glue the guide part with liquid nails, and then lower the steel ball into it.
The next stage is the manufacture of a skirting board with a diameter of 30 cm. It must be made from the remaining 4 cm thick plywood sheet. The spinner should be perfectly round. Be sure to mark the center of this piece with a pencil. After that, it is necessary to attach the valve to it with the wide end using 8 bolts. Once the preparations are over, the turntable can be attached to the box.
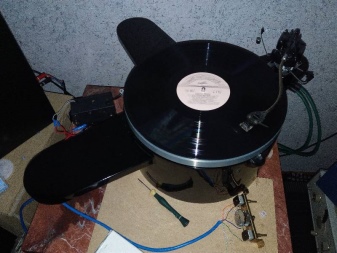
Now it remains to connect the box with the turntable to the pickup, and the second to the motor. The motor and the turntable are connected by a thread. It should go in the middle of the turntable. It remains to connect the pickup and amplifier.
Tools and materials
It's one thing to make such a device with your own hands, and it's another to customize it. Typically, the following turntable elements are used to set up a turntable (not all of them may be present in the design):
- cleats;
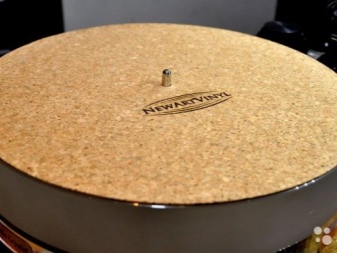
- mat;
- stroboscope;
- other devices and materials.
Useful Tips
Regardless of which version of the turntable will be implemented, it is worth knowing how you can configure the device.
Klemp. This is such a special clamp that is necessary (when the plate is curved) to straighten it. In some cases, it is even used to securely fix the platter to the disc during broadcast. It is, perhaps, a rather controversial attribute not only of a homemade player, but also of a purchased one. The fact is that some manufacturers are strongly against the presence of these devices in vinyl players. Clamps come in different structures (screw, collet, conventional), and therefore work differently depending on the player itself.
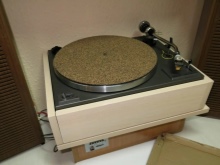
Mat. Initially, the mat was invented to untie the needle and the plate from the noise of the motor. Some manufacturers do not have such a device at all. Today, the role of the mat is to adjust the soundtrack. Also, with the help of the mat, the plate does not slip on the disc.

Stroboscope. This device is required to check the speed stabilization. It is worth remembering that the performance of stroboscopic discs depends on the frequency of illumination. The required parameter is 50 Hz or more.
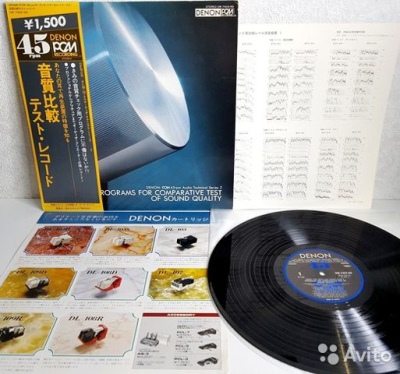
Test Plates. These accessories are also a must for every vinyl lover. But it is worth making a reservation - they are necessary for modern devices.
These attributes look like the same standard records, with only one difference - here the test signals are recorded on specialized tracks. These tracks allow you to optimize your device settings. Also on sale come across test plates with empty (smooth) areas. Despite this difference, each manufacturer supplies accessories with detailed instructions.

The only drawback is that this instruction is not always in Russian.
Test strips can be used to determine:
- the correctness of the per-channel connection;
- correct phase;
- tuning the resonant frequency of a specific path;
- anti-skating settings.
What records and needles for them to choose?
There are 3 domestic recording formats:
- with a radial recording speed of 78 rpm;
- at a speed of 45.1 rpm;
- at a speed of 33 1/3 revolutions per minute.
Discs with a speed of 78 rpm mostly date from the beginning of the 20th century. They require needles of 90-100 microns in size. The required cartridge mass is 100 g or more. Since the 20s of the last century, domestic records have been born.
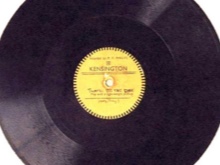
The format was similar to the previous one, however, during the playback process, it was noticed that the needles were deformed and only after a certain period of operation did they take the image required for the records or broke completely.
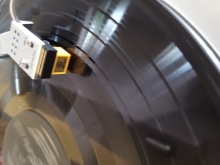
After the 45th year of the last century, new records appeared with the same recording speed. They are characterized by needles for playing with a size of 65 microns. The first domestic records, close to the 33 1/3 format, have a 30 micron needle size. They can only be played with a corundum needle. The needle format 20-25 microns is designed for records with a recording speed of 45.1 rpm.
The latter format - 33 1/3 requires a needle size of about 20 microns. This image includes both souvenir and flexible plates. Modern records require a special downforce of 0.8-1.5 g, as well as the flexibility of the pickup system. It is worth noting that when operating a homemade turntable, you will need spare parts, so you need to think about this in advance.

How to make a vinyl player with your own hands, see the video below.


The comment was sent successfully.