Making a ring lamp with your own hands
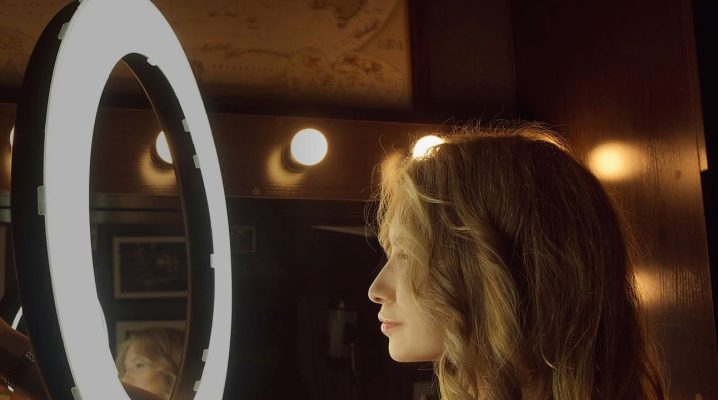
Along with conventional linear lamps, ring lamps have become widespread. They represent a closed loop of LEDs connected to the simplest power source, be it a power adapter for the required voltage or a separately rechargeable battery.
Features of homemade models
If you do not have a special tool that helps you cut consumables perfectly evenly (thanks to the presence of special guides), then a homemade model will not look as neat as an industrial one. The same can be said for the soldering of electrical and electronic components. Conveyor cutting, soldering and assembly are always neat, which even the inexperienced beginner can notice.
Industrial assembly is most often based on typical schemes. Self-collection can always adapt to the existing conditions. For example, LEDs, to which the power adapter or batteries are absolutely unsuitable, are always "balanced" by elements that step down or step up the supply voltage.
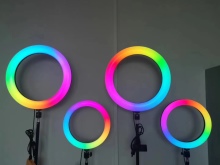
Self-made models of lamps can be made of almost any power and with any volume of light output for the area for which they are designed.
It is possible to make a lamp "for decades ahead": easy replacement of worn-out LEDs, solid base, fully repairable, highest moisture resistance - you can achieve IP-69 if you apply a waterproof, light- and air-resistant coating that is not corroded by water, alcohol, or even some acids.
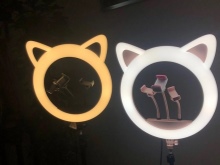
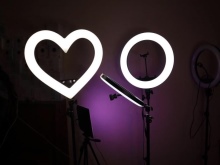
The original copy - it is not in any store, outlet, you cannot buy this in any market... Such lamps are made to order - you can repeat almost any shape of the glowing contour, it may not necessarily be just a ring lamp.
How to make from cardboard?
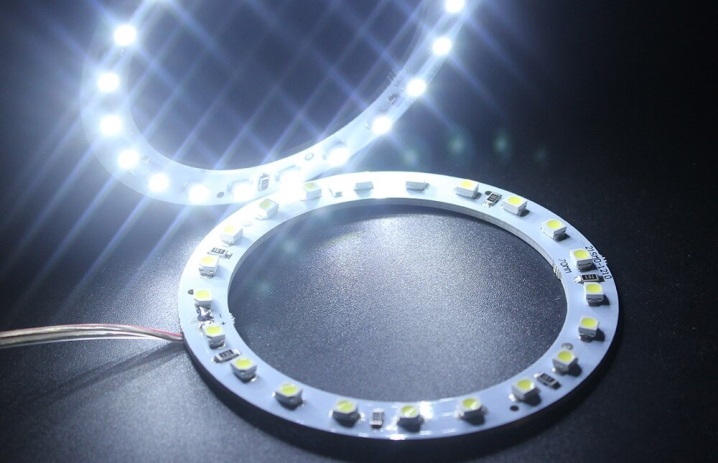
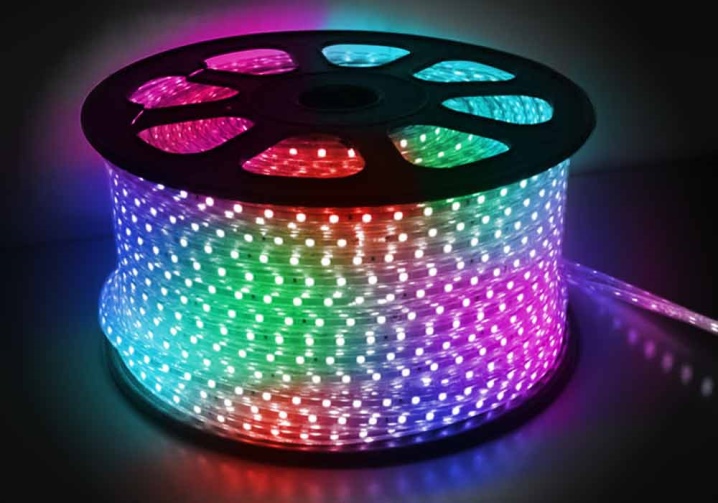
A DIY ring lamp most often contains an LED strip. The use of other light-emitting elements - fluorescent, incandescent bulbs - is practically meaningless: both of them break. In addition, fluorescent lights contain poisonous and deadly mercury vapors. Simple - incandescent bulbs for 1.5, 2.5, 3.5, 6.3, 12.6, 24, 26 and 28 volts - were produced in large quantities in the USSR, but now they have long been discontinued, you can only find them in the old stocks of self-assemblers, which disassembled equipment and electronics for parts, but their fragility is only suitable for use as indicators that glow "half-heartedly", like "neon".
The use of "neon" is relatively safe (inert gases are non-toxic), however, it is characterized by two disadvantages: high voltage and fragility. Use LEDs - they allow you to get decent brightness with a compact size, several times higher than that of fluorescent lamps.
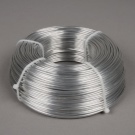
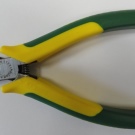
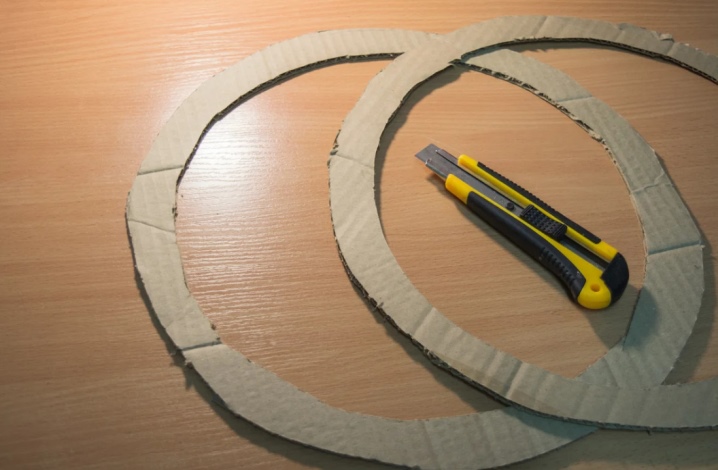
To assemble a lamp from cardboard, you will need electrical tape, a pencil, composite materials, side cutters, a ruler, sheets of thick cardboard, masking tape, scissors, aluminum wire, LED tape, compasses, hot glue gun with glue sticks.

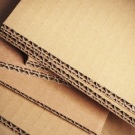

- Using a compass, draw circles with diameters, for example, 35 and 31 cm. Cut two rings from two sheets of cardboard.
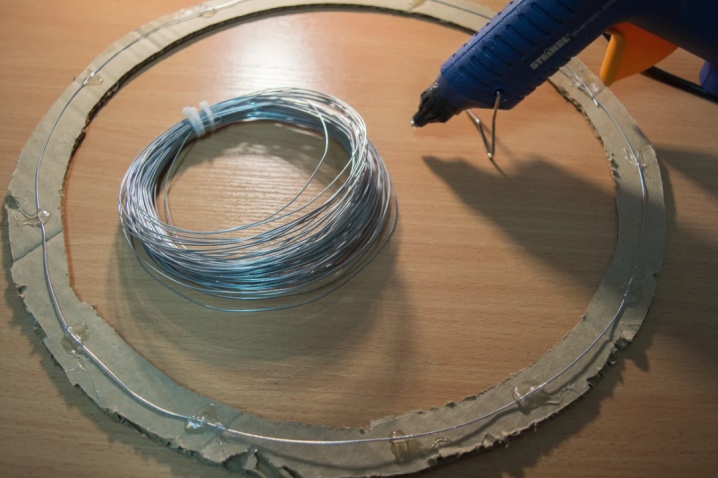
- Glue a wire to one of the rings - it will give strength to the product.
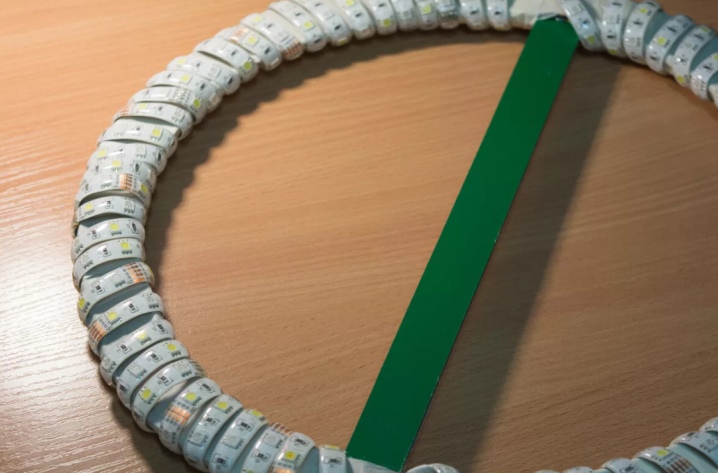
- Place the composite line — it should be flat like a ruler — over the first circle. Stick the second one on it.
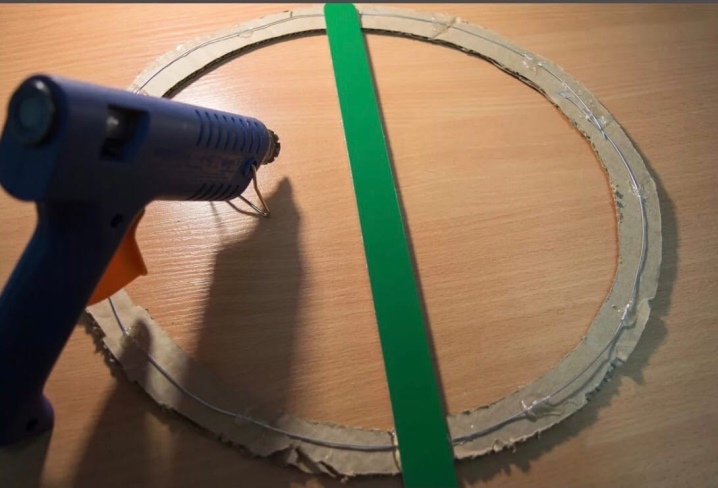
- Cover the circles with masking tape.It creates a kind of moisture-protective film - thanks to the impervious adhesive composition, which is impregnated with one of its sides.
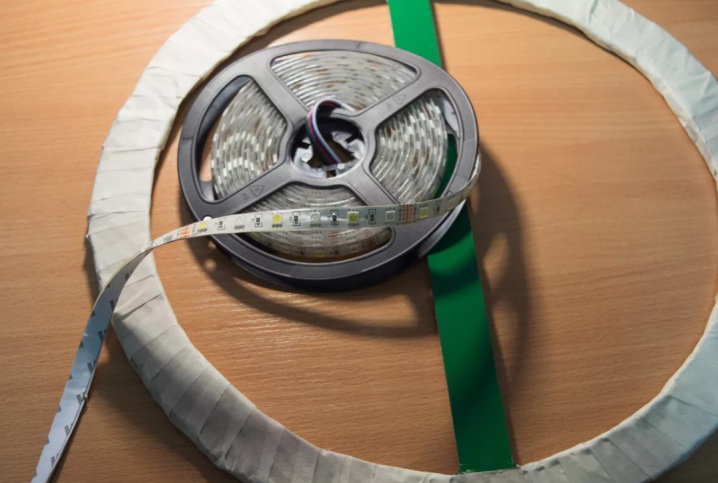
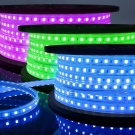
- Wrap the resulting cardboard shape with LED strip. It can take about 5 m.
Reducing dimensions - when making a reduced copy - is suitable not only for creating professional lighting in the dark for a full-fledged camera, but also for shooting from a smartphone or portable action camera.
It is not recommended to assemble a lamp from paper yourself - it will easily lose its shape, it will not differ in durability even in home conditions, completely protected from external influences.
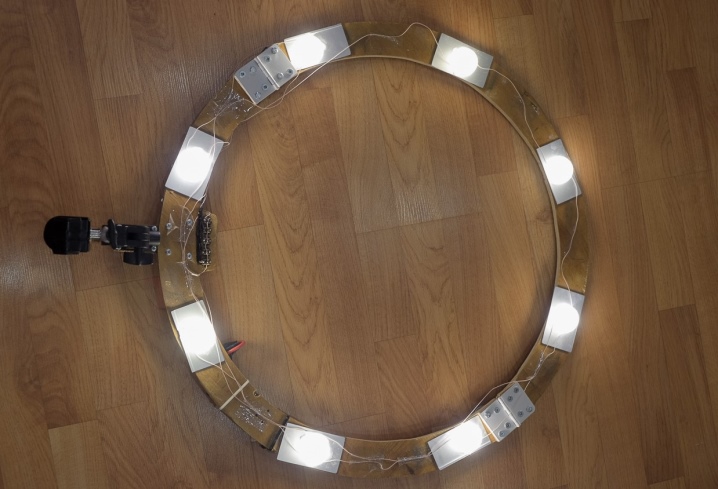
Manufacturing from a metal-plastic pipe
It is quite simple to make a lamp from a metal-plastic pipe at home yourself. This does not require something extraordinary - a metal-plastic pipe can be bought and found even in the trash heap. The presence of several cracks or holes does not affect the quality - it is not used for water, but as a bearing support, the main thing is that there are no creases and dents that spoil the appearance of the homemade backlight. It will also allow you to carry the lamp with you - even on hikes where conditions are not at all homey.
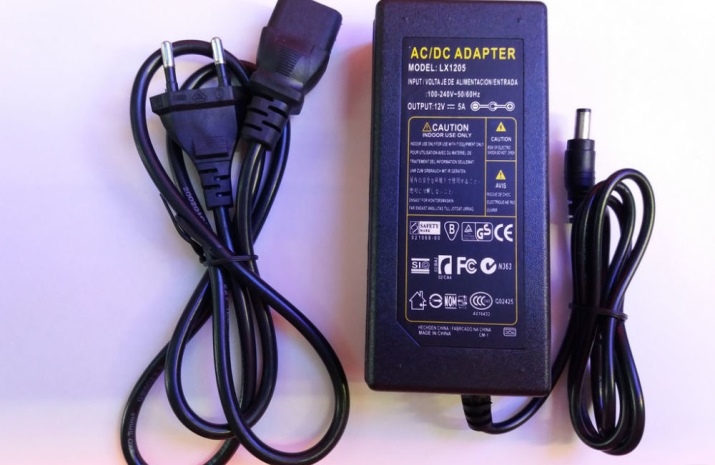
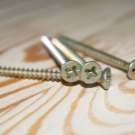
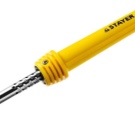
You will need: 12 volt power adapter, hot melt glue, fastening with a clamp, construction marker, the pipe itself up to 25 cm, pushbutton switches, a soldering iron, screws, LED strips, clamps, a connector for a plug, a screwdriver or a low-speed drill.

During the manufacturing process, do the following.
- Bend the ring out of the tube. Its diameter is not less than 30 and not more than 60 centimeters.
- Install buttons in the pipe - holes are cut for them. The easiest way is to glue them on Moment-1 glue or hot melt glue, but the stronger is the connection with screws and nuts. Do not forget to put a spring washer under the nut, and on both sides - pressing washers - for each screw. Wire pieces that fit the outer pins of each button are led out through additional holes.
- Close the ring using a smaller tube or using a long round piece of wood. Both must fit tightly into the ends of the closed ring.
- Attach the ring to the holder. They can be, for example, an umbrella handle or a base with a tripod stick. Fasten the ring to the holder with self-tapping screws.
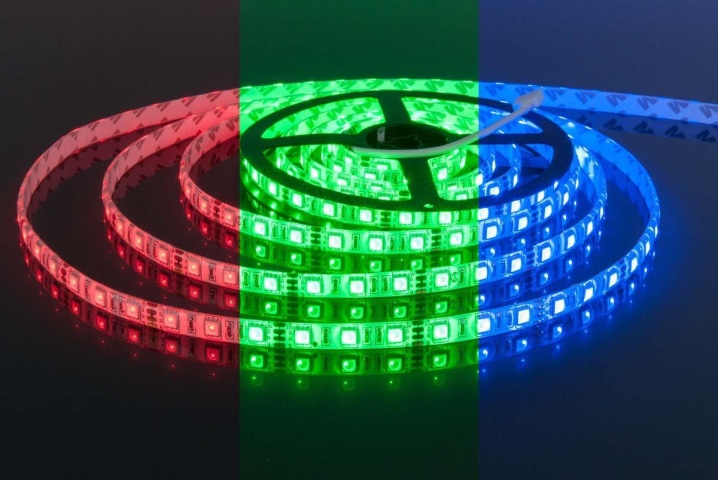
- Cut the LED strip into pieces... The tape, designed for 12 or 24 V power supply, is cut according to the installation markings applied at the factory. Each of the pieces can be soldered at the points marked with + or -. If the tape is wrapped in a ring around it, spirally, then it is not necessary to cut it: the light falls in all directions, creating a smooth illumination. When laying the tape around the ring from one of the sides - as a rule, from the outside, so that it does not shine inward - a fragment is cut along the circumference (ring).
- Attach the tape to the ring using the same (thermo) glue... The ring (pipe) must be cleaned: on a matte surface, the glue adheres several times better than on a perfectly glossy one - microscopic irregularities, scratches create an adhesion effect, and the tape will not fall off the ring.
- Solder the wires from the buttons to the corresponding tape terminals.
- Place the AC adapter in the tripod (base), lead the wires to the buttons, take out the power cord. If a battery is used instead of the power supply, connect it in the same way, but mount the charger connector into the base.

If everything is done correctly, then the resulting lamp will replace the professional "photo light", which is used by photographers and videographers for photography in conditions close to night.
For more on how to make a ring lamp with your own hands, see the video below.


The comment was sent successfully.