Types of canopy posts and their installation
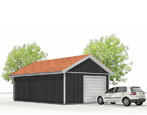
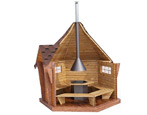
Sheds on the plots of private houses are being erected for various needs. They are used as a shelter for a car, special equipment, for arranging summer gazebos. Regardless of the purpose, these structures are built using similar technologies. The durability of the building depends on many factors, including the type and method of installation of the pillars. Consider what are the supports, their features and installation methods.
What are they?
Canopy supports are made of various materials. The installation method will depend on their type. Support posts are made of wood, metal, brick and others. Their choice is influenced by the massiveness and weight of the structure, as well as the personal preferences of the owners.
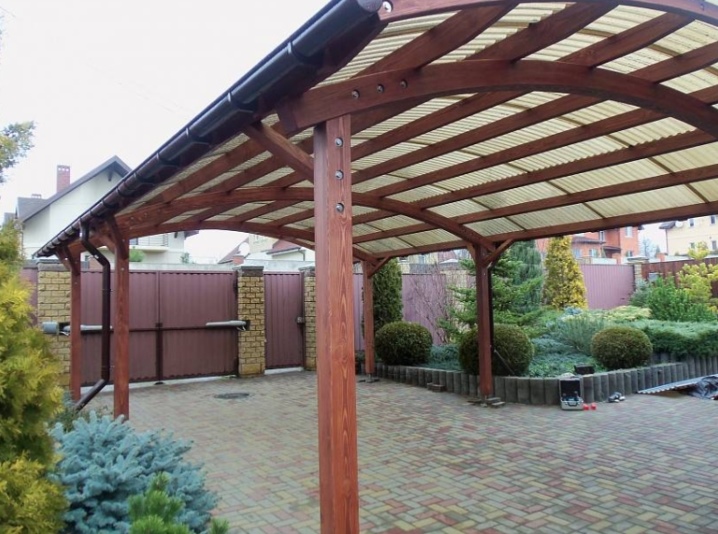
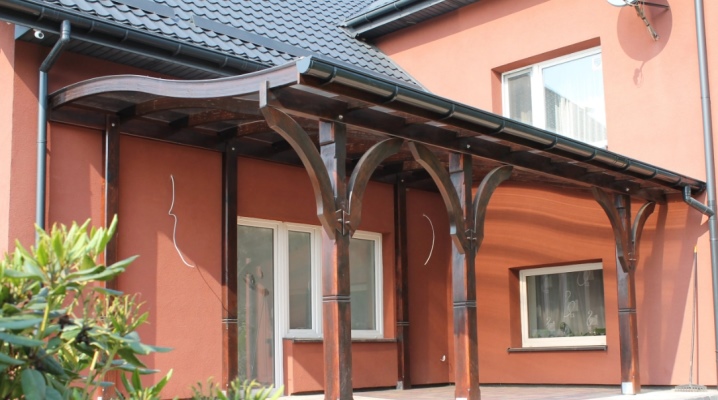
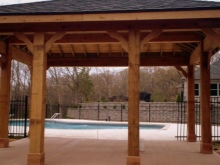
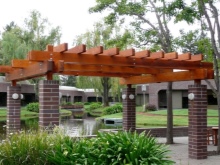
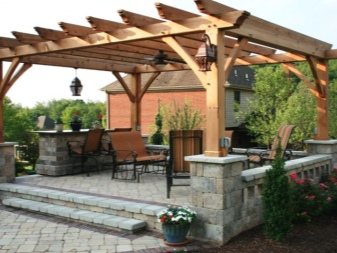
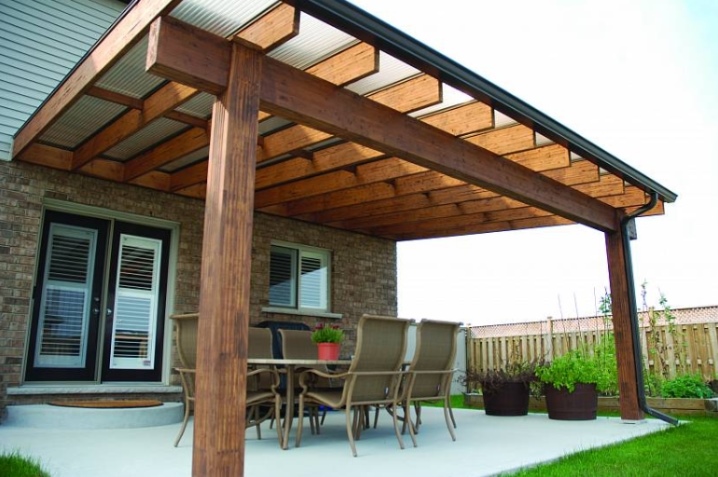
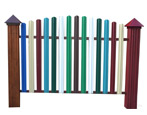
Wooden
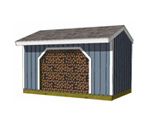
Supports made of natural wood are suitable for lightweight sheds with a polycarbonate roof or other building materials with a low weight. For the manufacture of poles, you need to choose durable and hard wood species (for example, oak, beech, ash, deciduous trees) - they can last up to 15 years.
The advantages of such pillars:
- affordability;
- ease of processing;
- ecological cleanliness;
- easy installation and simple dismantling;
- the possibility of combining with natural or artificial stone, metal structures.
Wooden posts have some disadvantages. Precipitation negatively affects the wood - over time, it begins to rot and quickly deteriorates. To extend the durability, the supports will have to be constantly treated with biosecurity compounds.
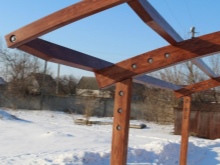
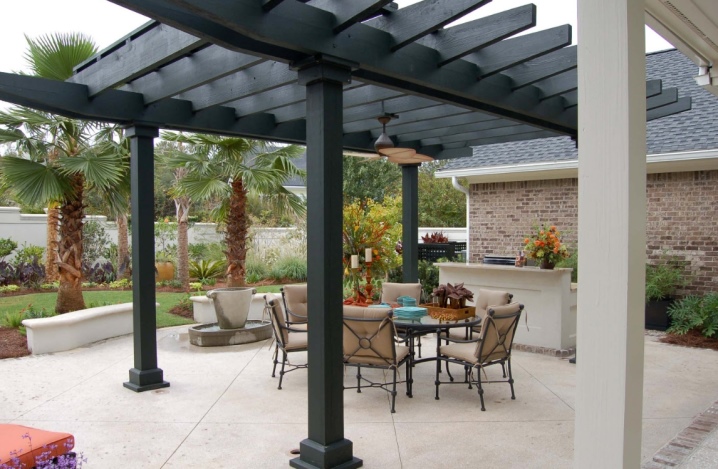
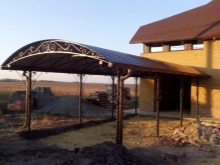
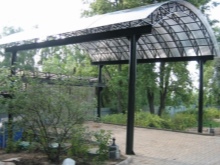
Metallic
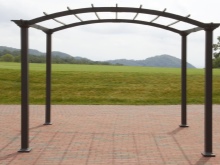
Metal supports are considered the most reliable and durable, due to which they are often used in the construction of sheds. Iron supports are forged, prefabricated or cast. Often, ordinary or shaped pipes are used. They can be painted in the desired color for aesthetics.
Advantages of metal poles:
- long service life (correctly installed supports can last 30-50 years);
- providing a reliable and strong roof frame made of light or heavy materials;
- the possibility of installation in wet soils and water-saturated soil;
- optimal ratio in terms of price and quality.
Metal pillars can be painted many times, combined with various elements from other materials.
The disadvantages include a more complex installation compared to wooden supports, as well as the need to treat the lower part of the structure with anti-corrosion coatings.
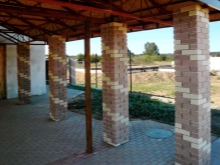
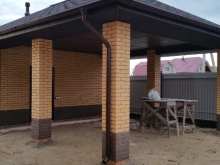
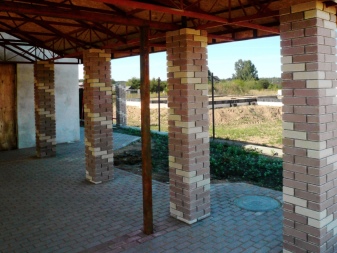
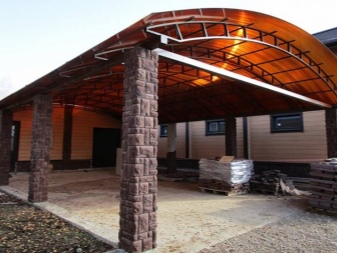
Brick
Brick supports are not popular due to their high cost and time-consuming installation. However, some owners of private houses and personal plots prefer them. Brick supports are chosen for several reasons:
- high decorative qualities;
- the ability to withstand heavy roofing materials;
- resistance to ultraviolet radiation and the effects of negative atmospheric phenomena (temperature drops, precipitation, heat, frost).
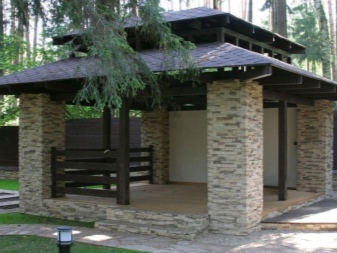
The same category includes masonry made of natural or artificial stone. Such supporting structures look luxurious, they emphasize the high status of the owners. Most often they are found in the territories of wealthy people, as well as lovers of antique architecture.
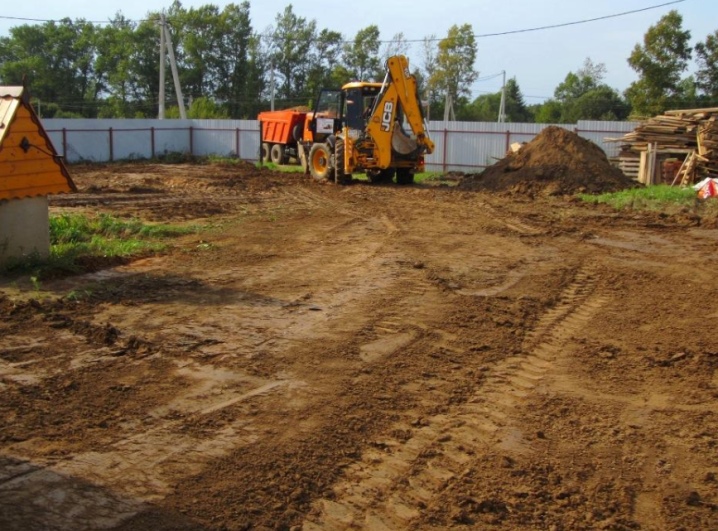
Site preparation
The erection of awnings is carried out according to the same scheme. First of all, you need to decide on the location of the building.The site should be selected for aesthetic and practical reasons. It is recommended to abandon the installation of a canopy near water bodies, since in this case additional waterproofing measures will be required. It is undesirable to erect a building on slopes, because on such a site it may be necessary to install a pile foundation.
Before installing the posts for the canopy, you need to decide on the dimensions of the future structure. The area of the terrain should be larger than the building being erected by about 80 cm around the perimeter. The selected area must be cleaned by removing plants, rhizomes, stones. The next step is leveling the surface.
After the preparatory measures, you need to mark the territory. To do this, drive 4 pegs in the corners of the future canopy. For accurate measurements, you need to use measuring instruments. For example, a laser tape measure is convenient to use. Pull a tight rope between the installed pegs.
One of the most crucial moments is the correct calculation of the number of posts. For calculations, you need to know the mass of the roof. Consideration should also be given to wind loads and snow weight in winter. For the erection of open structures with a size of 6x3 m, 8 metal pillars with dimensions of 80-100 mm will be required (the supporting structure on two legs can withstand approximately 250 kg of weight).
Pole installation methods
The easiest method for installing supports is to bury them in the ground. This method is suitable for small-sized, lightweight or temporary building structures. All work can be done with your own hands, without having experience.
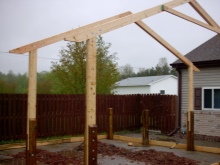
The procedure for installing wooden supports:
- dig the required number of holes 50 cm deep (for work you will need a bayonet shovel or a special drill);
- tamp the bottom of the recess made and fill it with sand to a height of 10 cm;
- prepare wooden racks by treating their lower parts with anti-rotting compounds;
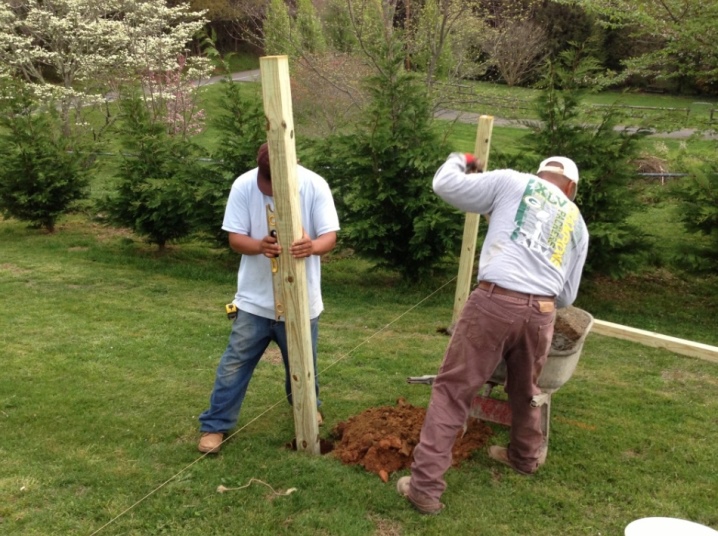
- dig the pillars into the ground, strictly checking the verticality of their installation according to the level (if necessary, it is recommended to use supports to ensure the desired position);
- compact the soil;
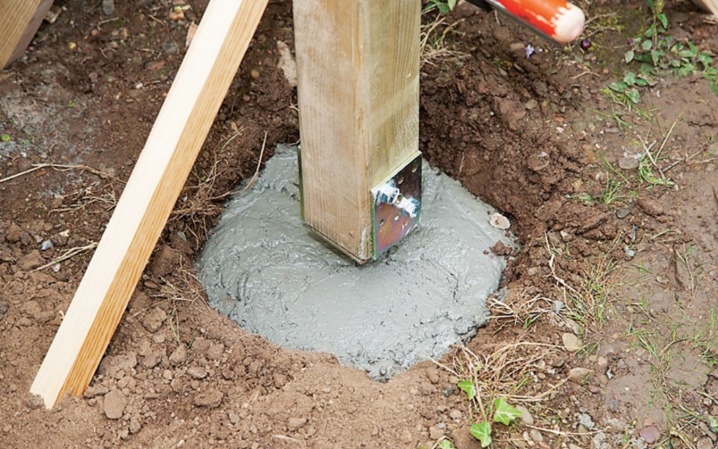
- to increase the durability of the supporting structures, concreting of their lower part will be correct - for this they are poured with liquid concrete.
In a similar way, the installation of forged metal supports or products from a shaped pipe is carried out. To erect small structures, the pillars must be buried to a depth of 50-60 cm. Before installation, the recess is partially covered with sand with fine gravel. Parts of the profile that will come into contact with the soil should be treated with an anti-corrosion compound.
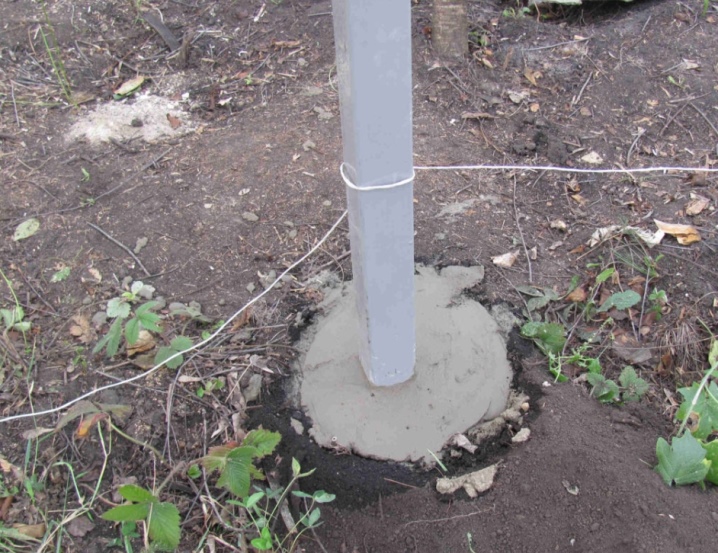
To ensure better stability of the canopy on the supports, it is recommended to weld iron dimes to the round profiles. The pillars need to be aligned, checking the verticality of their installation in terms of level. For the reliability of the support, it is necessary to concreted - for this, it is necessary to pour a liquid working solution into the voids. When the mass solidifies, it is important to monitor the verticality of the structures.
Brick or stone support structures are the most difficult to install. For this you need:
- make markings, dig holes in the shape of a square up to 60 cm deep;
- cover the bottom of each depression with a 5 cm sand pillow, carefully tamping it;
- then the formwork is installed using embedded parts and waterproofing, after which the reinforcement cage is installed, all this is concreted;
- after the solution has hardened, the formwork is dismantled;
- when preparing the underground part, the side walls of the base are coated with a bituminous solution, buried in and the masonry is brought to conformity with the design marks.
Helpful hints
The stability of the canopy is more influenced by the observance of strict verticality of the supporting structures. In order to avoid oversights, it is recommended at each stage of work to check the position of the supports using a plumb line. In the process of concreting, you need to use wooden or metal supports, which, after the concrete mass has partially hardened, should be dismantled. The post position can be corrected within the first 2-3 hours after pouring the solution.
After the installation of the supporting structures, they must be leveled in height. For these purposes, it is best to use the hydro level. In this case, you cannot do without the help of other people. If the pillars are not installed on bumpy, but on flat terrain, mark on each pillar (on the lower part) at the same distance, they must correspond to the level of the support's deepening into the ground.
After installing the supports, you can proceed to further work on the installation of the canopy overlap.
The following video shows you how to install canopy posts.


The comment was sent successfully.