Insulation of the loggia with penoplex
A large number of materials, both traditional and modern, can be used to insulate various residential premises. This is glass wool, mineral wool, foam rubber, polystyrene. They are different in their qualities, manufacturing characteristics, application technology, environmental impact and, of course, at a price that is now often put on one of the first places when choosing any product. We are more interested in the EPPS product, which has recently become the most popular and demanded thermal insulation material.
What it is?
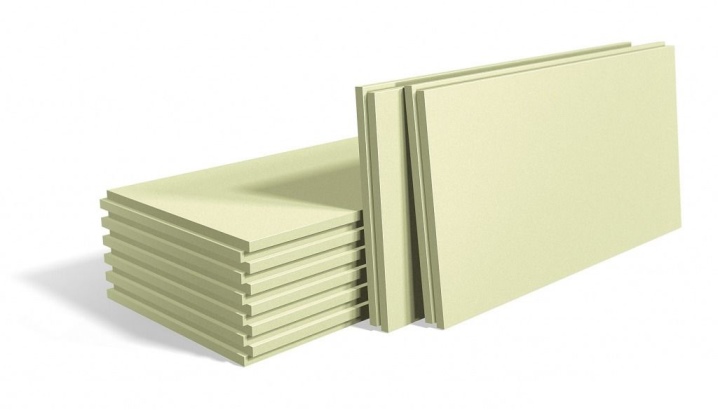
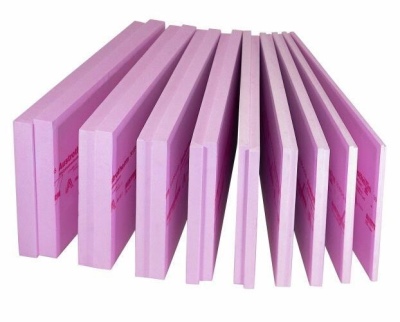
Extruded polystyrene foam (EPS) is a high quality heat-insulating material that is obtained by extruding a polymer under high pressure from an extruder in a preheated to a viscous state with a foaming agent. The essence of the extrusion method is to obtain a foamed mass at the outlet of the spinnerets, which, passing through the shapes of specified dimensions and cooling it, turns into finished parts.

The agents for the formation of foam were different types of freons mixed with carbon dioxide (CO2). In recent years, mainly CFC-free foaming agents have been used, due to the destructive effect of Freon on the stratospheric ozone layer. Improvement of technologies has led to the creation of a new uniform structure, with closed cells of 0.1 - 0.2 mm. In the finished product, the cells are freed from the foaming agent and filled with ambient air.
Advantages and disadvantages
The main characteristics of extruded boards:
- Thermal conductivity is one of the lowest for heat insulators. The thermal conductivity coefficient at (25 ± 5) ° С is 0.030 W / (m × ° K) according to GOST 7076-99;
- Lack of water absorption. Water absorption in 24 hours, no more than 0.4% by volume in accordance with GOST 15588-86. With a low water absorption of the EPS, a small change in thermal conductivity is provided. Therefore, it is possible to use EPPS in the construction of floors, foundations without installing waterproofing;
- Low vapor permeability. The EPSP board with a thickness of 20 mm also resists vapor permeation, like one layer of roofing material. Withstands heavy compression loads;
- Resistance to combustion, development of fungus and rotting;
- Environmentally friendly;
- Plates are easy to use, easy to machine;
- Durability;
- High resistance to temperature drops from -100 to +75 ° С;
- Disadvantages of extruded polystyrene foam;
- When heated above 75 degrees, EPSP can melt and release harmful substances;
- Supports combustion;
- No resistance to infrared rays;
- It is destroyed under the influence of solvents that may be contained in bitumen protection, therefore, EPSP may be unsuitable for basement works;
- The high vapor permeability in the construction of wooden structures retains moisture and can lead to decay.

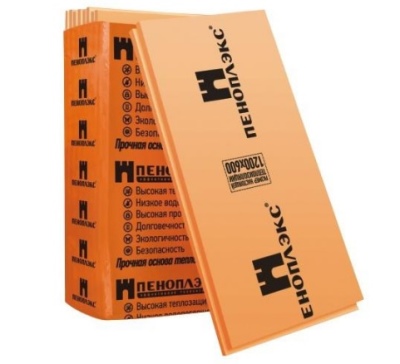
The technical characteristics and technological capabilities of EPSP boards of different brands are approximately the same. Optimum performance is determined by the load conditions and the ability of the slabs to withstand them. The experience of many craftsmen who worked with these plates suggests that it is best to use penoplex with a density of 35 kg / m3 or more. You can use a denser material, but this depends on your budget.
How to choose?
Depending on the number of storeys, joints with warm or cold walls, interior or exterior finishing, the thickness of the EPPS insulation layer will be from 50 mm to 140 mm. There is only one principle of choice - the thicker the layer of thermal insulation with such plates, the better the heat is retained in the room and in the loggia.
So, for Central Russia, EPS 50 mm thick is suitable.
Preparatory work
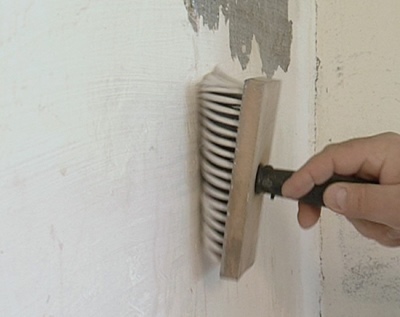
Before starting work, it is necessary to remove all objects that are on the balcony, moving them from place to place will only complicate further work. Next, we remove all the shelves, awnings, hooks, remove all the protruding nails and all kinds of holds. Then try to remove all finishing materials that can be easily dismantled (old wallpaper, falling off plaster, some sheets and other junk).
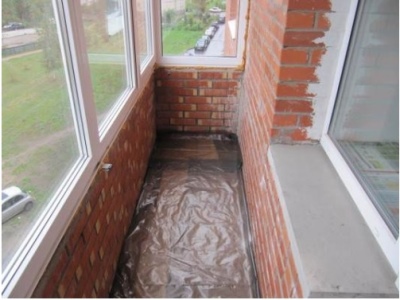
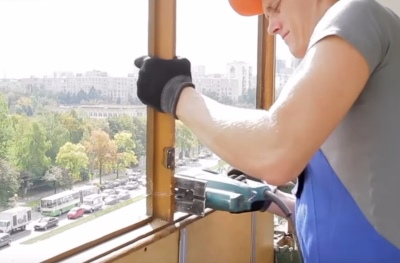
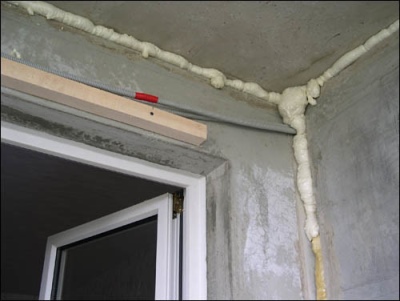
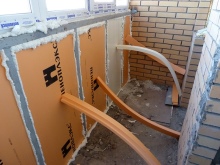
We believe that we are working on a glazed loggia with double or triple glass units, and the wiring of communications has also been made, and all the wires are enclosed in a corrugated pipe. Double-glazed windows are usually removed from the frames with the beginning of active work and put in place after finishing all surfaces of the loggia.
To avoid rotting and the appearance of fungi, all brick and concrete walls, the ceiling must be treated with protective primers and antifungal compounds, and allowed to dry for 6 hours at room temperature.
For middle climatic zones of Russia, it is enough to use 50 mm thick foam plates as thermal insulation.
We buy the number of slabs based on the measured area of the floor, walls and parapet and add another 7-10% to them as compensation for possible errors that are inevitable, especially when the loggia is insulated with our own hands for the first time.
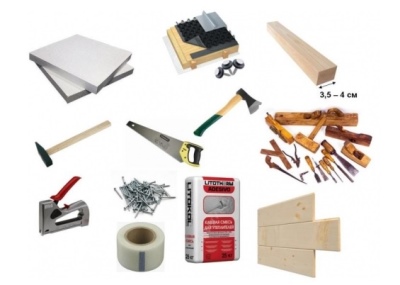
When insulating you will also need:
- special glue for foam; liquid Nails;
- construction foam;
- foil-clad polyethylene (penofol) for waterproofing;
- dowel-nails;
- self-tapping screws;
- fasteners with wide heads;
- antifungal primer and anti-rotting impregnation;
- bars, slats, aluminum profile, reinforced tape;
- puncher and screwdriver;
- tool for cutting foam boards;
- two levels (100 cm and 30 cm).
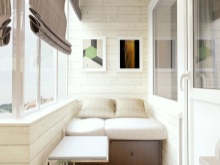
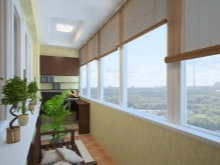
The finishing or finishing material is selected in accordance with the general appearance. It must be remembered that the floor level in the loggia after the end of the work should remain below the floor level of the room or kitchen.

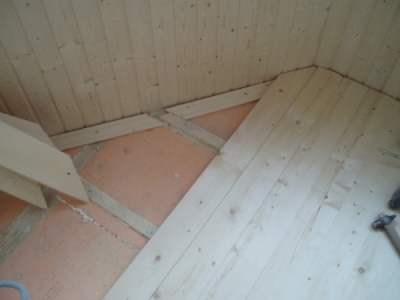
Insulation technology from the inside
When the loggia is completely cleaned and prepared, work on insulation begins. First, all gaps, chipped places and cracks are filled with polyurethane foam. The foam hardens after 24 hours and can be worked with a knife to create even corners and surfaces. Next, you can start floor insulation.
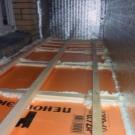
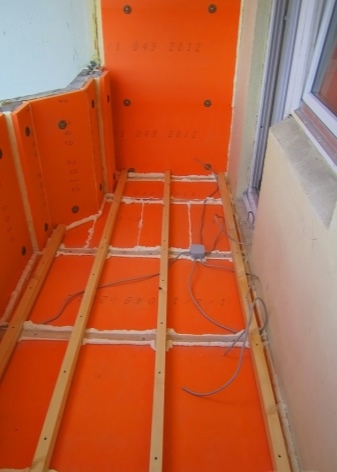
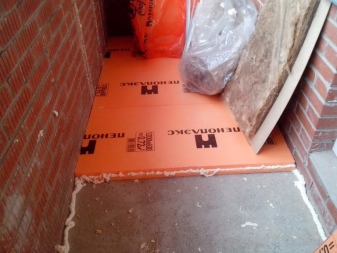
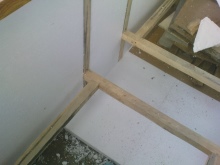
On the floor of the loggia, a leveled concrete screed must be made before laying the EPSP slabs. With the addition of expanded clay to the screed, additional insulation is obtained, and foam sheets can be taken in smaller sizes in thickness. Sometimes, under the slabs, they do not make a crate on the floor, but put the slabs directly on the screed using liquid nails. In this case, it is advisable to use slabs with a groove-tongue connection. But if you put a grate, it will be easier to fix both the plates and the rest of the floor.
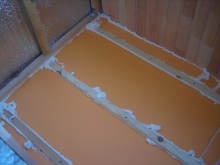
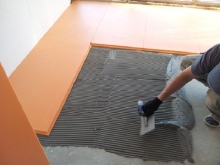
Possible cracks and joints are filled with foam. Plates can be covered with penofol, and the joints can be glued with reinforced tape. Boards, plywood or chipboard (20 mm) are laid on top of penofol, and finishing is on top.
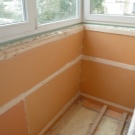
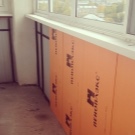
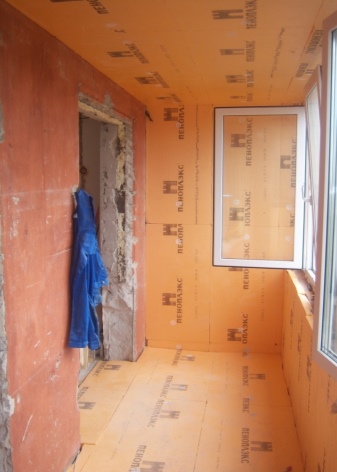
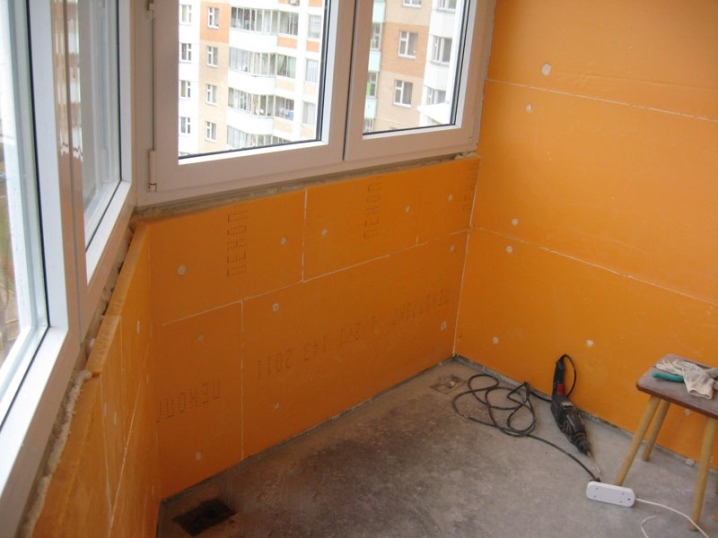
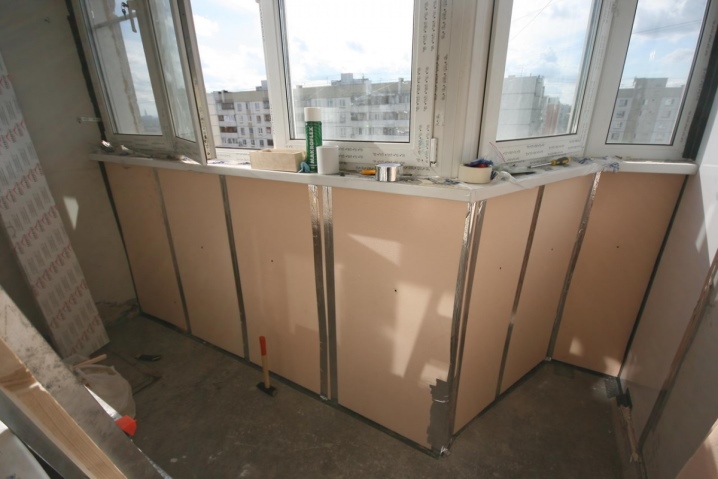
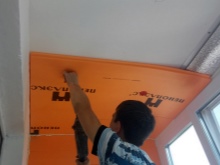
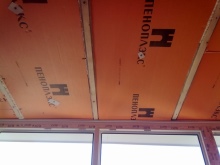
Wall insulation
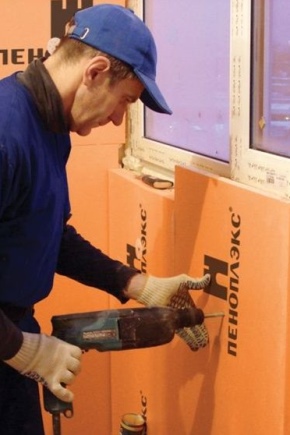
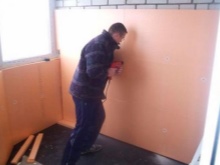
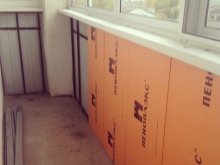
Fill cracks, cracks, joints with polyurethane foam. Wall and ceiling surfaces, including those adjacent to the room, must be treated with a waterproofing material. We make the crate only with vertical bars at intervals along the width of the EPSP boards. We fix the slabs on the walls of the loggia with liquid nails. Fill the joints and all the cracks with polyurethane foam. On top of the insulation we lay foil-clad penofol with foil inside the loggia. Secure the finish.
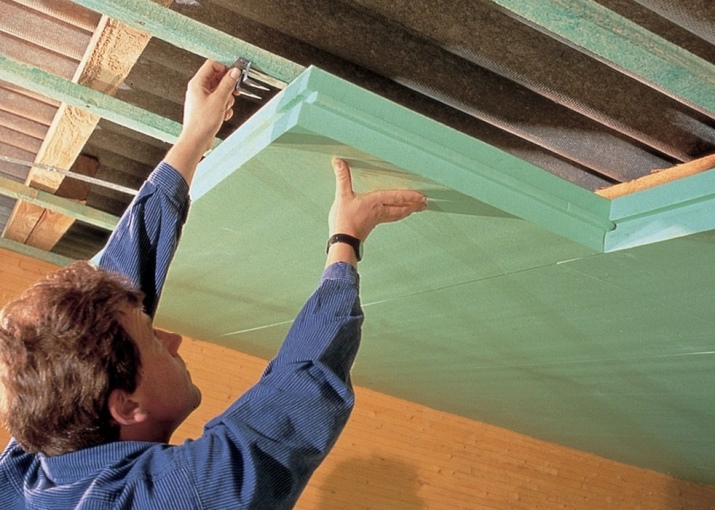
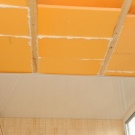
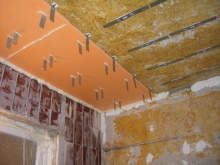
Moving on to the ceiling
The insulator will be the same 50 mm thick penoplex. We have already done the sealing of the flaws, now we put the crate and glue the prepared plates to the ceiling with liquid nails.After fixing the penoplex, we close the ceiling with foil-clad polyethylene foam, using self-tapping screws, the joints are glued with construction tape. For further finishing work, we make another crate on top of the foam foam. Close the ceiling of the loggia of the last floor for roll waterproofing.
In the next video, you can see in more detail how to insulate a balcony from the inside with penoplex:
How to insulate outside?
Outside the loggia, you can insulate the parapet, but you should do it yourself only on the first floor. The works above are carried out by specialized teams in full compliance with safety measures. The step-by-step instructions are as follows:
- Clean the outer walls from the old coating;
- Apply a primer for facades;
- Apply a liquid waterproofing compound with a roller in two layers;
- Mount the crate;
- Glue the EPS sheets cut in advance according to the size of the crate with iron nails to the parapet of the loggia;
- Close the cracks with polyurethane foam, after hardening, cut flush with the boards.
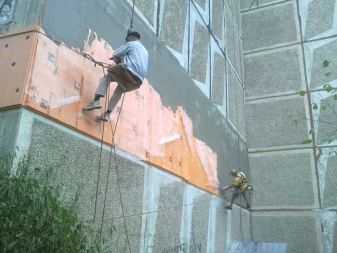
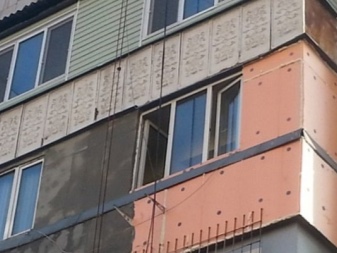
We use plastic panels for finishing.
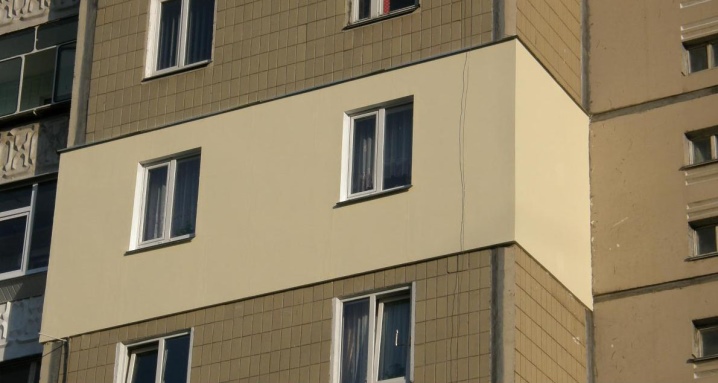
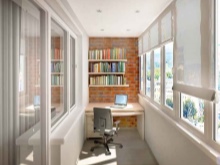
As you can see, it is not so difficult to bring the loggia in line with the adjacent room and not lose the overall warmth of the apartment, if you prepare well for this and avoid mistakes. Try to carry out all stages sequentially and completely, especially in those places where it is required to meet the time of fixing or hardening of materials. After that, the loggia will be sheathed on all sides with thermal insulation and finishing, which means that the whole apartment will be ready to endure the heating period in comfortable conditions.


The comment was sent successfully.