Scrapbooking photo albums
Scrapbooking is an art that has gone beyond its own boundaries... It began precisely with photo albums, which were created with their own hands from a variety of decorative details. Today the technique is used in the design of notebooks and photo frames, in other creative works, where this charming layering may be appropriate. But albums remain the same golden niche, where the very idea of scrapbooking seems most appropriate.
Peculiarities
Photo albums are slowly becoming objects of yesterday's era, more and more people order photo books, and photo printing is becoming the same disappearing element as a CD, for example... But both the fashion for vintage or nostalgia for childhood, youth, and the fashion for something non-digital, and tangible, voluminous, rustling in the hands, is also in demand. Therefore, a scrapbooking album is a design that cannot be compared with the laconicism and technical accuracy of a photobook.
A self-made album is the sum of impressions from each element of a given object.
Scrapbooking is a combination of techniques, it is a union of a variety of creative products from knitting to origami design, from macrame to patchwork and sewing. By the way, this creativity already has a number of techniques that are almost ready to spill out into a separate direction.
What techniques does scrapbooking represent:
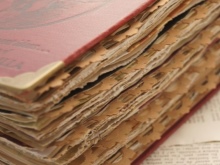
- distressing - using the technique of artificial aging of pages using toning of paper and not only;
- embossing - involves the creation of elements, letters and convex patterns, for example, for which stencils and even special powder are used;
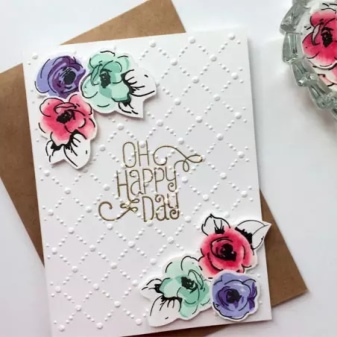
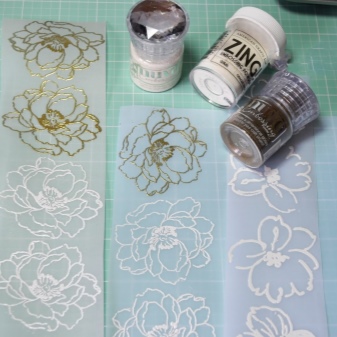
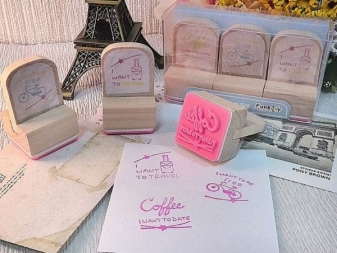
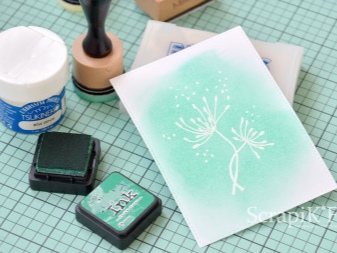
- stamping - the work is decorated with ink and stamps, creating interesting effects.
Before you start making an album, you need to do some preparatory work. Sketches of the future design can be drawn on paper in order to understand what products and materials will be required to create an album. They can be listed separately and the item that has already been found and prepared can be crossed out.
What materials can you use?
The main requirements for scrapbooking materials are durability and complete safety. For the album to be stored for a long time, it must be kept away from the active sun and not kept where serious temperature jumps are possible.
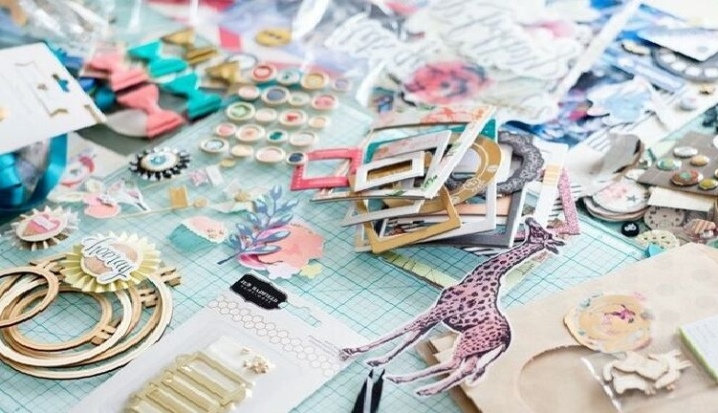
What is used for scrapbooking:
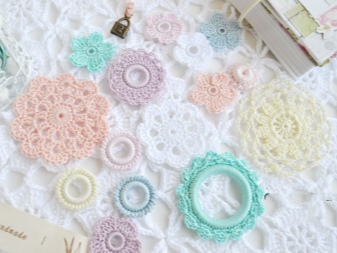
- special paper, already decorated - it can have special prints, sequins, embossing;
- volumetric elements - they can be factory made, made in the form of symbols, or they can be found in the environment (a chain from an old watch, a bow from a beautiful packaging, buttons, etc.);
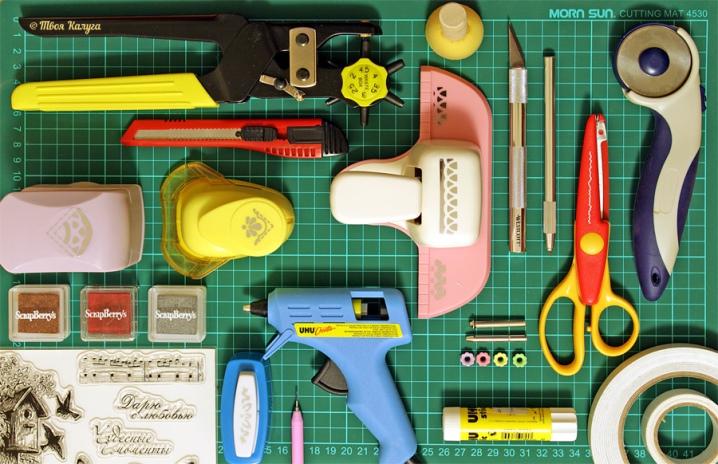
- adhesives - it can be a glue stick, and a universal composition, and a spray, and glue pads, and a thermal gun;
- all kinds of fabric from satin to velvet, the more textured, the more interesting, natural materials are preferable;
- fabric lace;
- beads and beads;
- satin ribbons;
- wooden elements, including inscriptions;
- specimens from the herbarium;
- metal corners;
- pom-poms;
- shreds of fur or leather;
- colored cardboard;
- all kinds of sewing accessories;
- translations;
- seashells and pebbles;
- watch wheels;
- cut paper pictures, etc.
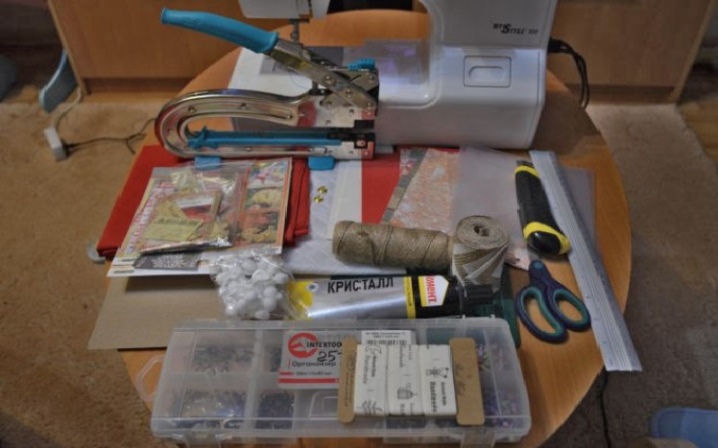
Tools require a standard sewing kit: threads, needles, scissors, a sewing machine may also be useful.Scissors with curly edges are also useful, a curly hole punch and those writing elements that do not tend to fade quickly (that is, varnish markers, paints and watercolor pencils, etc.)
Styles of design
Scrapbooking involves a clear division into styles that are easily guessed by those who have already mastered this type of creativity.
Most popular styles.
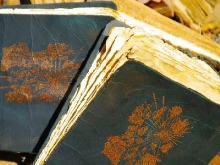
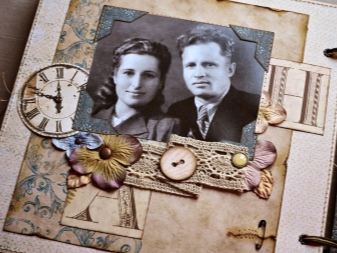
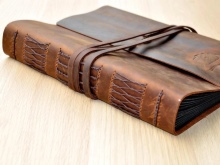
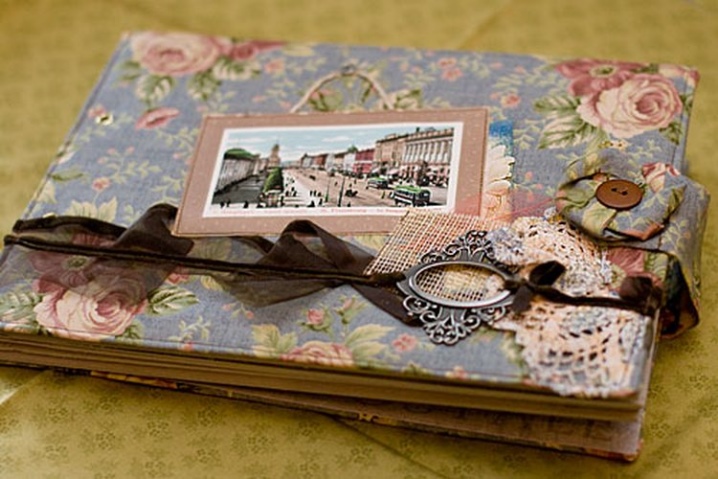
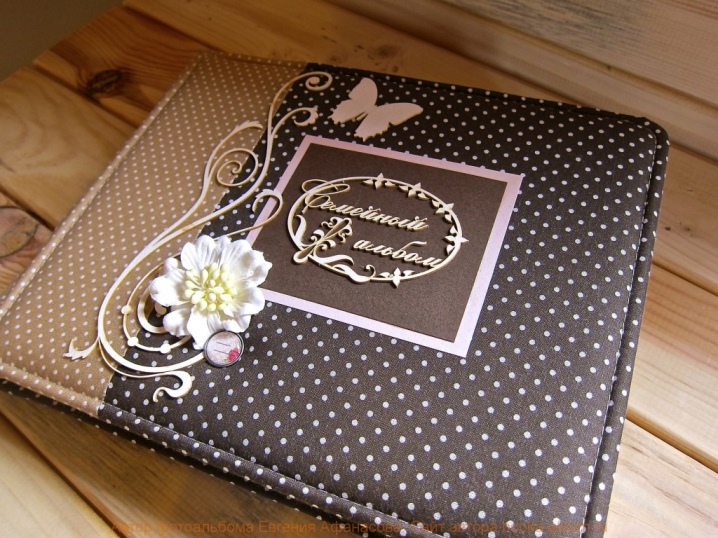
- Heritage and vintage. Postcards, retro albums are often made in just such styles. They are characterized by muted colors, the use of scuffs, old newspaper clippings and photographs. Laces, beads and stamps look convincing in such works. Such an album looks expensive and noble.
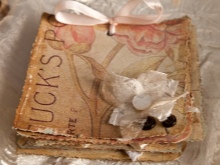
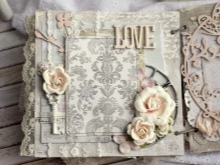
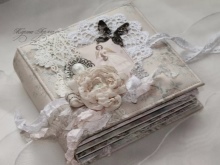
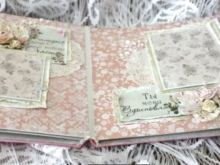
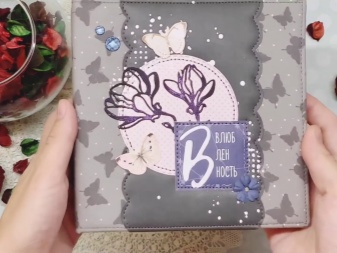
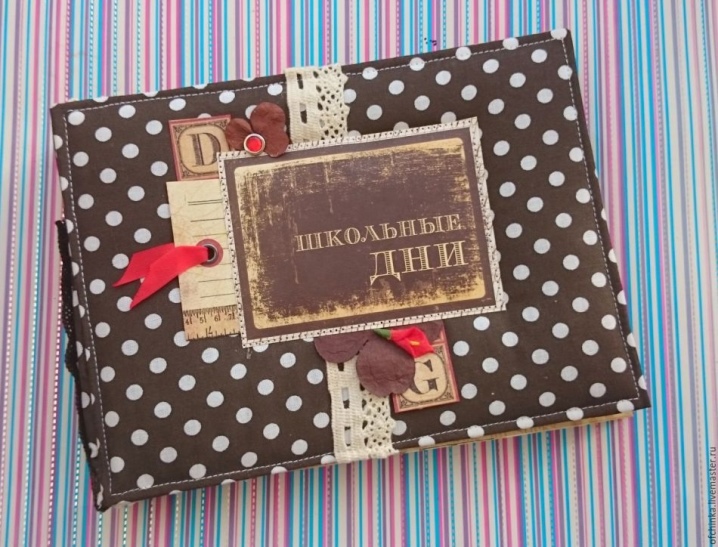
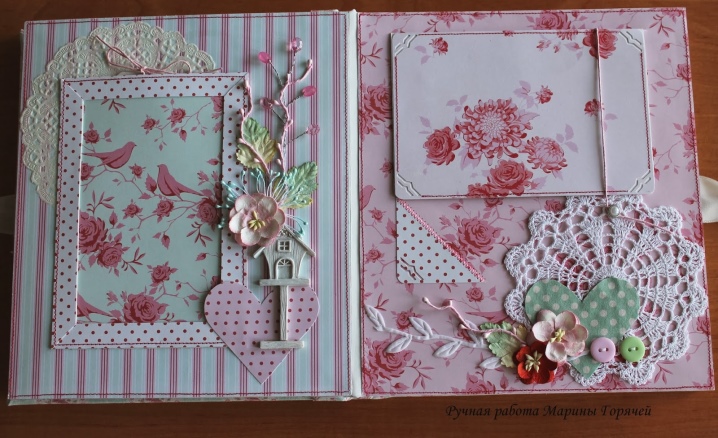
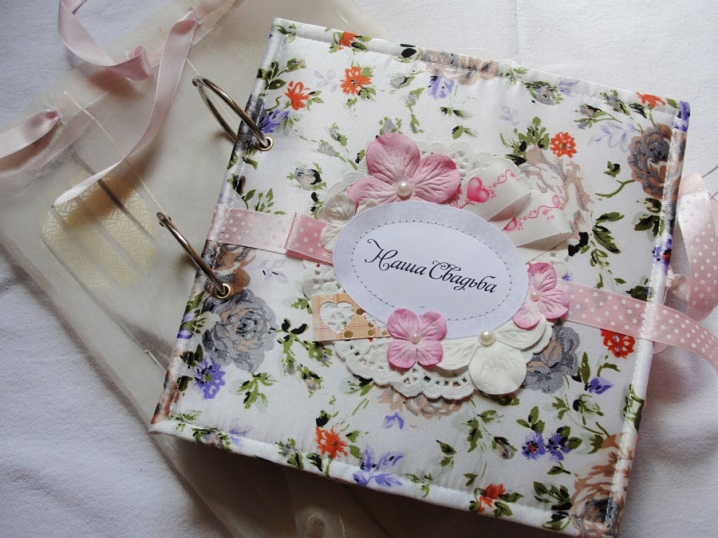
- Shabby chic. In scrapbooking, he is as gentle as possible, loves stripes and polka dots, uses light and faded materials, looks romantic and flirty.
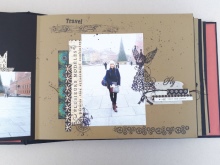
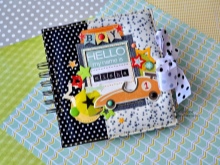
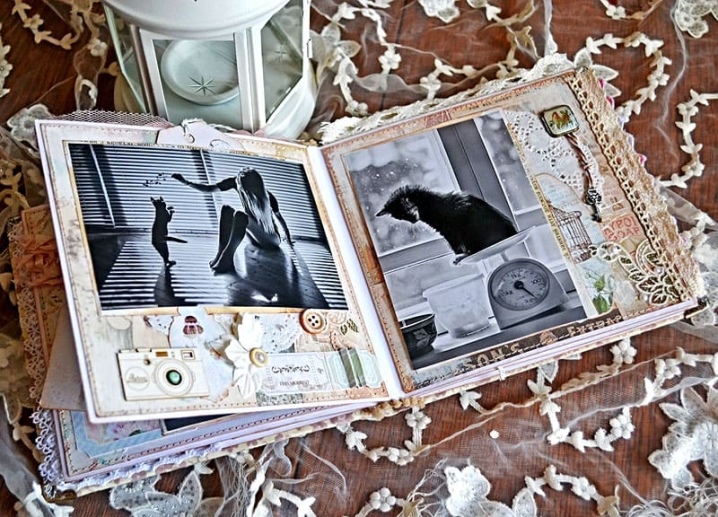
- American style. Album pages are designed like collages. The album contains photos bordered with ribbons, inscriptions, paper figures. Each sheet will be unique. You can supplement the images with train tickets or theater tickets, etc.
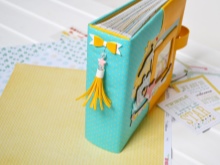
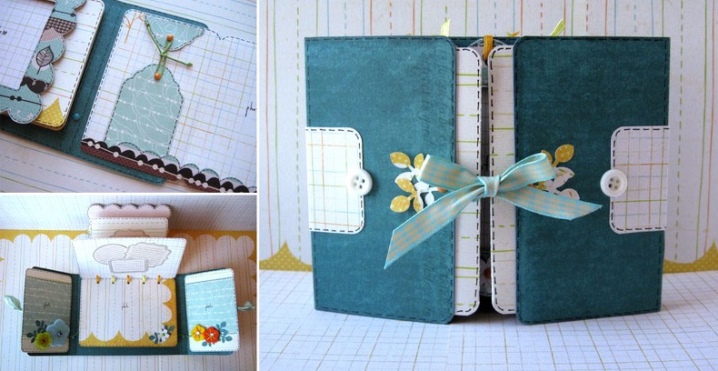
- European style. In comparison with the American one, it can be considered more minimalistic. This style is suitable for creating mini-albums. Pens and pencils are used, that is, the work is complemented by sketches, seemingly even improvisations. The edges of the pages are decorated with curly punches or scissors.
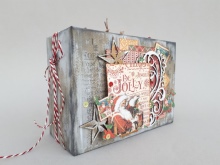
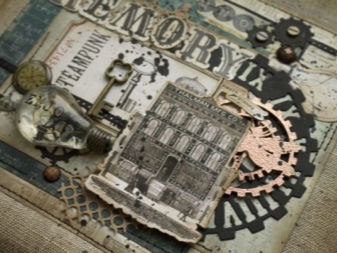
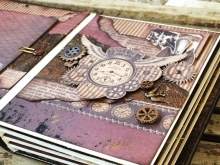
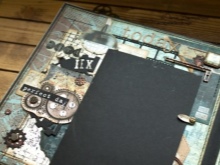
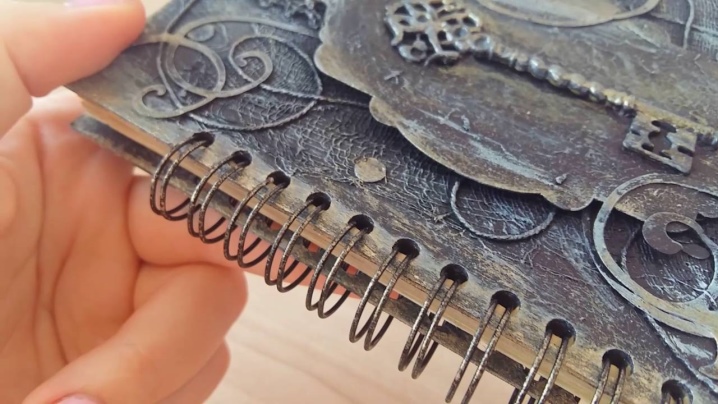
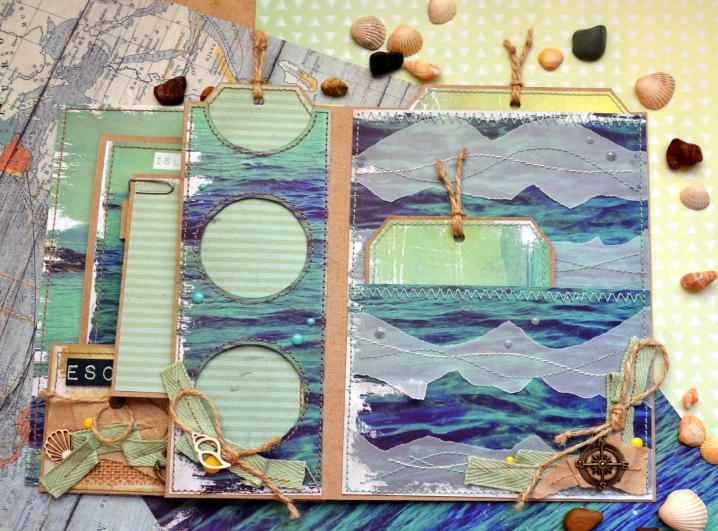
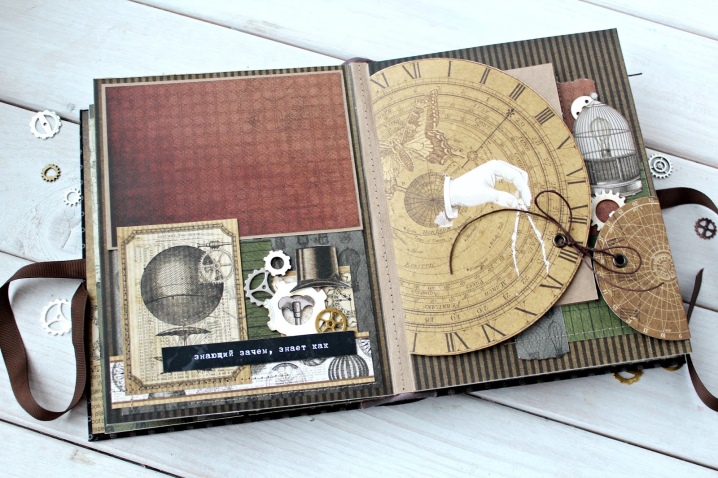
- Steampunk... More brutal style. It can be used to design an album on rings. Flowers, beads and lace should not be there, but various mechanisms and gears, on the contrary, will fit well. Travel maps, nautical attributes, vintage blueprints will be good both inside the album and on the cover. In this style, gray-brown tones are considered more appropriate.
Styles can be mixed if such a decision seems convincing. You can not stick to a specific, but take several ideas that work well together.
How to do it yourself?
Using the example of several typical albums, you can walk through the main steps of scrapbooking products.
Wedding
Step by step plan.
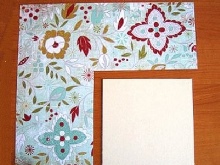
- The base for the cover is cut out of the cardboard, the typical version is 20x20 cm.
- To decorate the base, two 22x22 cm squares are harvested from scrapbooking paper (or its equivalent), thick fabric or other suitable material.
- Glue is applied to the prepared cardboard, cover paper is attached. Superfluous turns to the other side, corners are formed.
- Squares are harvested slightly smaller than the base in size, from plain thick paper. They are glued to the back.
- You need to wait for the glue to dry.
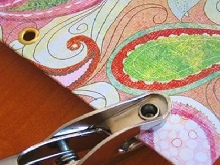
- With a hole punch, you need to put two holes on the side of the spine of the album.
- With the help of tweezers, the blocks are fixed.
- You need to prepare a lot of leaves for the album. They should be square. They also need to make holes in them with a hole punch.
- The album needs to be assembled. A satin ribbon will suffice. The leaves are laid out between the bases, the tape is pulled into the holes. We need to fix it, but not very tightly.
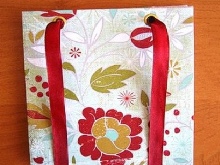
The album is ready - it will be a great gift for your wedding anniversary. But how to decorate it, what to supplement it, or not to execute it in a restrained decor, depends on the author's decision.
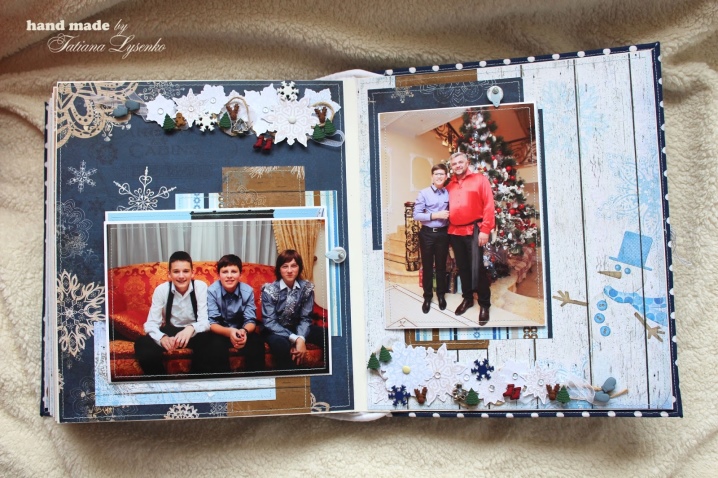
New Year
What is required: beer cardboard, colored cardboard, craft paper, scrap paper, synthetic winterizer, fabric, twine, tape, as well as a burlap fragment, hole punch, inscriptions, brads, transparent corner, scissors, ruler, glue, model knife, sewing machine.
The instruction is step by step.
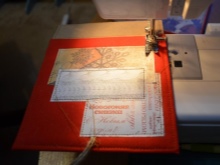
- A synthetic winterizer is fixed on the beer cardboard, covered with fabric.
- Craft paper should be cut, folded in half (or even four times). Craft paper parts are glued to the cardboard pages of the album.
- Half of the pages need to be sewn onto cardboard backings.
- All pages that include leftover paper that are not glued to the cardstock are sewn along the top edge.
- Transparent corners are to be cut into equal squares, proportional to paper, glued and stitched on three sides.
- The rest of the pages are glued to the cardboard blank. The two remaining craft parts need to be stitched, glued to the cover and stitched around.
- On all craft parts, folds are pressed through so that the pages open more conveniently.
- On the cover of the album, you need to lay out the decor and sew it, starting from the bottom parts and moving to the top.
- Pictures and inscriptions are complemented by brads.
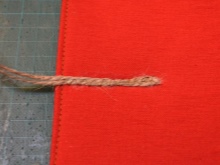
- You need to attach a string to the back of the cover - it is stitched with a zigzag and decorated with a cotton ribbon.
- Craft parts are glued to each other, holes are punched, supplemented with twine.

A very cute, elegant New Year's album is ready!
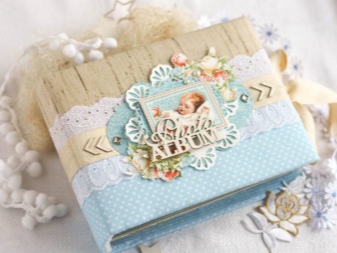
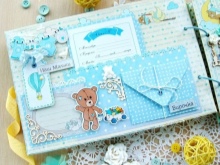
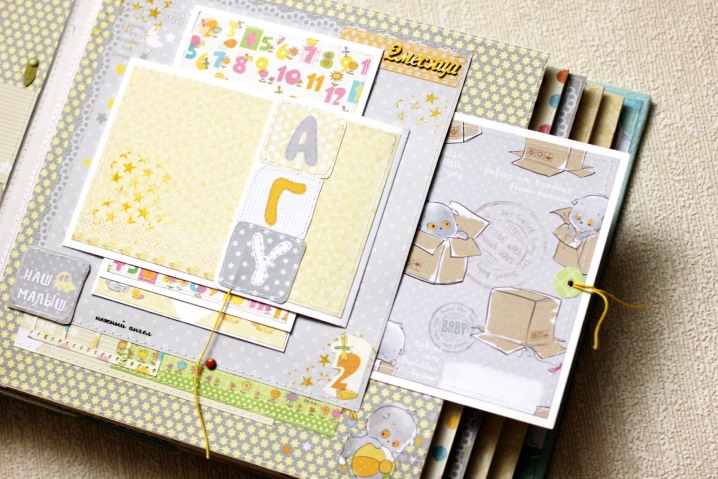
Child
To make an album for a photo of a newborn, for an older girl or boy, you need to prepare standard materials and tools: thick cardboard, printed paper, eyelet installer, corrugated cardboard, tracing paper, scissors, double-sided tape, glue stick, simple pencil, satin ribbon, ruler, curly scissors and a hole punch, acrylic paint, sponge and all kinds of decorative elements.
Features of creating an album.
- Tracing paper will protect the album; thick parchment is also suitable for this purpose.
- Acrylic paint should not be applied with a brush, because it will paint over the surface unevenly, the pages will then bulge.
- A variety of materials must be used for inserts and decor. You need to pay attention to the curly hole punch and scissors, because they make the standard sheets original.
- Convex objects inside the album are not the best option, but they can be taken out on the cover.
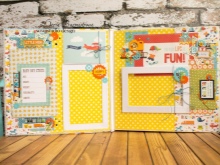
- Printouts, clippings from books and magazines can and should be used, stickers and stickers on children's topics too. Of course, the original material is also used: tags from the hospital, the first hair cut, etc.
- Pages should be filled not only with photos, but also with inscriptions, poems, wishes, notes. This is especially true in the children's album: I want to "record" all the main milestones in the development of the baby.
The very principle of manufacturing repeats the standard scenario: from the formation of the cover, spread, sewing on or driving in pages and ending with attaching small decor.
More ideas
What other options are used:
- an album dedicated to a honeymoon trip;

- a product that will capture the child's success in a circle, section, in a music school, etc.;
- homemade construction dedicated to your favorite book, film, TV series, artist;
- an album with photos of friends, etc.
You can use the concept of creating one album (for example, MK for assembling a wedding) in relation to another thematic craft.
Tips for Beginners
Other recommendations:
- if the photo has a lot of details, and in general it can be called variegated, the background for fixation should be calm;
- the background color should be in harmony with the most catchy details in the pictures;
- the background under the photo does not need to be made very bright, otherwise the picture will be blurred on it;
- if the background is patterned, the background is made monochromatic;
- if the text is voluminous, it is broken into small paragraphs;
- inscriptions with deliberate blots can look original;
- oblique lines, as well as text written upside down - this is normal for scrapbooking;
- most often they begin to make an album from the cover, the hard cover is wrapped in decorative paper or cloth;
- the assembly of the album can be carried out using double-sided tape;
- to make torn edges of pages, they need to be bent a few millimeters and only then cut off;
- if you need more voluminous pages, light wallpapers are pasted under the scrap paper;
- if photos are to be removed from the album, they must be inserted into transparent corners.
You can learn scrapbooking from video and photo tutorials, as well as carefully examining successful examples of albums.
Beautiful examples
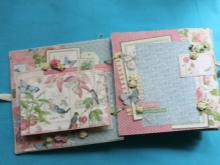
In this collection of 10 thematic albums that are tasteful and, most importantly, which can be repeated.
The best examples of scrapbooking photo albums:
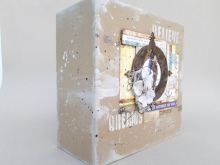
- paperback with many elements for careful tactile study;
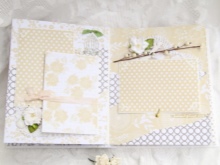
- an openwork napkin is a good detail for a children's album;
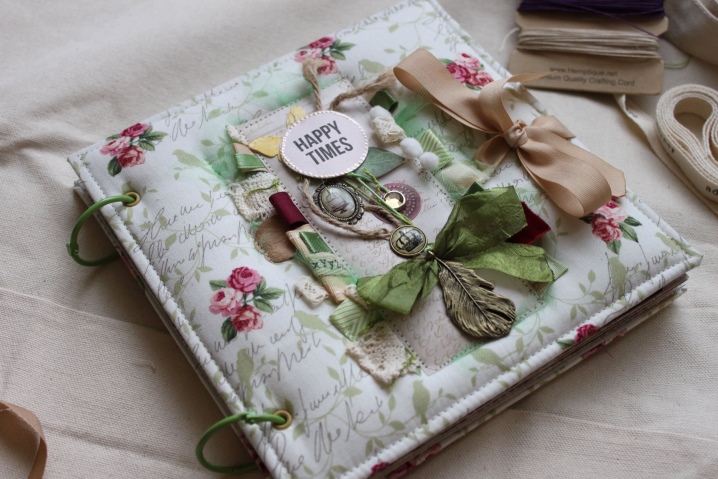
- restrained cover of a family album, very laconic;
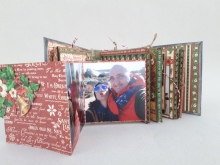
- very attractive vintage album springs - chic detail;
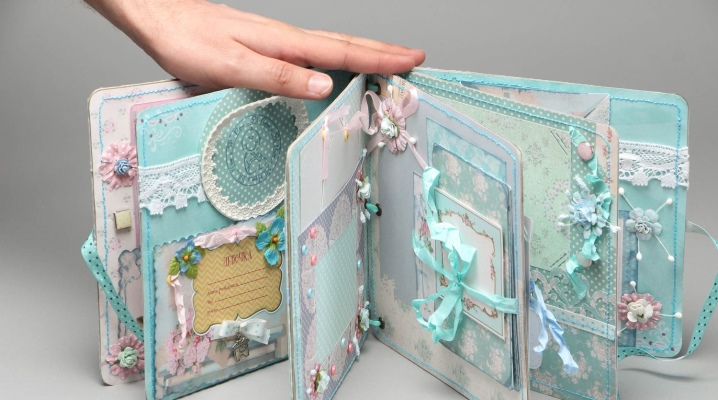
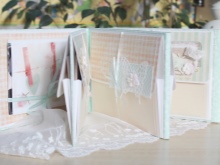
- mini-albums look charming for almost any occasion, not just weddings;
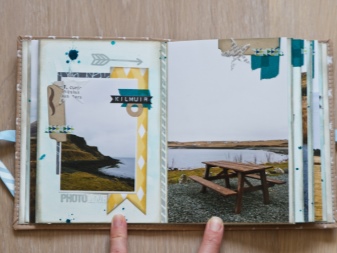
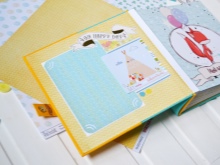
- this is what a spread-out album might look like;
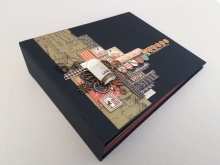
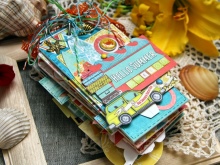
- pure maritime theme;
- I just want to see what these multilayer structures conceal;
- a more brutal story, scrapbooking for men;
- no frills, but also very cute.
For information on how to make a photo album with your own hands, see the next video.


The comment was sent successfully.