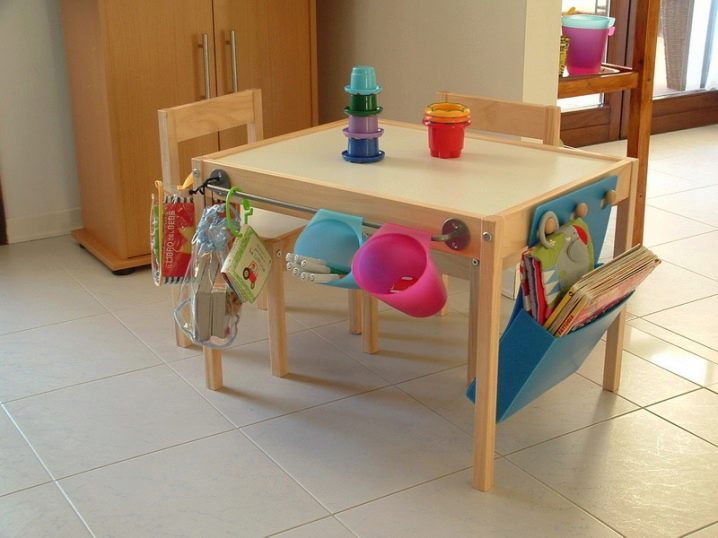
How to make a highchair and table with your own hands?
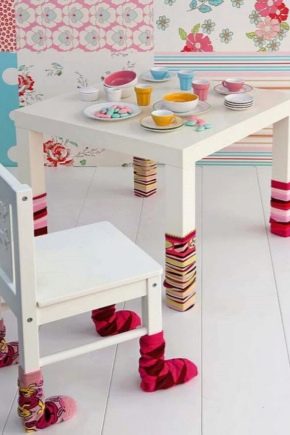
The kid grows by leaps and bounds, and all the time really wants to be like adults. A table and a chair are one of those things that not only "like adults", but also have great functionality. Most of these products in stores are either sold at a very high price, or are made of low-quality plastic with a specific smell and short-lived chipboard. But there is a good way out for parents - these pieces of furniture are easy to make yourself.
Required materials and tools
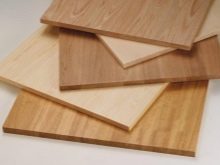
There are not so few materials for self-manufacturing of a children's table and a highchair made of wood, they are available, they can be bought at any building supermarket. As the main material, you can use not only natural wood, but also plywood or chipboard. But, of course, a much more durable and durable material is wood. It is environmentally friendly and does not emit toxic fumes, does not cause various allergic reactions.
The list of necessary materials for the table includes a fairly affordable assortment.
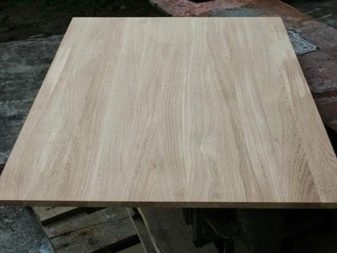
- Table top. You can work out its dimensions yourself. The countertop, like some other details, is best made to order. Classic square or rectangular shapes are welcome. A round table for children is not a common practice.
- Four wooden legs. It is also recommended to buy them to order. Now such products can be ordered in carpentry shops and even in some hardware stores.
- Boards for the power body. They must be purchased in the amount of 4 pieces.
- Screws, nails or thorns with glue of your choice.
You also need to purchase material for a hand-assembled highchair.
- Back and seat boards.
- Bars for pens. They are purchased at will, depending on whether you plan to make armrests or not.
- Four legs. They should be small, but carefully sanded.
- Suitable sized screws or nails.

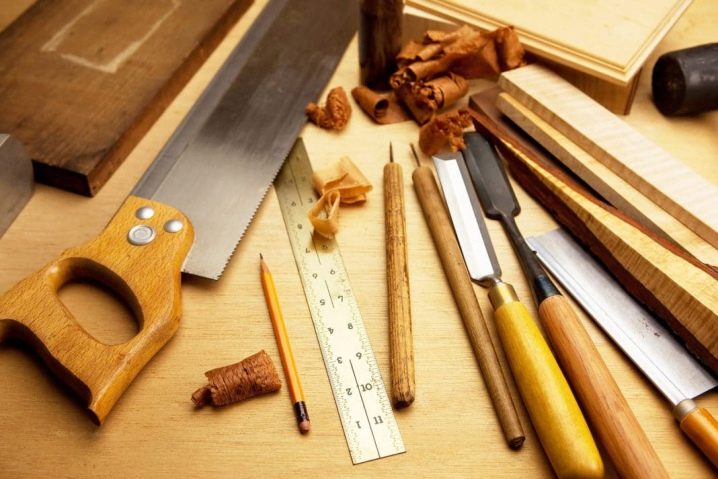
In addition to these things, you will need tools that will be needed for both the highchair and the table:
- electric drill;
- joiner's glue;
- sandpaper;
- roulette;
- ruler;
- pencil;
- hammer.
Design diagrams
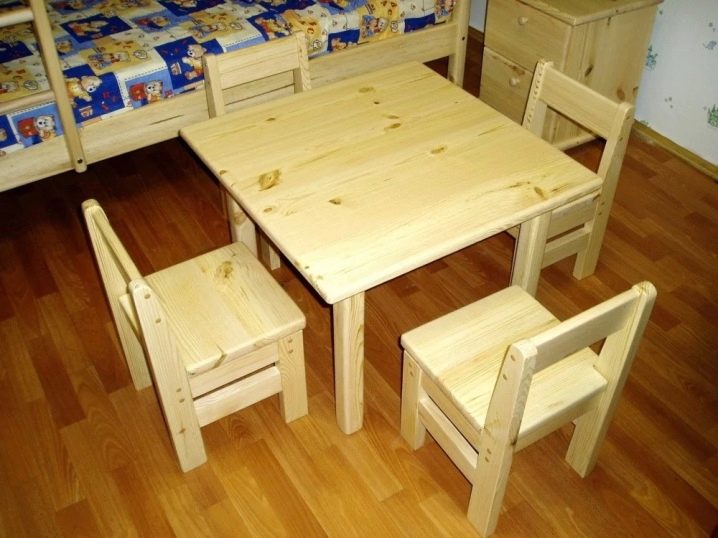
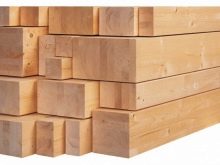
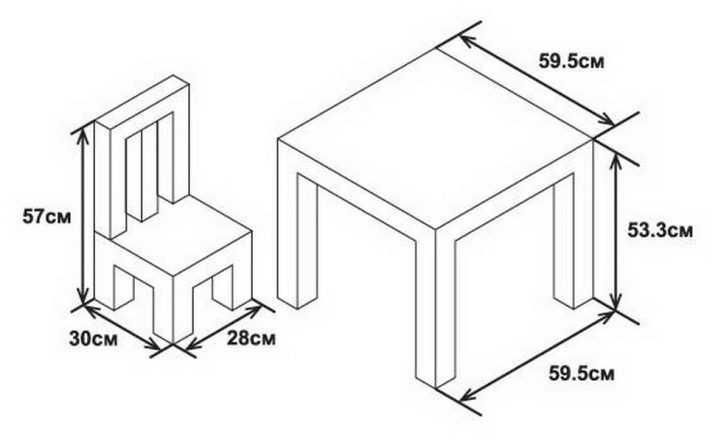
When purchasing wood materials, it is imperative to check their quality. Bars and boards should be free from chipping, cracking or small protruding burrs. The wood must not be damp, rotten or infested with pests. Table. The design of the table itself is not complicated, therefore, the absence of drawings is allowed, the main thing is to carefully connect and "fit" the parts of the future product to each other. Initially, you need to count on the fact that the height of the table will be no more than 50 cm. This height will be the most optimal for the child. It is important to keep in mind that the size of the table and chair must be commensurate.
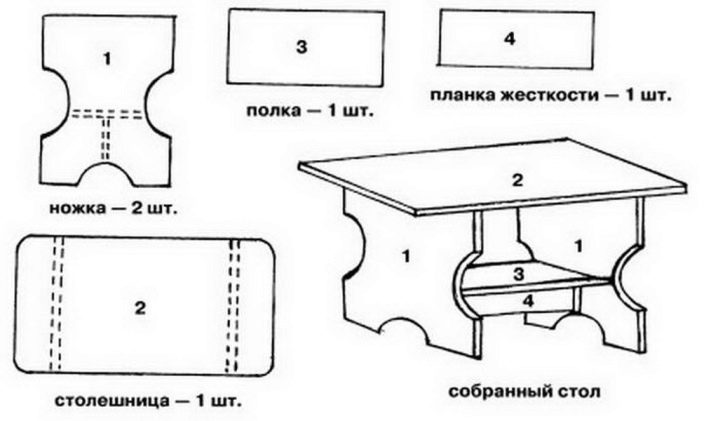
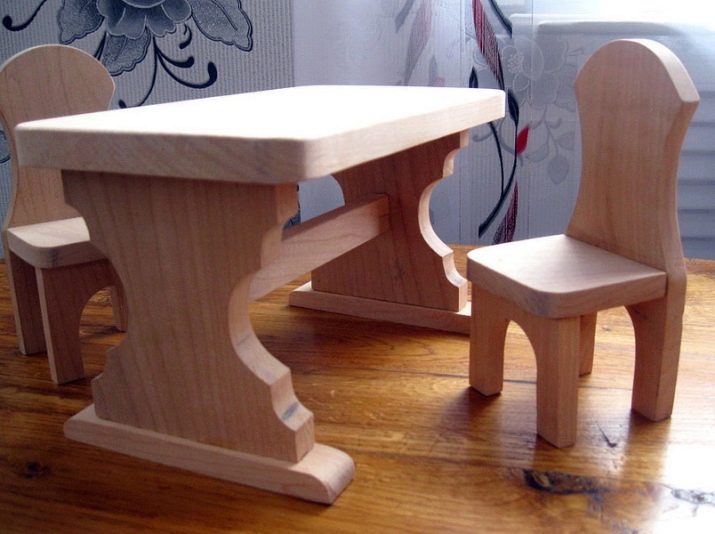
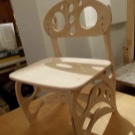
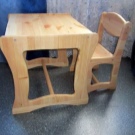
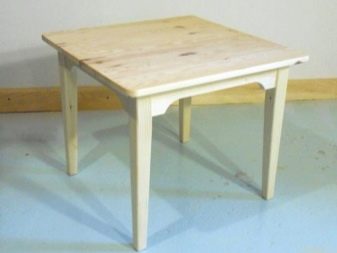
The design of the table itself can be different, but we will focus on the classic square version with 4 legs. A special feature of the table design is its legs. They should be fairly thick and firm. The section of each leg should be within 5x5 cm. Chair. As a rule, the design of all chairs with a back (this is what we are considering in this article) is identical, the differences can only be in the shape and size of the back. You can also experiment with the shape of the seat.It can be classic square, polygonal, round, threaded or upholstered.
Not so popular in self-production, but quite realistic in execution, tables and chairs, assembled without the use of screws, nails or other fastening materials. The details are fastened using a special technique of fastening wooden bars at the joints. Such work requires experience and skills, so it is not quite suitable for non-professionals. With regard to fastening the structure, there are a large number of options - various screws, nails, types of glue and even spikes.
At the end of the process of designing a table and a chair, it is imperative, as in the beginning, to check them for protruding pieces of wood, cracks. All sharp corners and uneven surfaces should be smoothed out as much as possible. But more on that below.
How to do it yourself?
Let's take a closer look at the process of making furniture.
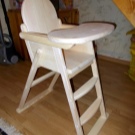
Chair
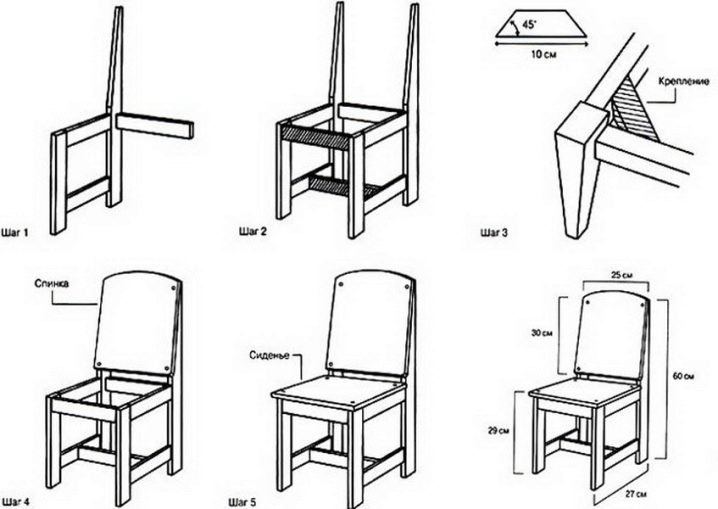
- Preparing the legs. Since a highchair is a piece of furniture with a small size, then, accordingly, its parts should be small. In particular, the length of the legs should not be more than 30 cm for a 70 cm highchair. All legs need to be cut down and corrected with sandpaper to the same length. Of course, the plank boards must also be sanded.
- Prepare leg strips and seat lintels. This is done for the subsequent stable and strong structure of the chair.
- Connect the entire structure. At this stage, you need to carefully check all the fittings of the parts.
- Glue the structure. It is best to use furniture glue for this, but superglue from a hardware store is also fine.
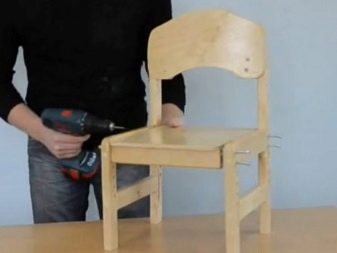
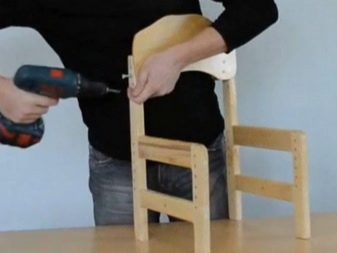
- Securing the seat and legs. This can be done with self-tapping screws or with a simple hammer and nails. Recently, thorns have gained relative popularity. The part is "pushed" onto the spikes and all this is fastened with glue. It turns out to be a pretty reliable mount.
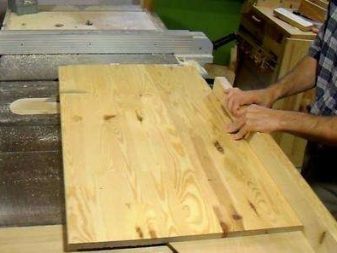
- Sanding. This process is necessary in order to remove any chipping from the tree potentially harmful to the child and to give the highchair a pleasant appearance.
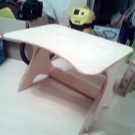
Table
- First of all, you need to measure the length of all legs with a tape measure. If there is a difference in their length, then you need to correct them. A wobbly baby table can be a nuisance, especially when feeding a baby. This is done with a hacksaw.
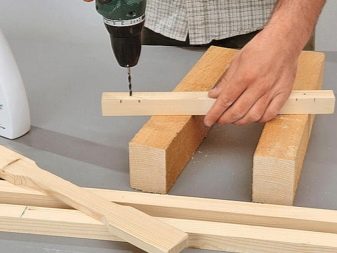
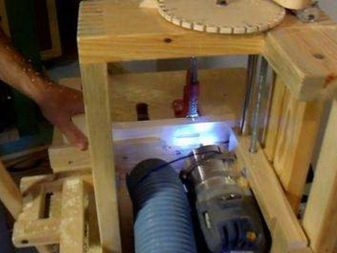
- Use an electric drill to drill the grooves in each of the legs. You need to make a groove at the end of the part, and then make it rectangular.
- Measuring the depth of the grooves. Next, you need to measure a distance equal to the depth of the grooves on each of the bars.
- Correction. To do this, you need to file each of the wooden blocks from all sides, and remove the excess with a knife or sandpaper.
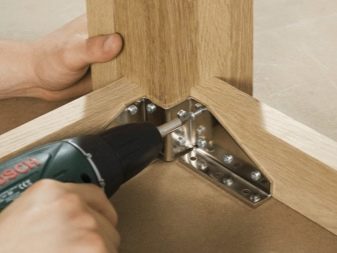
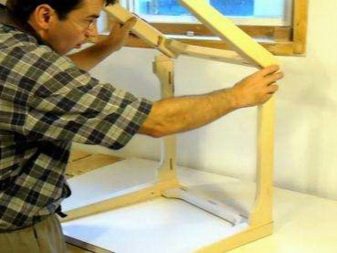
- Connection of parts. At this stage, it is important to check the accuracy of the angles, they must all be straight.
- Bonding the structure. The final stage, in which all parts, if they are tightly connected to each other, are glued together with wood glue. For greater durability of the structure, you can use a hammer and nails.

Furniture decoration
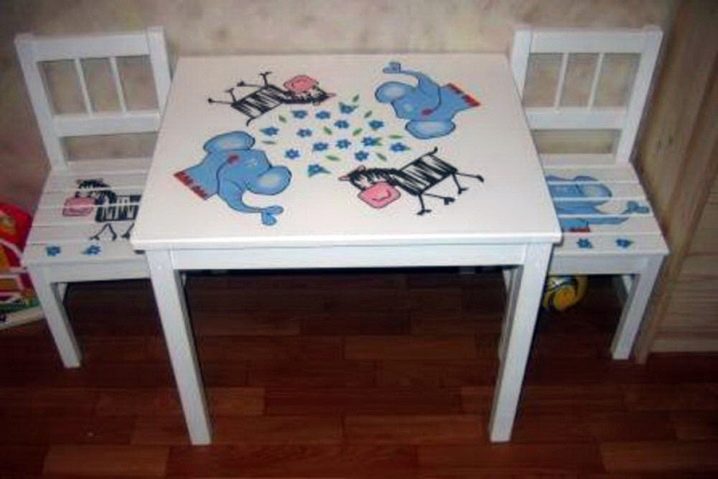
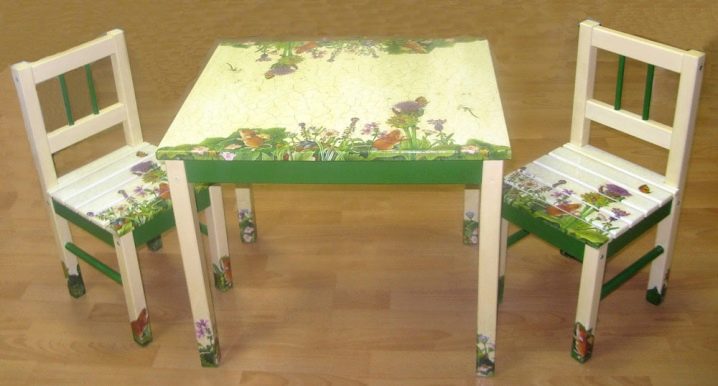
The main thing when decorating children's furniture is the safety of coatings. Paints and varnish should be purchased from a reliable manufacturer and tried in advance on a piece of wood. Relatively recently, a special varnish for children's furniture was released on sale by domestic and Western manufacturers. According to the manufacturers, it is safe to apply and does not emit harmful fumes after drying. The most common option for decorating a chair after painting is stencil drawings. They can be applied with a regular small brush from an art supply store. The same goes for a wide variety of furniture stickers.
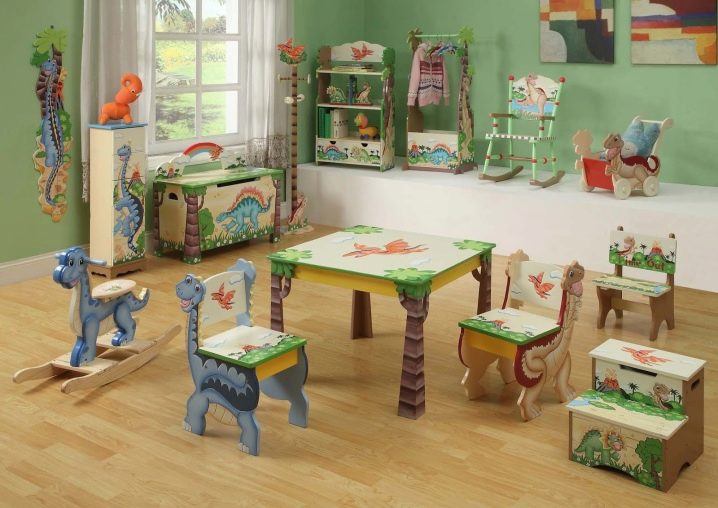
The colors of the paints should be bright, but not poisonous. The primary colors are blue, red and yellow.As drawings, you can choose various folk ornaments, simplified drawings of animals, symbolic designations such as stars, hearts (for a girl), cars (for a boy), and even letters and inscriptions. The kid can be delighted and encouraged by the opportunity to decorate his future furniture on his own. A good option in this case is his handprints. Special craftsmen with golden hands can experiment with carving. It can be used to decorate the back of a highchair. To do this, first you need to apply a drawing with a pencil, and then start directly the work itself with a jigsaw. If you initially plan to do the carving, then it is best to do it before you assemble the chair.
Despite the apparent convenience, it is not recommended to make the upholstery of the child seat. This will make the chair more uncomfortable for the child. Parallel upholstery is very difficult to wet clean.
Tips and nuances
Children's things are very often exposed to various mechanical and other influences, so it will be better to protect the surface and apply several layers of varnish. In extreme cases and when there is an urgent need to protect the surface of the table, epoxy resin can be used, which, when cured, forms a thick film, similar to a glass surface. But this should only be done if the table will be used for drawing or will often be wet cleaned with chemicals.
Hats of nails and screws must be "hidden". This can be done in several ways: deeply "plant" them in a tree, attach special plastic "caps" or use the same epoxy resin or varnish applied in several layers. These "caps" are made of both plastic and rubber. It was said above that it is better not to make the upholstery of the highchair, but if the child has already entered the conscious age, you can make the leather upholstery of the highchair. Underneath, the leather cover will need to be fixed especially well. Its presence will greatly facilitate the care of the chair.
It is optional but advisable to purchase two types (coarse and fine) sandpaper for sanding. After processing each of them, you can achieve a flat and smooth surface. The process of making a highchair and a children's table can become exciting not only for an adult, but also for a baby. The main thing in this process is patience and work, which, as you know, will grind everything.
For information on how to make a chair and a table with your own hands, see the next video.


The comment was sent successfully.