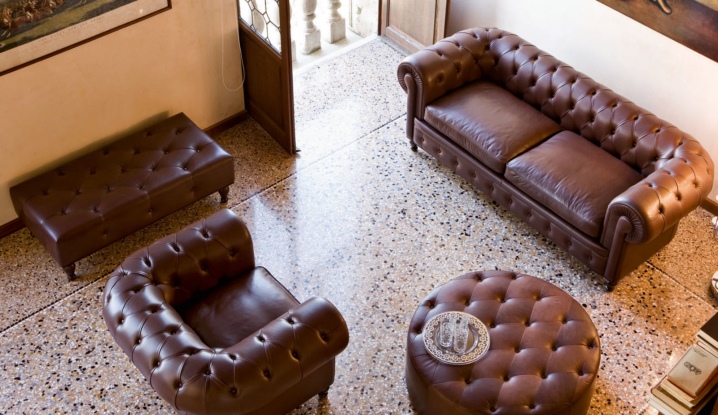
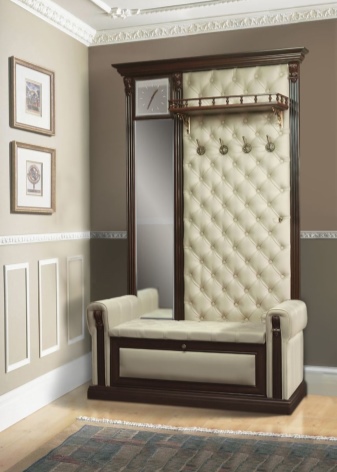
Do-it-yourself bench
Bench is a bench with a soft seat, which is placed in the hallway, living room or bedroom. It is performed in a classic or futuristic style, it has different dimensions and shapes. The bench can be made by hand, in this case the furniture will fully correspond to the design idea of the owner of the apartment.
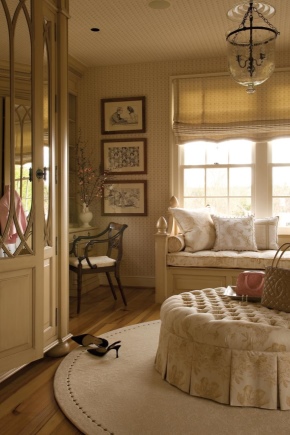
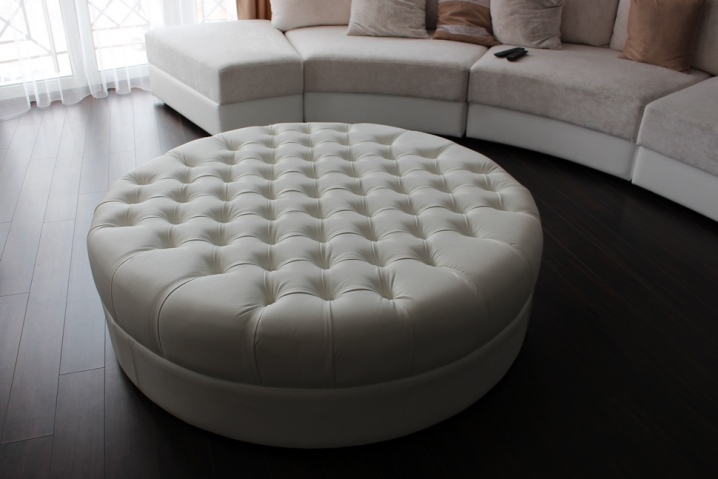
How to make a round pouf with a carriage tie?
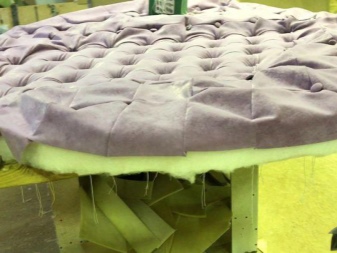
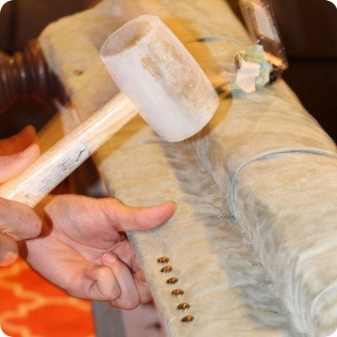
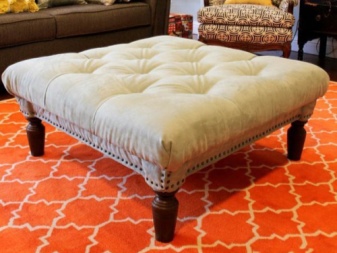
A non-standard way of decorating furniture is a carriage coupler. It allows you to create three-dimensional surfaces with various patterns. Models decorated in this way are suitable for interiors in neoclassical style or for Art Nouveau designs.
Making a pouf banquet is easy enough, a novice master will not have any problems. For repair work, a standard kit is required:
- hacksaw;
- drill;
- hammer;
- jigsaw (electric is best);
- saw;
- nails and other fasteners;
- glue;
- construction stapler;
- paint, varnish, brushes.
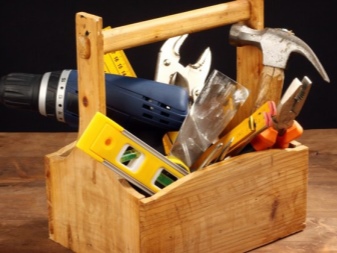
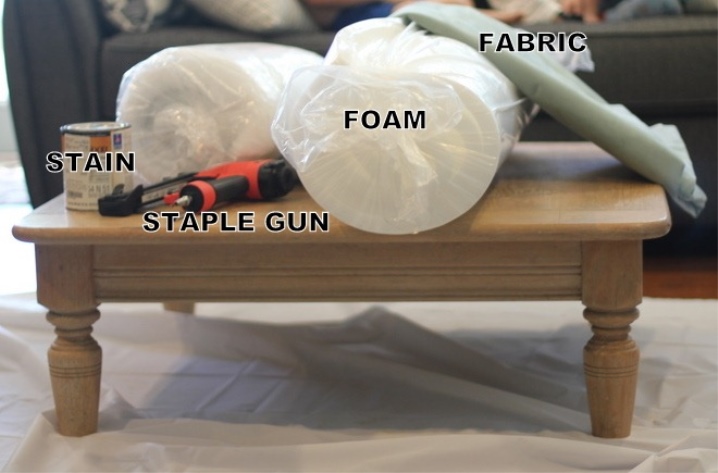
A pencil, ruler and tape measure will be useful, with the help of which the necessary details and their location relative to each other will be marked. Plywood and cardboard tubes are used as materials. For the upholstery of the bench, you will need fabric, as well as filling for the seat - for example, foam rubber.
Making a do-it-yourself pouf banquet:
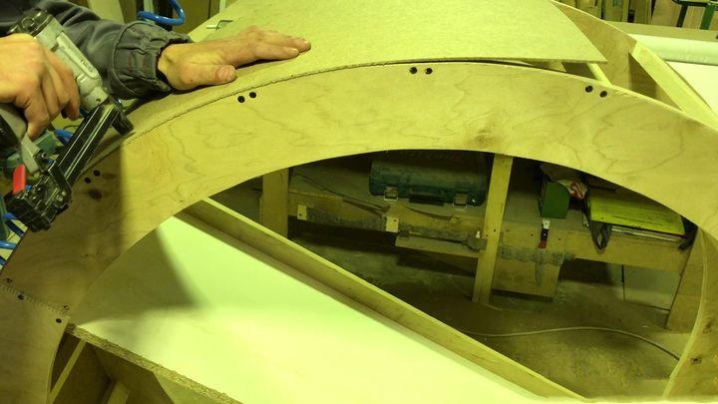
- The tubes are cut into several parts so that they are of the same length. Then plywood circles are cut out from which the base will be made. For these purposes, use a jigsaw or (if possible) a band saw.
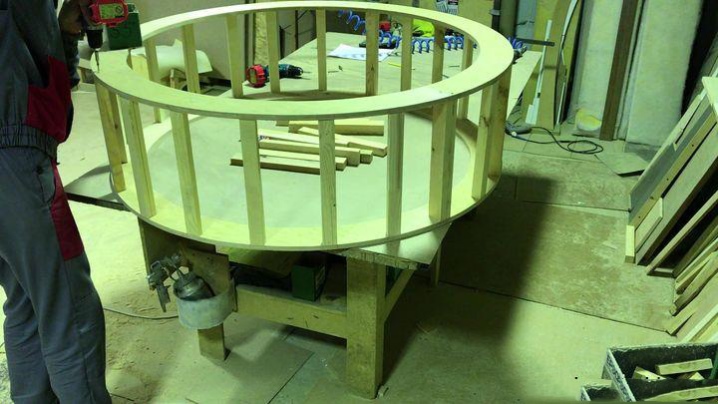
- Tubes are attached to the base. First, the parts are placed around the perimeter, then they are filled in the inner part. When all the tubes are glued, they are wrapped with a layer of foam rubber.
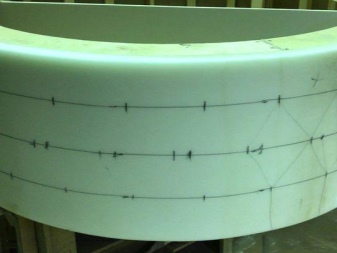
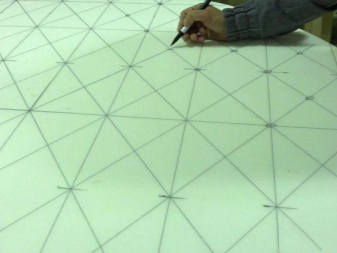
- The base is laid out in squares. At the corners of which through holes are drilled (you need a 10 mm drill).
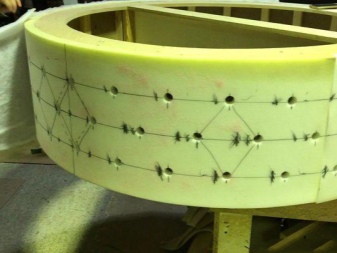
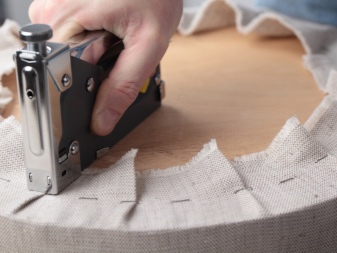
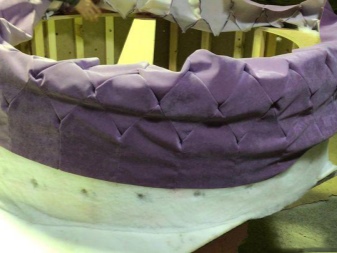
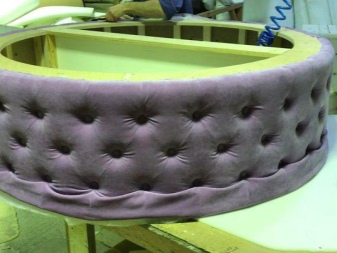
- Upholstery fabric is threaded through the holes, decorative buttons are sewn on the front side. The body of the wedge must be completely wrapped on the outside. At the bottom, the fabric is folded over and attached to the plywood - using a construction stapler or nails.
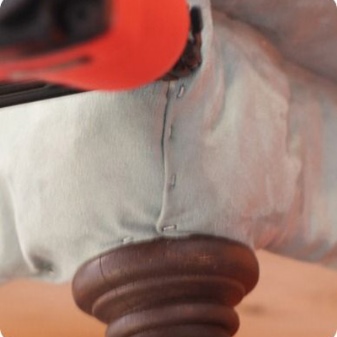
- For the manufacture of curly legs, special equipment is already required - for example, a numerically controlled machine. If it is not there, you can order the part in a store or buy it in a hardware store. The legs are painted and varnished - for decoration and protection from decay.
The legs are fixed with a drill and holes cut out from the bottom side of the base.
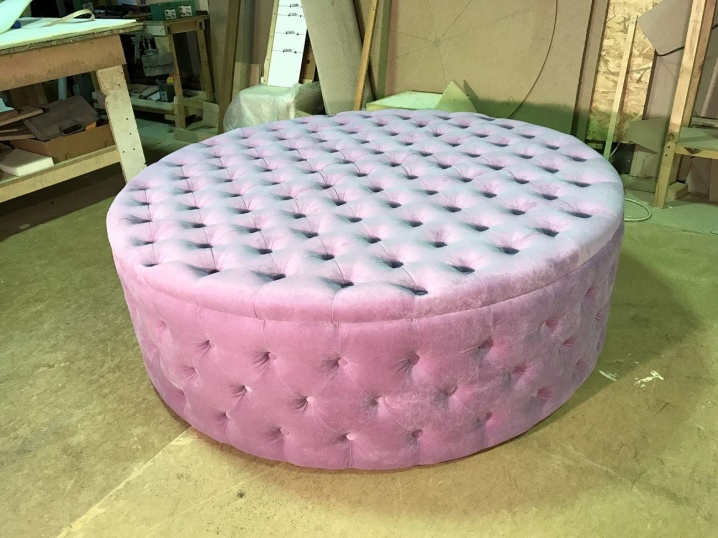
At the final stage, finishing work is carried out. The pouf is decorated with decorative rivets, crystals, which are attached with decorative nails of a small diameter. Fasteners are also used for additional fixation of the fabric: they are driven in along the perimeter of the banquet every 15 mm.
A more detailed process for making a banquet can be seen in the next video.
Workshop on making a soft wood model
Such furniture is based on a wooden frame, which is covered with fabric and supplemented with a seat with a filling. The question of how to assemble a bench or other products worries many. This is not so difficult to do, and the stages of work on different pieces of furniture will be similar. First, a drawing of the future furniture is drawn.
You can take an existing scheme as a basis or make a completely original one, but the first option is suitable only for those who already have experience.

It is best to create a project in special programs on a computer. This will allow you to see the volumetric model and understand how it will look in real life.
The SketchUp app is suitable for this purpose.
To carry out calculations, the real dimensions of the banquet are determined (based on the size of the room and the place where the piece of furniture will be located). The drawing is required in order to clearly define the number of beams, consumables and fabric that will be used to create the furniture.
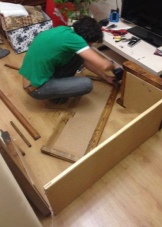
After the preparatory stage, repair work is carried out directly. Homemade banquets are conventionally divided into two types:
- First, they can be made from scratch.
- Secondly, it is possible to make them out of unnecessary furniture.
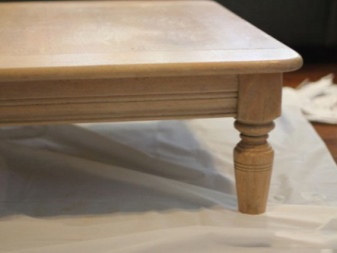
For the latter option, an old coffee table will do. A low model with twist-off legs is best.
Before work, you should check whether it can withstand human weight.
The procedure is as follows:
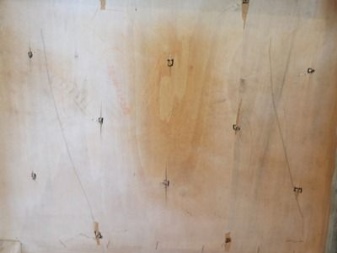
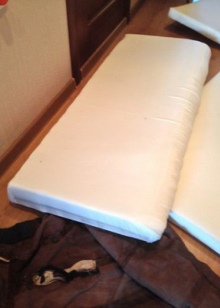
- A square or rectangle of the same size as the tabletop is cut out of the foam rubber. Along the edges of the material, 2.5 cm is left. To cut the foam rubber, ordinary scissors or a construction knife are suitable.
If you use two layers of material, the bench will be softer. The sides with a relief are located inward and glued.
- The legs are unscrewed from the table and foam rubber is glued to the base. The dimensions of the parts must completely match, otherwise the base of the bench will turn out to be uneven. Press down on the filler as hard as possible.
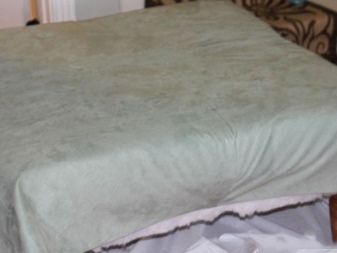
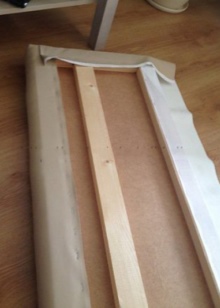
- The next step is to cut out the second lining (lavsan, non-woven or thin foam rubber is used for it). In size, it should be larger than the filler. Next, the parts are glued together.
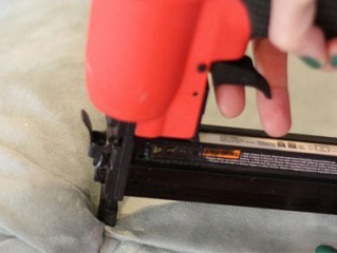
- When finishing the banquettes, use a piece of fabric cut out with an allowance of about 2.5 cm. The upholstery is attached with a construction stapler or decorative nails. The fabric stretches along the edges, diagonally and towards the corners: it should adhere to the base as tightly as possible.

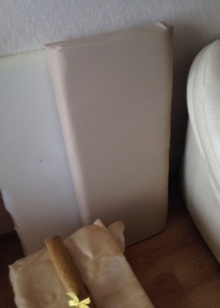
The edges are fixed last. The material is smoothed as much as possible with an awl or screwdrivers; as a result, there should be no folds. For the bottom, an anti-dust wear-resistant fabric is suitable, which is also attached with staples to the base. Before fastening, the edges of the material are folded.
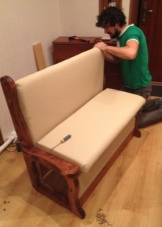
How to update and skin a model with a back: step by step instructions
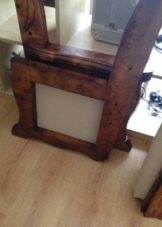
The coffee table is not the only piece of furniture that can be given new life. You can also remake the old set, or rather, part of it - a bench with a back. The updated bench will fit into the new interior after renovation or will become its basis.
First, a leatherette is selected for the upholstery, as well as a plain fabric for the lining. The size is calculated depending on the area of the furniture (taking into account that there should be room for allowances). The set of tools will be similar to that used for the manufacture of other types of furniture.
Creating a bench with a back:
- Old furniture is taken apart, upholstery and filling are removed. You can use a flat head screwdriver to remove the staples.
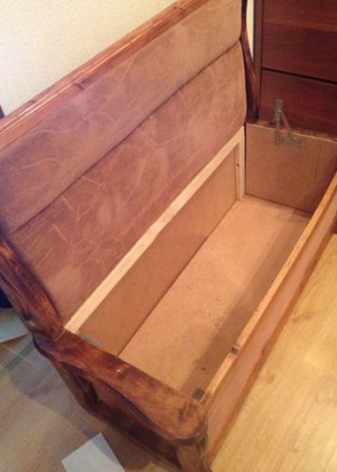

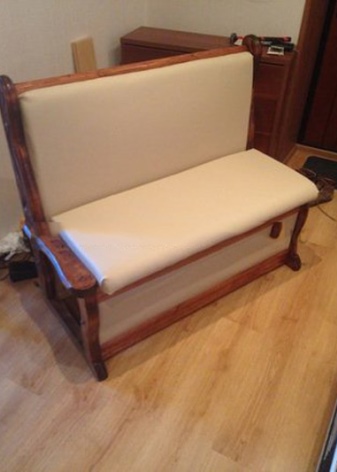
- Parts for the seat and back are cut from the foam rubber. If there is a box inside, the lower part is made less by half a centimeter.
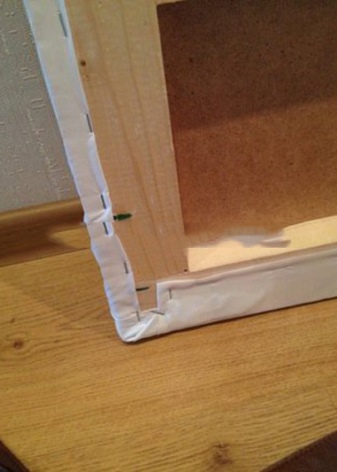
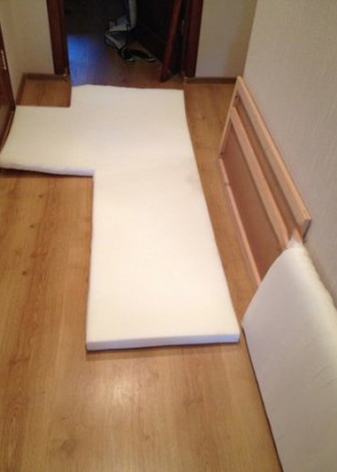
- The lining fabric is laid out on the floor. A filler and a wooden seat are placed on it. The materials are attached to the base with a stapler.
It is very important that the fabric is stretched as tightly as possible.
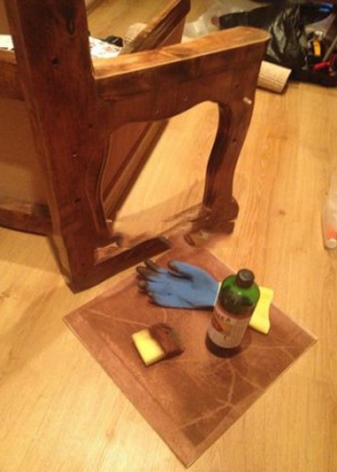
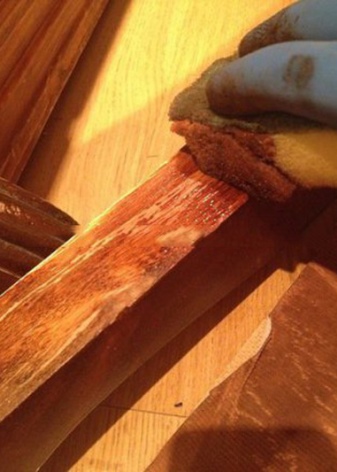
- The wooden frame can be painted or stained. First, one layer is applied, after 12 hours - another. When working with a stain, an oilcloth is placed on the floor, gloves are put on the hands, since it is not easily washed. At the final stage, leatherette is inserted into the side and front backs of the bench, after which the parts are attached to the base.
- The imitation leather is nailed over the fabric along the perimeter of the wooden parts. The edges of the upholstery are folded over and neatly fixed from the inside.
- If desired, the product is decorated with pillows. you can also sew them yourself by choosing materials of the appropriate shade.
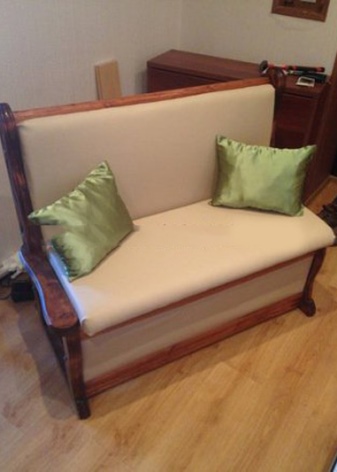
Pillows can be designed in a classic style, or they can be made in the form of animals or objects.
The following video will tell you how to make original pillows with your own hands.


The comment was sent successfully.