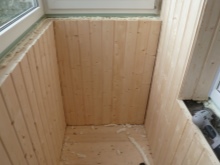
Balcony decoration with clapboard
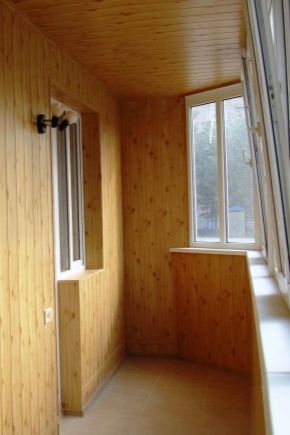
The arrangement of the loggia takes place in several stages. They are engaged in design at the last moment, and the general appearance of the room depends on these works. Decorating the balcony with clapboard is an inexpensive and practical option that will make the room cozy and pleasing to the eye.
Features, advantages and disadvantages
Balcony cladding with clapboard is a popular and widespread solution. The material is easy to process and install, affordable and has attractive external characteristics.
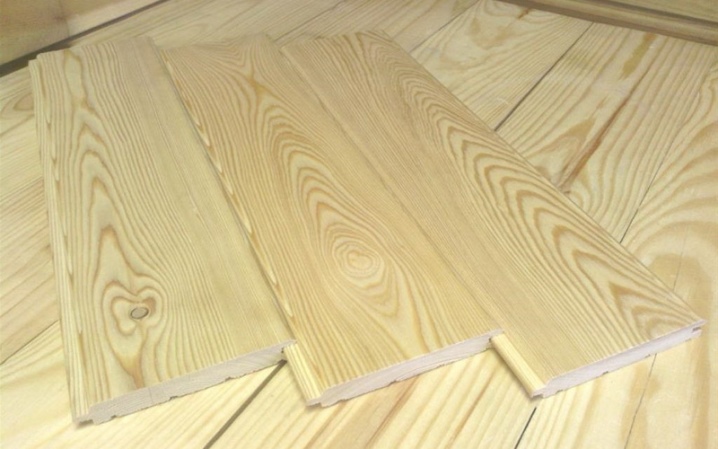
Initially, the lining is a well-planed wooden board, but now it can be made from other raw materials. Nevertheless, it is the natural material that has the best characteristics.
The advantages of lining include:
- Strength. Natural wood is resistant to external mechanical influences, there are no scratches on it.
- Safety and environmental friendliness. The lining does not emit harmful substances into the air, it is non-toxic.
- Long service life. The service life of the casing can be up to 20 years if it is correctly installed.
- Thermoregulation. The lining absorbs the sun's rays and together retains the heat inside the room.
- Noise suppression. The material absorbs sounds from the street, making the balcony quiet.
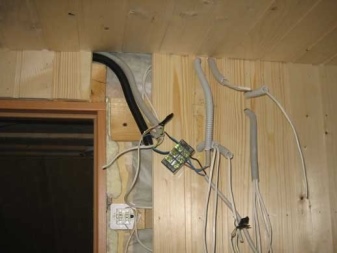
In addition, during installation, wires and communications are hidden under the clapboard, which is important when ennobling a living space. The lining does not need to be painted, which reduces the time for repair work. Simplicity of care is also a plus. If dirt appears, it is enough to wipe the material.
Due to its natural structure, the lining is pleasant to the touch. It helps to create and maintain a microclimate in the room, participates in air circulation. Therefore, a comfortable temperature will be maintained on the balcony both in cold and warm seasons. It also guarantees the maintenance of a constant level of humidity.
This material also has a number of disadvantages:
- One of the drawbacks is associated with the peculiarities of the structure of the lining: it is light and quickly ignites.
- Like all wood products, lining is sensitive to moisture and sudden changes in temperature. To avoid premature damage, the boards are treated with special compounds.
- In addition, in case of violation of the rules of operation, materials are deformed.
Which one is better to sheathe?
The lining is of several types, differing in operational and external characteristics. The specificity of the installation of boards and their care, as well as the interior of the future living space, depends on the choice of material. You can sheathe the loggia with one of the following types of lining.
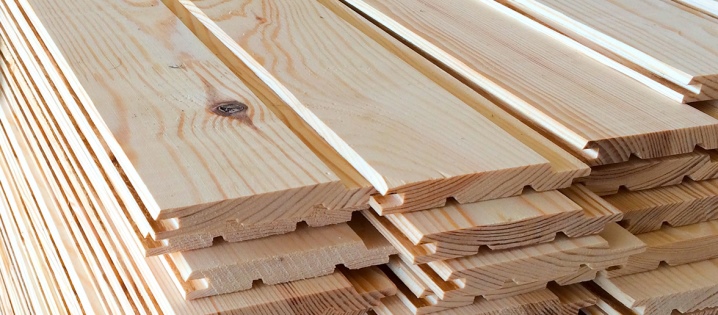
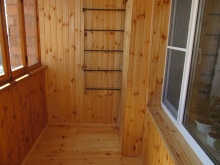
Wooden
Natural material with all the benefits that come with it. The lining is made in the form of thin panels of various sizes. The beams are made from different types of wood: ash, oak, alder, cedar, linden, spruce, pine, larch. The material "breathes", does not allow the air to stagnate on the balcony. An unusual feature of the upholstery is a pleasant, fresh scent. It comes primarily from coniferous boards.
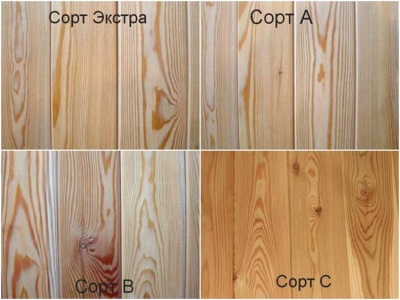
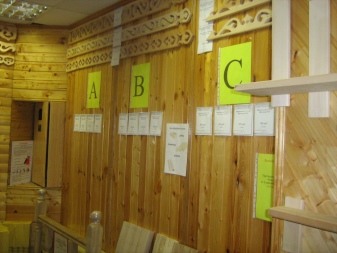
Depending on the quality of raw materials, the lining is divided into types:
- The best material is considered to be labeled "Extra". The boards are well processed, free from external flaws. The cost of such material is higher.
- Class "A" admits the presence of small knots, but is highly durable.
- Medium quality wood is used to create class "B" lining. Cracks and resin pockets can be located on the uneven bars.
- The lowest quality is possessed by the material of class "C". The lining is poorly polished, easily deformed. The boards contain captive knots up to 25 mm in size, blind cracks, stripes and other defects.
It is used for cladding storage rooms, technical and auxiliary rooms.
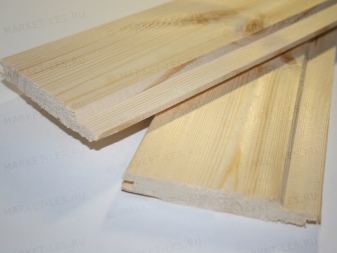
Euro lining
A kind of wood panels. Outwardly, these types are very similar, however, the eurolining is of a higher quality, since it is made according to European standards. Such material is more expensive, the price is due to high performance. Euro lining is stronger, made from the best varieties of wood.
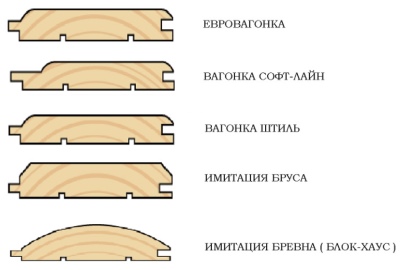
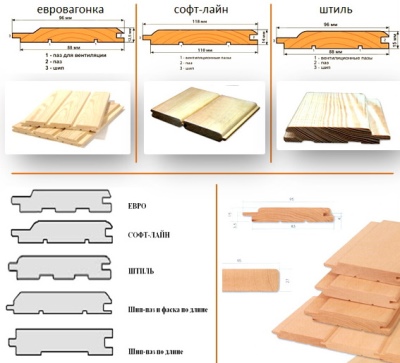
The material is divided according to size and shape. There are standard profiles, softline, landhouse, landhau, American, block house.
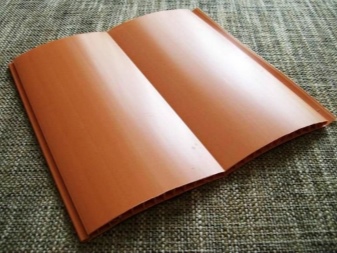
The most popular top is the last one. Externally, the model looks like a bar from one side in the form of a cylinder.
Euro lining is made taking into account strict requirements, including those related to its size. It has a thickness of 13, 16 or 19 mm and a width of 80, 100, 110, 120 mm. The length of the bar is 500-6000 mm.
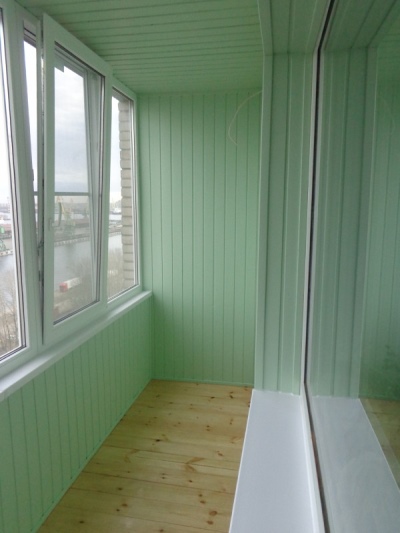
Plastic
Building materials are made of PVC, vinyl, have good heat and sound insulation characteristics. The service life of the plastic lining is up to 30 years.
Polyvinyl chloride is classified as an environmentally friendly raw material: it does not contain harmful chemical compounds, which is confirmed by sanitary certificates.
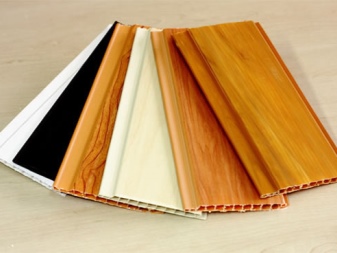
Plastic beams are easy to install, guaranteeing a tight joint. They are resistant to UV rays, do not fade in the sun. The material is not afraid of cold and hot weather: the operating temperature range for it is from -50 to +50 C. A wide variety of beams design allows you to choose them for any interior. Manufacturers create plastic lining, imitating natural materials, decorated with drawings or patterns.

The listed materials have their pros and cons. Plastic panels act as a cheap analogue of wooden beams and even have a longer service life. At the same time, it is wood boards that are associated with nobility and comfort. Wooden lining is more resistant to sudden changes in temperature, but plastic is resistant to fire.
We make a calculation
Before carrying out repair work, it is necessary to determine how much materials will be required. Correctly carried out calculation will allow you to avoid buying unnecessary boards and will not allow you to throw money down the drain.
For cladding, they take the lining itself and wooden beams, to buy you need to know their dimensions:
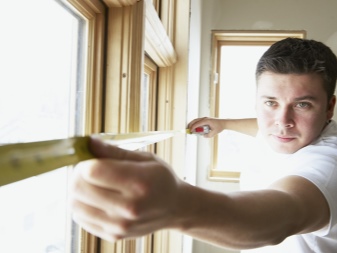
- The first step is to calculate the area of the room. You will need a tape measure or regular measuring tape to measure length, width and height. The area of doors and window openings is subtracted from the resulting values. Due to the uneven surface and the peculiarities of the fastening of the rails, useful area can be lost, and during work several boards can be damaged. For this purpose, another 8-10% is added to the final figure.
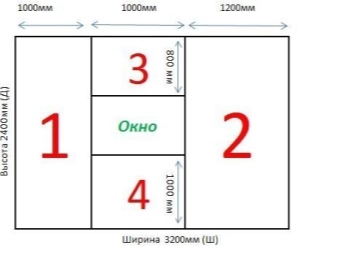
- To calculate the number of lining, the area of the room is divided by the area of one board. For a standard size rail (60x9.5 cm), this value will be 0.52 m2.
- It is also necessary to determine the number of beams used for the installation of the battens. The standard dimensions of the part are 50x40 cm. The height of the processed surface is divided by the distance between the guides (0.6) and multiplied by the length. The footage of the bar is obtained by adding up the learned values.
- Before buying, you need to clarify the dimensions of the profiles of a particular brand. This can be done from consultants in a hardware store or on the manufacturers' website. As a rule, companies place special calculators for calculating materials.
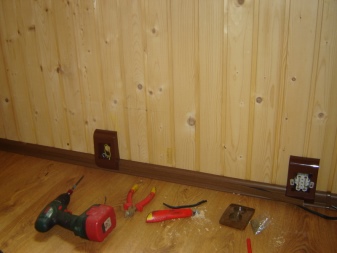
Required tools
To install the lining with your own hands, you do not need specialized professional equipment, and this is its plus. The list varies depending on the type of material chosen, however, in general, the list of tools includes:
- Perforator, drill with percussion mechanism;
- Drill with a diameter of 4 or 6 mm;
- Screwdriver (electric or cordless);
- Boer;
- Hacksaw, jigsaw;
- Building level, body kit, nylon cord;
- Cross bit;
- hammer, ax.
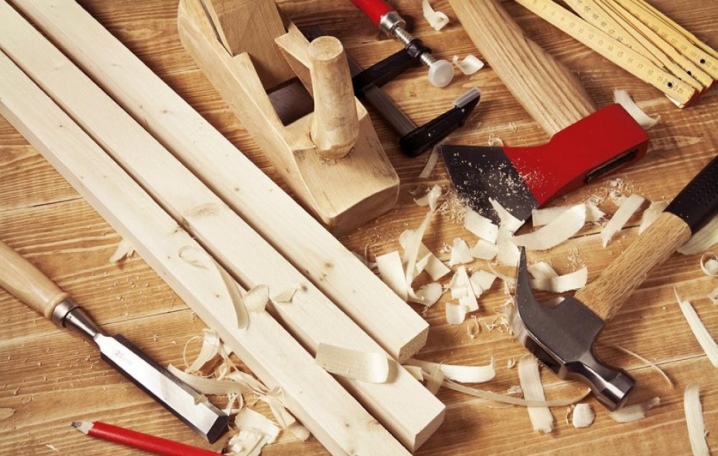
To take measurements, you will also need a tape measure, a square and a pencil, fasteners are carried out using nails with large heads (60 mm), self-tapping screws for wood or metal (50, 75 and 90 mm) and umbrella anchors. And during the finishing work, you will need details for the fittings: corners and baseboards.

How to sew with your own hands: step by step instructions
Balcony finishing is carried out in several steps:
- At the first stage, preparatory work is carried out, the purpose of which is to clean the surfaces from old paint, whitewash and other finishing materials. The window slopes, window sill and baseboards should also be removed - you get a box without everything.
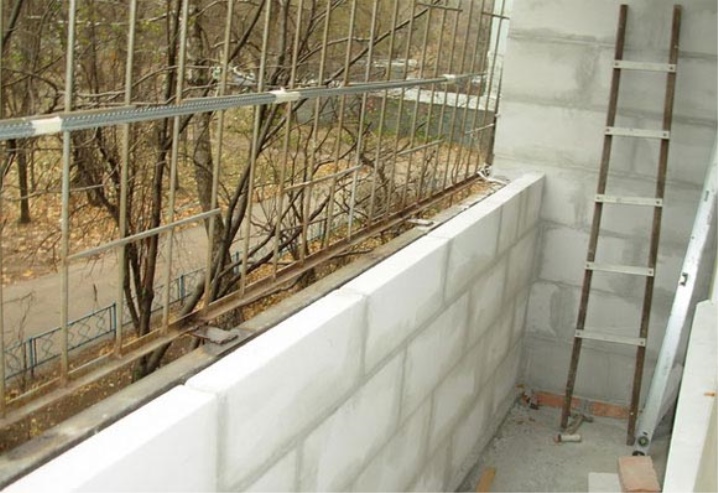
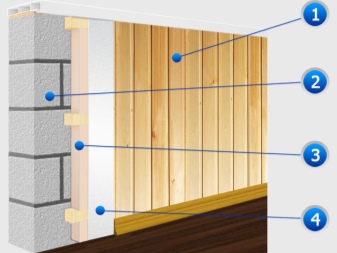
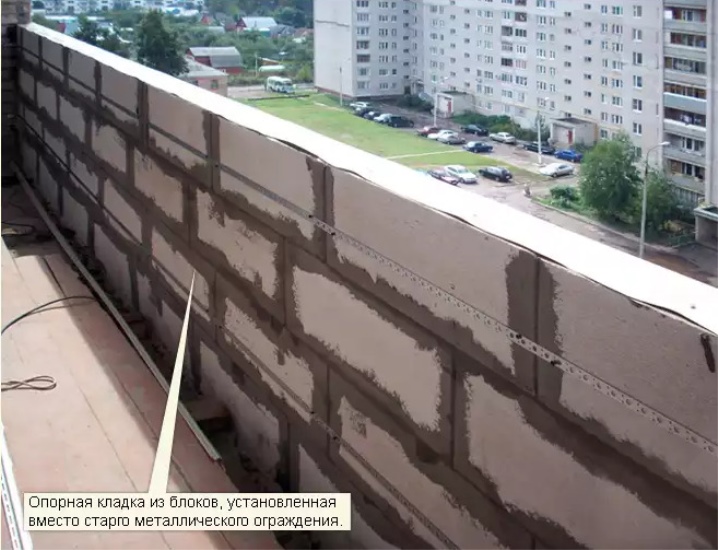
- Before sheathing, the frames are inspected. Rotten parts are replaced, an antiseptic is applied to the surface to prevent damage to the lining. To prevent the appearance of fungus, surfaces facing the north side should be treated; as an option, a film with waterproofing properties is placed under the frame. The gaps between the boards and walls are filled with foam. When the balcony railing is made of metal sheets, a layer of foam blocks is created, which is laid on a cement mortar.
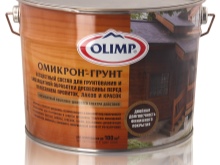
- The surfaces on which the lining is laid should be as even as possible: this way the lining will last longer. The existing bumps and cracks are leveled with a primer, it is recommended to apply it in two layers. Before proceeding to the next stage, you must wait until the solution is completely dry.
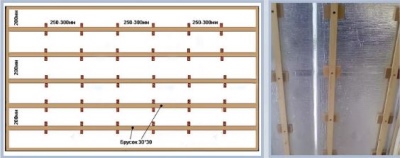
The final result of all work depends on the installation of the lathing. The slats are located perpendicular to the lining boards. Pre-parts for the frame are also treated with antiseptic agents. When repairing, it is important to follow the sequence of work. The slats are mounted first under the ceiling (at a distance of 10 cm) and at the floor (the indent is 3-5 cm).
Stages of installing the lathing:
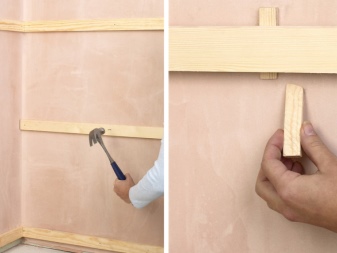
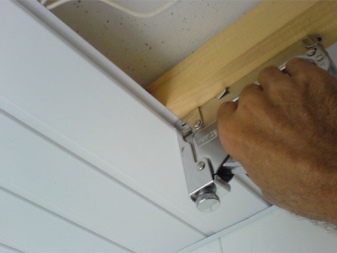
- The rail is cut to the desired length. Marks are made on the bar at regular intervals. Holes are created using a drill that is related in diameter to the dimensions of the fasteners.
- The bar is applied to the wall, holes are drilled in the wall with a depth of 5-6 cm at the place of future fastenings.
- Self-tapping screws are used for fasteners and initially they are not tightened completely to check the evenness of the laying of the parts.
- Self-tapping screws are driven in with a hammer, leaving about 10 mm. Then they are twisted so that the structure is held as tightly as possible.
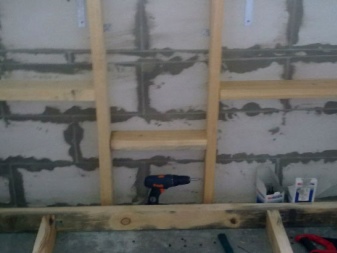
The remaining bars are installed in the same way. After installing two parts, other elements of the crate are marked between them. For this purpose, nylon cords are pulled vertically. The spacing between the beams should not exceed 60 cm. The frame is mounted on all walls and ceilings.
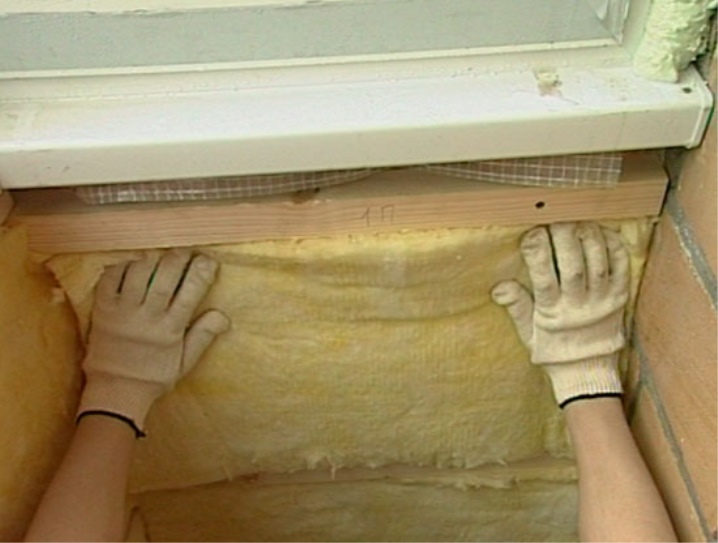
Guides are also packed around the openings. They are nailed vertically and horizontally in a single plane with the frame. If you plan to insulate the loggia, the details fit between the slats. Roll materials can be glued directly to the walls, then the frame can be stuffed from above.
When the balcony is processed in a humid climate, the surfaces can be covered with a waterproof putty before installing the battens.
The process of cladding a balcony is simple, especially if the guides were correctly installed before. Wooden lining is laid in two ways; the installation of plastic materials also has distinctive features.
Open mount
For installation, screws and nails are used, with which the panels are screwed to the frame.This is a simple and quick way of sheathing, but it loses in terms of aesthetic characteristics, since the appearance of the lining deteriorates in this way due to protruding self-tapping screws.
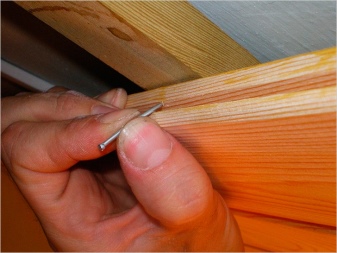
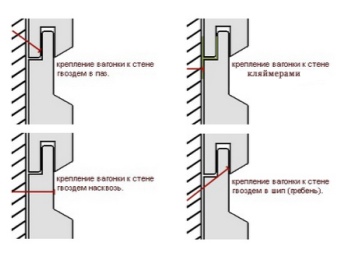
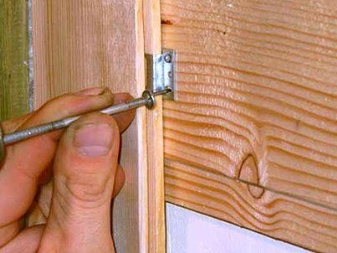
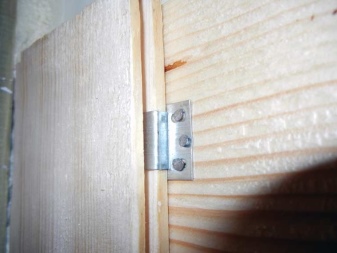
With hidden mount
When performing work, nails are driven into the inside of the groove, and the caps are embedded so that they do not interfere with the installation of the following elements. Clamps made from a metal plate can be used as fasteners. Installation is carried out from one corner to another. The clamps are inserted into the grooves and screwed in with self-tapping screws. Subsequent panels are installed in the grooves of the previous ones, the procedure is repeated until the very end.
Plastic lining
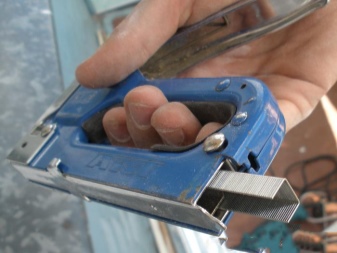
Before starting work, a corner is installed in the corner. It is attached to the frame using a construction stapler, then a panel is inserted into the part. The lining is equipped with a thin extension - brackets are installed in this place. The next element is inserted into the groove, this is done with all the boards until the end of the work. Sometimes it is necessary to trim the last plank to fit the width of the wall.
At the last stage, finishing work is done. It is recommended to cover the lining with a solution to protect it from burning out under the influence of sunlight. For these purposes, a varnish is used that is resistant to unstable temperature conditions, a bioprotective impregnation that prevents the appearance of putrefactive formations and mold. Additionally, natural wood boards can be painted to enhance the shade and texture of the material.
A more detailed process for finishing a balcony with clapboard can be seen in the following video:
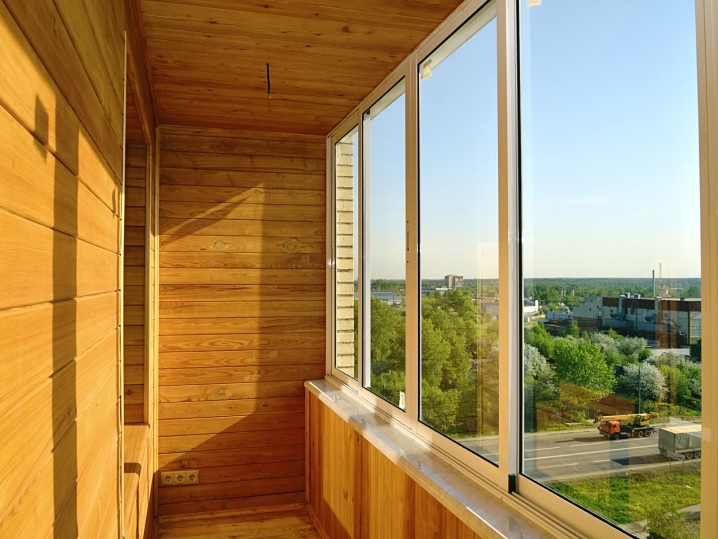
Interesting ideas
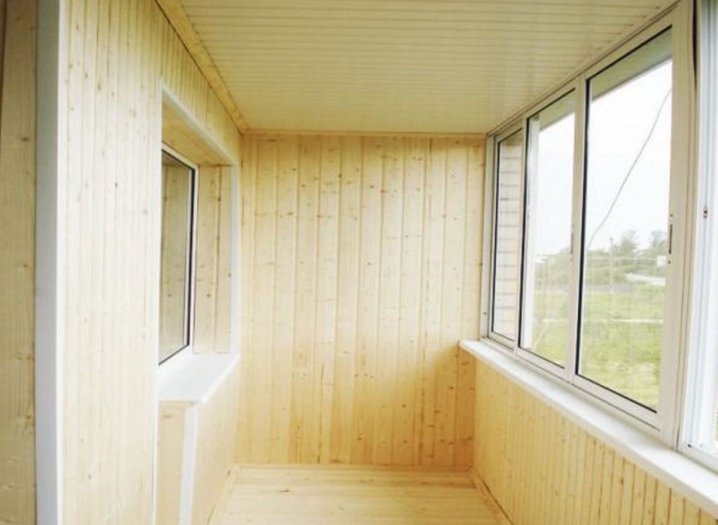
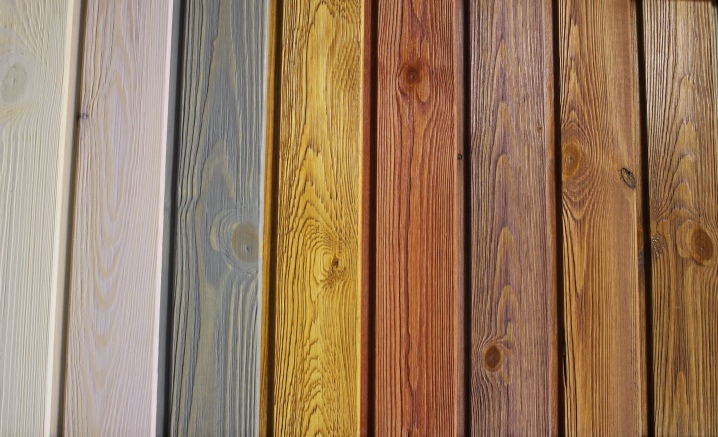
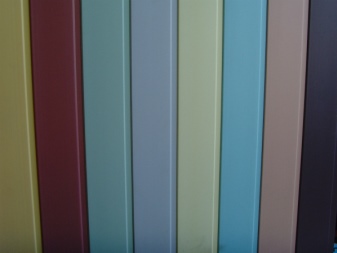
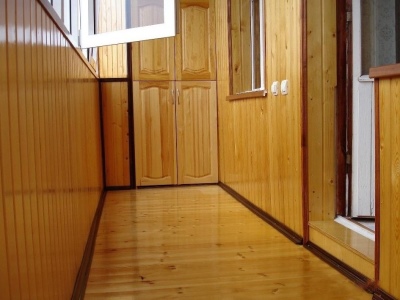
Wooden materials look great in any room. The luxury of wood will give the balcony a coziness, and the natural shades of brown will have a soothing effect. An original solution will be to cover the floor and walls with panels of different colors.
This will give the design of the loggia conceptuality, allow you to make a modern interior.
A more restrained option is with skirting boards in contrasting shades. Details will not only hide irregularities and cracks, but also set off the color of the main coating. Elements should be selected several tones darker than the lining.
You can also sheathe corners, window openings.
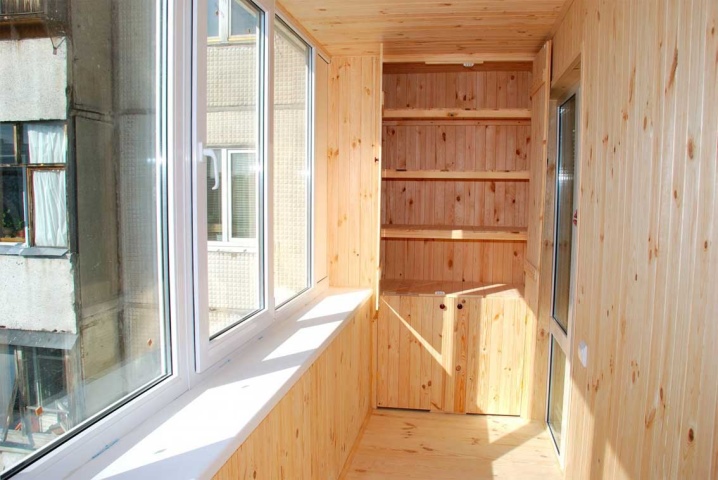
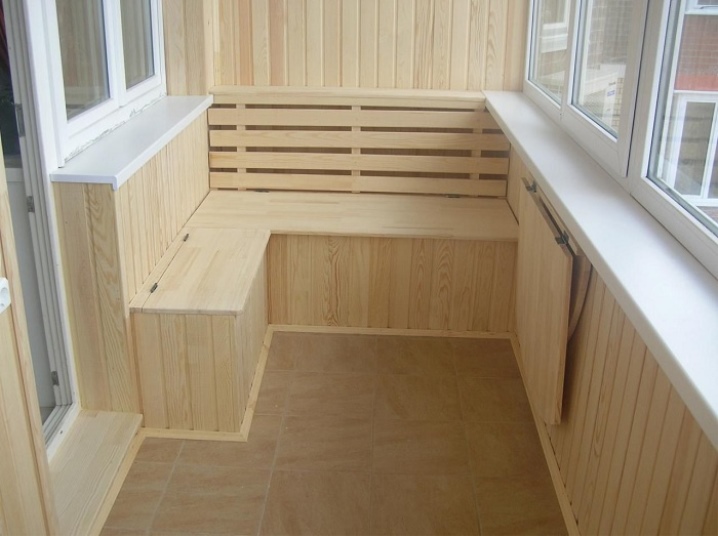
Fans of natural wood can go further and build in furniture in the same shade as the lining. The wooden table and bench will look like an extension of the walls. In addition, it will save space, as the furniture will be located in the corners.
Together with natural materials, knitted decorative elements, ornaments made of stone will look advantageous.


The comment was sent successfully.